
4 rounds · filed under dense · 4 of them
Bags & Totes · added 25 Oct 2026
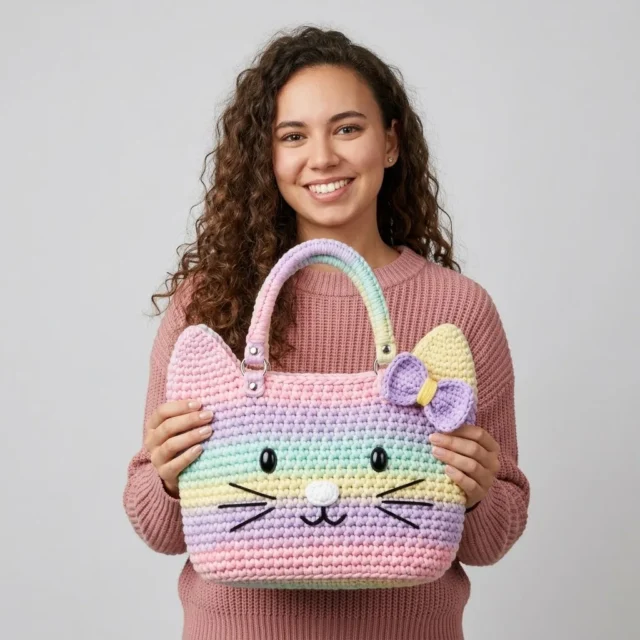
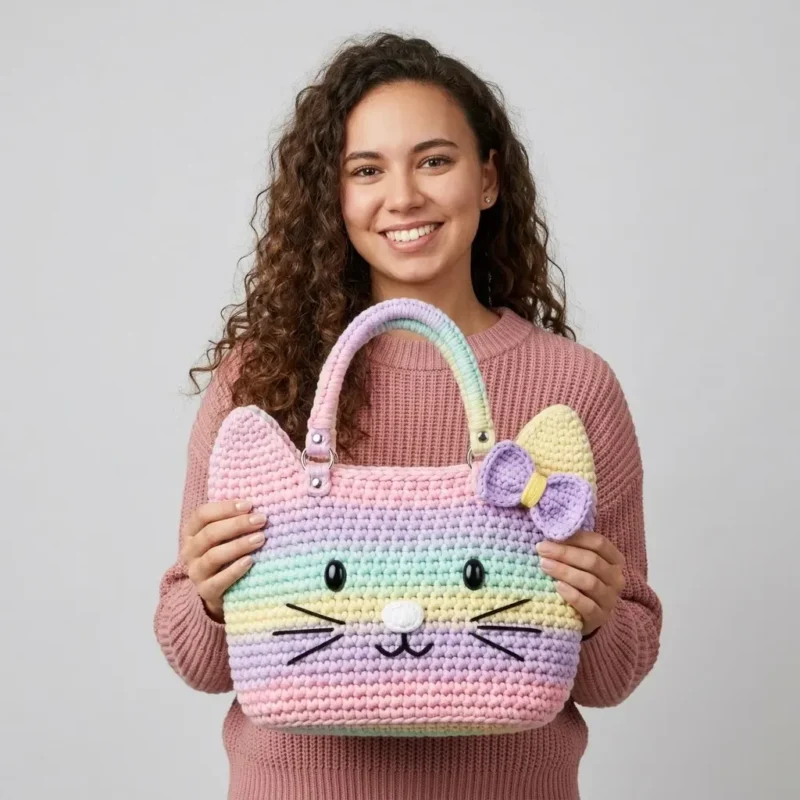
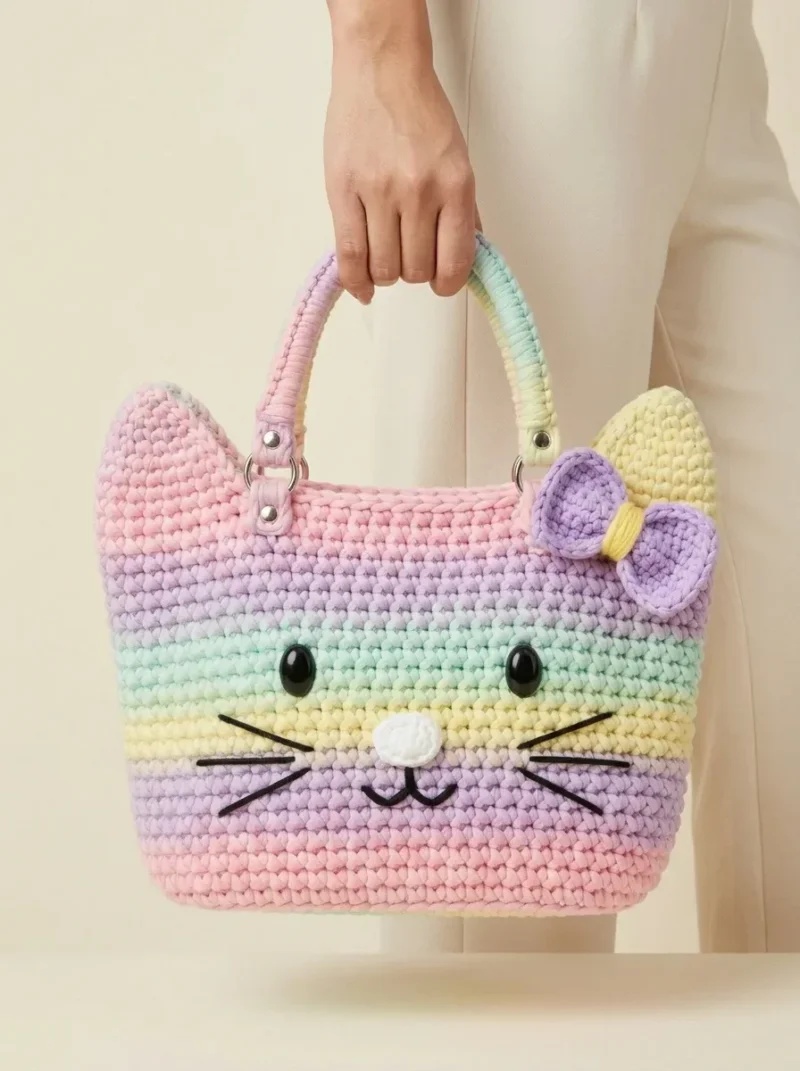
Pastel rainbow kitty tote bag crochet pattern
Dense single crochet builds a firm cotton fabric for this pastel kitty tote bag.
- Skill
- Intermediate
- Time
- 4-6 hours
- Hook
- 5.0 mm
- Yarn
- Worsted
- Rounds
- 4
About this pattern
Single crochet dominates this build, and it shows in the hand immediately: rows of sc packed tight against each other leave a fabric with almost no give, more like a woven swatch than a typical amigurumi surface. Worked in worsted cotton, the stitches sit close and flat, so the panel feels stiff and substantial rather than springy. That firmness is the point — a tote needs walls that hold their own shape instead of sagging once yarn and hardware are loaded into it.
Each panel starts as a narrow lavender strip, widens out through a shaping section, then holds steady at a fixed stitch count while color blocks of pale yellow and light pink stack on top in straight rows. Two of these panels, built identically, become the front and back of the tote body. Once seamed together, the flat shape gets its character from the kitty face pieces — ears, nose, whiskers, eyes, and a bow — plus a handle attached last to carry it.
The swatch in numbers
- Rounds
- 4
- Parts
- 12
- Level
- Intermediate
- Time
- 4-6 hours
- Hook
- 5.0 mm
- Yarn
- Worsted
The yarn and the hook
- Worsted weight cotton yarn (weight 4) in the following colors:
- Light pink (approximately 80 yards)
- Soft mint or aqua (approximately 60 yards)
- Pale yellow (approximately 60 yards)
- Light lavender (approximately 80 yards)
- White (small amount for nose, approximately 10 yards)
- Black (small amount for whiskers, approximately 5 yards)
- Cotton yarn works best for this project because it holds its shape well and creates a sturdy fabric perfect for a bag. I recommend a yarn like Lily Sugar’n Cream or similar mercerized cotton.
- 5.0mm (H/8) crochet hook
- Two 15mm black safety eyes
- Stitch marker
- Yarn needle for weaving ends
Stitches, spelled out
ch chain; st stitch; sts stitches; sc single crochetDense.
Tension and hand-feel
After Row 1 of the Center Wrap, count across and confirm 5 stitches sit on the hook; if that number is off, the sc fabric is running tighter or looser than intended and the panel will miss the 28-stitch width the pale yellow and light pink rows depend on later.
Rip back now rather than after the color changes, since un-stitching a dense cotton sc fabric gets harder the more rows pile on top of it.
Center Wrap
Using lavender yarn:
Change to pale yellow
Change to light pink
Don’t stress about your color changes being perfectly neat on the edges. These will be hidden when you join the panels together.
Hook
5.0mm (H/8) crochet hook
Notions
Two 15mm black safety eyes Stitch marker Yarn needle for weaving ends Two D-rings or swivel clips for handle attachment (approximately 1 inch)
Optional: fabric for lining the inside
Assembling the Bow
Stack both yellow loops together. Pinch them in the center to create the bow shape. Wrap the lavender rectangle around the center and stitch it securely in the back. The bow should measure approximately 3 inches wide.
Positioning the Eyes
Place safety eyes on the front panel of the bag, approximately 3 inches down from the top edge and 2.5 inches apart. Push the posts through the fabric and secure with the washers on the inside.
If you’re making this for a very young child, consider embroidering the eyes instead of using safety eyes. Simply stitch black circles using satin stitch for a safer alternative.
Attaching the Nose
Center the white nose below and between the eyes, approximately 1.5 inches down. Whip stitch in place using the yarn tail.
Creating the Whiskers
Cut three strands of black yarn, each approximately 6 inches long. Thread your yarn needle and create three horizontal lines on each side of the nose using a simple running stitch or backstitch. Trim the ends to your desired whisker length, approximately 2 inches.
Attaching the Ears
Position the ears at the top corners of the bag, angled slightly outward. Pin in place first to check your placement. Using the long tail, whip stitch securely around the base of each ear.
Attaching the Bow
Stitch the bow to the right side of the bag (from the wearer’s perspective), just below and to the side of the right ear.
Attaching the Handle
Secure the handle hardware to the top edge of the bag, positioning the attachment points approximately 2 inches in from each side seam.
How the texture is built
- The panel starts narrow at 5 stitches in lavender and is worked flat with a turn at the end of every row, not in the round, because it is a flat tote panel meant to be seamed to a matching twin rather than a seamless amigurumi body.
- Between the Center Wrap and the pale yellow rows the stitch count widens from 5 to 28, meaning the shaping that builds width happens in the rows between those two sections, before the panel settles into straight sc for the rest of its height.
- Once the panel reaches 28 stitches, each color block — pale yellow for rows 9-14, light pink for rows 21-28 — holds that same count in plain sc rows, so the stripes stack evenly and the two identically-built panels line up exactly when joined into the bag body.
If you swap the yarn
| DK weight cotton | Produces a smaller, lighter tote with a touch more drape than the worsted original; pair with a 4.0-4.5mm hook and expect to add rows to reach a comparable panel width. |
|---|---|
| Worsted weight acrylic | Keeps the same hook size and row counts but trades the cotton's firm hand for a softer, slightly stretchier fabric, so the finished bag holds its shape less on its own and may need a liner for structure. |
| Bulky weight cotton blend | Thickens the fabric considerably and shortens the row count needed to hit the same panel dimensions; move up to a 6.0-6.5mm hook and expect a heavier, stiffer finished tote. |
Colorways
- Lavender center Light lavender fills the Center Wrap, pale yellow carries the next band of rows, light pink finishes the outer rows, soft mint goes on the ears, bow, and handle, with white for the nose and black for the whiskers.
- Mint center Soft mint takes the Center Wrap in place of lavender, light pink moves into the middle band, light lavender finishes the outer rows, and pale yellow shifts to the ears, bow, and handle, with white and black kept for the nose and whiskers.
Washing and blocking
Hand wash the finished tote in cool water or run it on a gentle cold cycle, since the cotton holds dye and shape well but can felt slightly under heat or rough agitation.
Lay the bag flat to dry rather than hanging it, so the weight of damp cotton does not pull the dense sc panels out of square.
If a panel edge warps, dampen it lightly and reshape by hand before it dries fully, then store the tote flat or loosely stuffed with tissue to keep the sides from creasing.
When it does not look right
- Panel edges curl instead of lying flat.
- Tension is running tight on the sc rows; wash the panel and lay it flat to dry, or steam block lightly to relax the cotton fibers back into shape.
- Stitch count drifts away from 28 partway through the rows.
- A stitch is being missed or added at the turn; mark the first and last stitch of each row with a stitch marker and recount before starting the next row.
- The two panels come out noticeably different sizes.
- Tension shifted between the first and second panel made at separate sittings; measure the width and row count of the first panel before starting the second and match it row by row instead of by eye.
Close-ups
Questions people ask
Why is the panel worked in rows instead of rounds?
The tote body is made of two flat panels seamed together afterward, not a continuous amigurumi shell, so working flat with a turn at the end of each row keeps both faces identical for that seam. Rounds would close the piece into a tube, which is not the shape this bag needs.
Can the color bands be made taller or shorter?
Since the color changes fall on row boundaries, with pale yellow running rows 9-14 and light pink running rows 21-28, you can add or remove rows inside a solid-color block without disturbing the 28-stitch width. Just repeat any change on both panels so the front and back match.
How much yarn does each color actually need?
Light pink and light lavender each need about 80 yards, soft mint and pale yellow each need about 60 yards, white for the nose needs about 10 yards, and black for the whiskers needs about 5 yards. Buy a little extra of each if swapping colors between the two panels.
Does the hook size matter for how sturdy the bag turns out?
The 5.0mm hook paired with worsted cotton keeps the single crochet fabric dense enough to stand up as a tote on its own. Going up a hook size loosens that fabric and the bag loses the structure it needs to hold its shape when loaded.
New patterns, as they are filed
One short email when a batch lands, with the feel of each.