
14 rounds · filed under drape · 2 of them
Home decor · added 6 Oct 2026
Puff stitch hexagon granny stocking pattern
Puff stitches raise a bobbled texture across hexagon motifs joined into a felted granny stocking.
- Skill
- Intermediate
- Time
- 4-6 hours
- Hook
- 5.5 mm
- Yarn
- Worsted
- Rounds
- 6
About this pattern
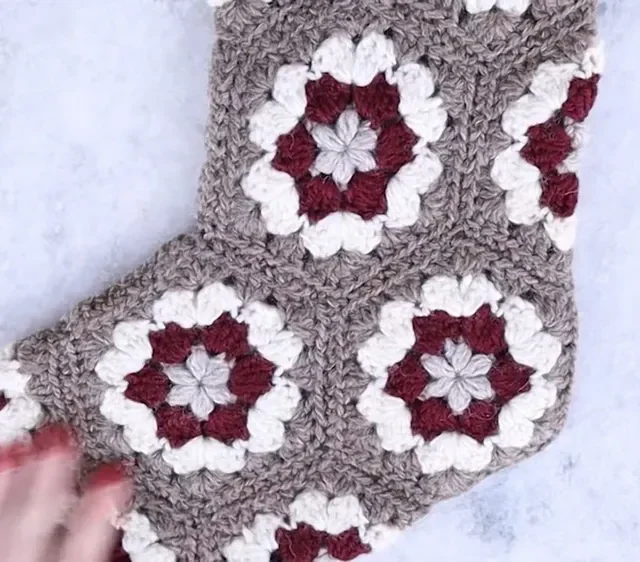
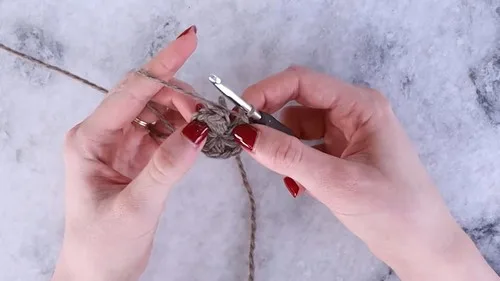
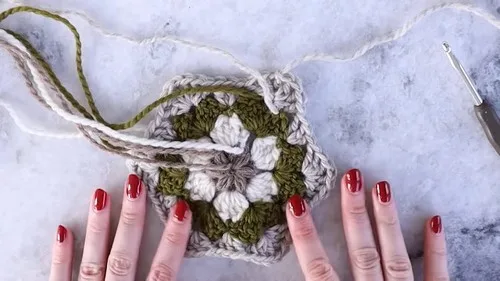
Six puff stitches packed around a magic ring give the center of each hexagon its texture: raised, bobbled, slightly stiff compared to the smooth double crochet rounds built on top. The puffs trap a little air and body, so the fabric reads as thick and textured at the core while the outer rounds flatten out into a plain, pliable grid. Run a finger across one motif and the contrast is obvious, dense knots in the middle, even rows toward the edge.
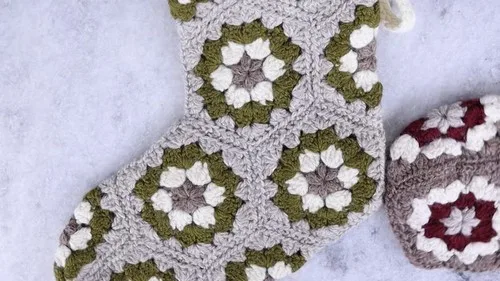
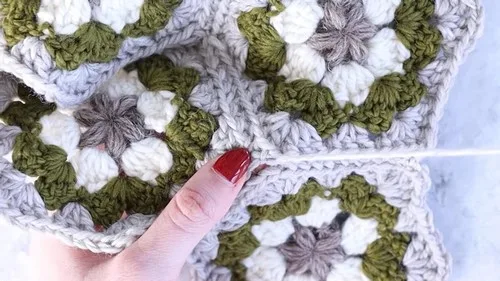
Fourteen full hexagons and three half hexagons tile together into the flat panel that becomes the stocking body, with the half shapes filling in the straight edges where a full hexagon would hang off the side. Fold the panel along the diagram, pin the folded edges with stitch markers, and seam with the tails already hanging from each motif instead of cutting new yarn. The result holds its shape under the weight of whatever gets tucked inside, especially once felted.
The swatch in numbers
- Rounds
- 6
- Parts
- 2
- Level
- Intermediate
- Time
- 4-6 hours
- Hook
- 5.5 mm
- Yarn
- Worsted
The yarn and the hook
Yarn Colors
- Tabby Cloud Mero, Olive, and Natural (1 ball of each for one stocking, 1 ball of Tabby Cloud Mero and Olive, and 2 balls of Natural for both stockings)
- 5.5 mm crochet hook
- Tapestry needle
- Removable stitch markers
Stitches, spelled out
puff puff stitchSquish.
Tension and hand-feel
After the first round of puffs, check that the magic ring has pulled fully closed and that the six puffs sit flush against each other without gaps showing between them.
If the ring stays loose or the puffs flare outward, tighten the pull tail further and snug the first stitch before starting round two, since a loose center carries through as a baggy middle in the finished hexagon.
Full Hexagon
Make 14Half Hexagon
Make 3How the texture is built
- Rounds 2 through 4 add double crochet stitches at six fixed corner points on each full hexagon, which is what turns the first round's circle into a flat six-sided panel rather than a dome.
- Half hexagons start from a chain-2 instead of six puffs and work the pattern only partway around, keeping them flat-edged so they sit along the straight sides of the stocking instead of the pointed sides a full hexagon would leave.
- Every round ends with a slip stitch join on a color change, stacking a visible ring of color at each round's edge and leaving a tail at each join that gets used later for seaming instead of woven in and discarded.
Putting the pieces together
If you swap the yarn
| Acrylic, worsted weight | Keeps the hexagons the same size on the same 5.5 mm hook but rules out the felting step entirely, so the fabric stays looser and the puffs stay softer and less defined. |
|---|---|
| Cotton, DK weight | Drops the drape and adds stiffness to the finished panel; drop to a 5 mm hook to keep the puff stitches from spreading into open, airy bobbles. |
| Wool blend, bulky weight | Grows each hexagon noticeably larger on a 6.5 mm hook, so fewer motifs fill the same stocking outline and the puffs sit higher and chunkier off the surface. |
Washing and blocking
Hand wash a merino-blend stocking in cool water; the fiber felts under heat and agitation, which is useful for the optional felting step but risky for an already-felted piece washed again on high heat.
Reshape the panel while still damp, pressing the hexagon corners flat and squaring the top opening before it dries, since wool holds whatever shape it dries into.
Store flat or loosely folded rather than hung from the loop under its own weight, and keep it away from damp storage where wool fiber can hold moisture and mat.
When it does not look right
- A hexagon cups instead of lying flat.
- A corner increase was skipped in rounds 2 through 4; check the stitch count at each of the six corners against the previous round and add the missing double crochet stitches.
- The puff stitches look flat and loose instead of raised.
- The magic ring was not tightened before closing round 1; pull the starting tail firmly before the slip stitch join so each puff has something taut to stand on.
- The folded stocking shape puckers along the fold line.
- Stitch markers were spaced unevenly before seaming; remove and reset them at matching points on each side using the assembly diagram, then seam only once they line up.
Close-ups
Questions people ask
Is one ball of each color enough for a single stocking?
Yes, one ball each of Tabby Cloud Mero, Olive, and Natural covers one stocking. Making a pair needs a second ball of Natural on top of that, with the other two colors still only needing one ball each.
Why only three half hexagons instead of more full ones?
The half hexagons fill the straight edges of the stocking panel where a full six-sided motif would overhang. Three is enough to square off those edges before folding.
Does the stocking have to be felted?
No, felting is listed as optional. Skipping it leaves the hexagons softer and the puff stitches more defined, while felting pulls the stitches tighter together for a firmer, denser panel.
Does the border need a different hook size than the hexagons?
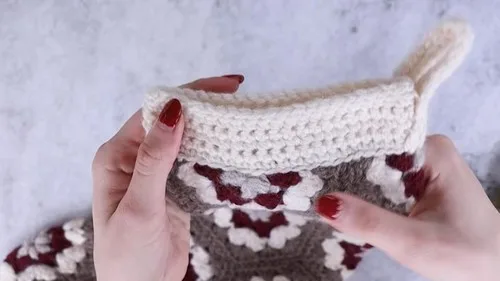
No, the pattern uses the same 5.5 mm hook throughout, from the first puff stitch to the top border and hanging loop.
New patterns, as they are filed
One short email when a batch lands, with the feel of each.