
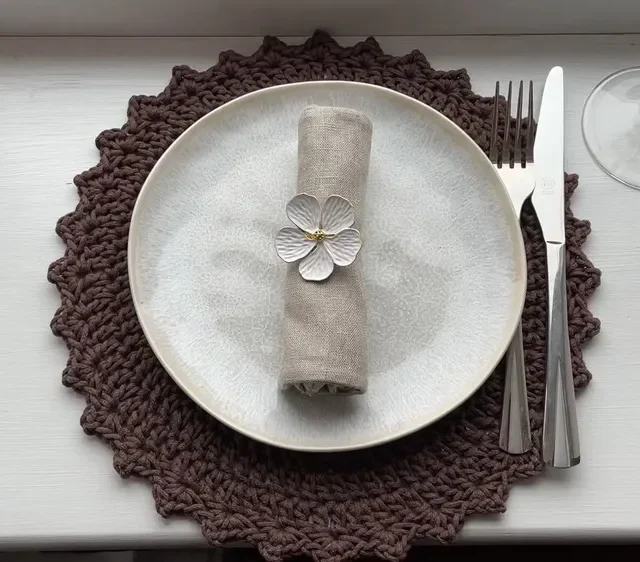
10 rounds · filed under drape · 6 of them
Home decor · added 28 Sep 2026
Round flat placemat crocheted from cotton macro cord
Double crochet builds a firm, corded disc under your hand — a round placemat that lies flat on the table.
- Skill
- Intermediate
- Time
- 4-6 hours
- Hook
- 5.5 mm
- Yarn
- Super Bulky
- Rounds
- 10
About this pattern
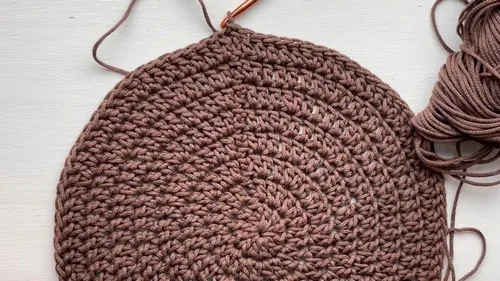
Under your hand this fabric reads as solid and corded, with none of the give you get from spun yarn. Double crochet worked round after round packs the stitches close together, so the surface feels ridged in concentric rings rather than smooth, and it holds its shape when you set a plate on top of it instead of sinking under the weight.
The shape is a flat disc, built from the center out until it is wide enough to sit under a full place setting. Use it as a single placemat under a plate and glass, stack a few in a basket by the table, or set one under a bowl on a counter where a soft mat would slide.
The swatch in numbers
- Rounds
- 10
- Parts
- 2
- Level
- Intermediate
- Time
- 4-6 hours
- Hook
- 5.5 mm
- Yarn
- Super Bulky
The yarn and the hook
- Cotton macro cord (one full skein should be enough for two placemats)
- 5.5 mm crochet hook
Stitches, spelled out
ch chain; st stitch; sts stitches; sl st slip stitch; sc single crochetDense; dc double crochetDrape.
Tension and hand-feel
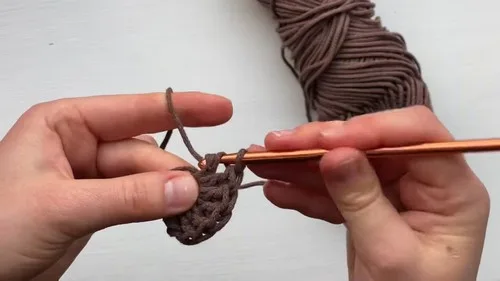
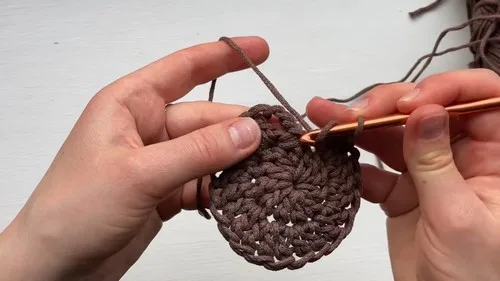
After Round 1, check that all 11 dc plus the joining slip stitch sit around the starting ring without the ring pulling tight or gaping open in the center.
If the circle already looks cupped or ruffled that early, the stitch count is off; pull back and recount before you move into Round 2.
Main Pattern
Edge
Tips:
To ensure a perfectly round placemat, avoid placing increases in the same positions as in previous rounds.
This pattern is for a 30 cm diameter placemat. For a larger placemat, add another round before the edge.
How the texture is built
- Round 1 places 11 dc into the starting chain, and Round 2 adds 2 dc into the first stitch and works the rest single, doubling the stitch count in stages so the disc grows outward instead of bunching at the center.
- Each round closes with a slip stitch into the top of the starting chain, which levels the round off into a true circle and gives you a clean spot to start the turning chain for the next round.
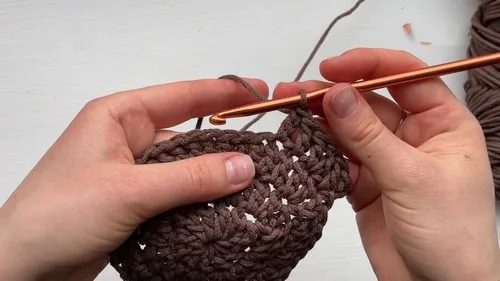
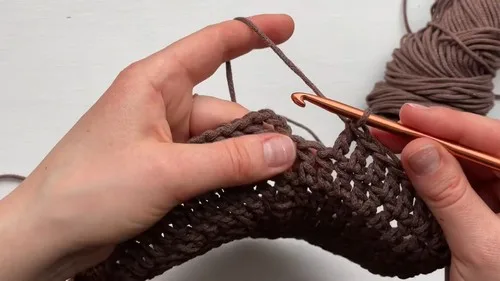
- The Edge section is worked in one continuous pass around the finished disc rather than in counted rounds, alternating 2-sc clusters with skipped stitches to ruffle the border without adding new increase math.
If you swap the yarn
| Cotton worsted weight, 4-ply | Produces a thinner, more pliable mat that drapes over a table edge instead of holding a stiff disc shape; move down to a 4.0-4.5 mm hook to keep the fabric from getting loose and see-through. |
|---|---|
| Cotton super bulky, single-strand | Keeps the corded firmness of the original but reduces bulk in your hand somewhat, working up faster with fewer rounds needed to reach the same width. |
| Jute or paper cord, macro weight | Gives a stiffer, coarser fabric with almost no drape at all, better suited to a trivet than a placemat you fold or stack; stick with the 5.5 mm hook or go slightly larger to keep stitches from packing too tight to work. |
Colorways
- Two-tone rings Work Rounds 1 through 3 in one color and Rounds 4 through 6 in a second color, then finish the Edge in whichever of the two colors you used last for a matched border.
Washing and blocking
Hand wash the cotton cord in cool water and avoid wringing it, since twisting puts stress on the corded plies and can leave kinks in the fabric.
Lay the disc flat to dry on a towel rather than hanging it, so the weight of the wet cord does not pull the round shape into an oval.
Store flat or rolled loosely rather than folded, since sharp creases in cotton cord are slow to relax back out.
When it does not look right
- The disc cups upward instead of lying flat
- Not enough stitches were added in the increase rounds, so the outer rounds are too tight for the growing circumference; check the stitch count against each round before continuing and add stitches evenly if you are short.
- The circle ruffles or waves at the edge
- Too many stitches were worked into the increase rounds, over-expanding the circumference; unravel back to where the waving starts and re-work with fewer increases per round.
- The center hole never closes tightly
- The starting chain-4 ring was left loose before Round 1 was worked into it; pull the tail firmly once the first round is complete to snug the center closed.
Close-ups
Questions people ask
Why is the Edge worked flat instead of in rounds like the Main Pattern?
The Edge is a single continuous pass of 2-sc clusters and skipped stitches around the finished disc, which lets the ruffle form without needing a separate increase count for each round. It also means you can adjust how tight or loose the ruffle sits by how firmly you pull the working cord as you go.
How much cord does one placemat actually use?
The materials list notes that one full skein of cotton macro cord is enough for two placemats, so a single mat uses roughly half a skein. Keep the second half aside if you want a matching pair.
Does this pattern work as a set of matching placemats?
Yes, since the yardage note is written for two mats from one skein, the Main Pattern and Edge can simply be repeated a second time. Keeping the same round counts and hook size both times keeps the pair matched in width.
New patterns, as they are filed
One short email when a batch lands, with the feel of each.