
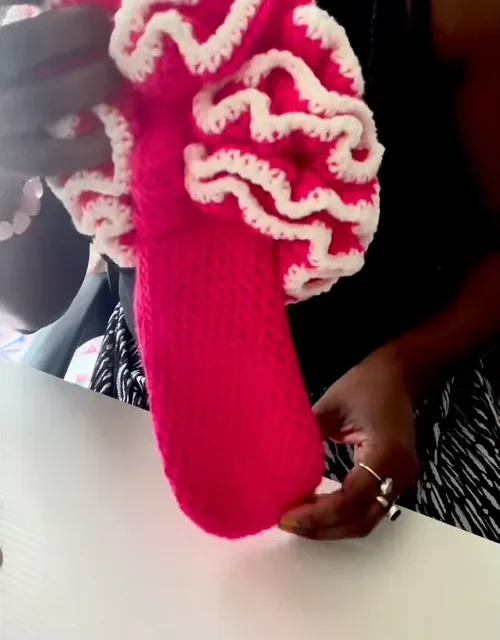
10 rounds · filed under dense · 8 of them
Slippers & Socks · added 15 Sep 2026
Ruffle-top crochet slipper socks with a folded hdc heel
Half double crochet builds a dense, cushioned sole; tapered single crochet and a flared triple crochet ruffle finish these slipper socks.
- Skill
- Intermediate
- Time
- 4-6 hours
- Hook
- 5 mm
- Yarn
- Worsted
- Rounds
- 10
About this pattern
Under your hand, the sole of this slipper starts out dense and springy, the kind of fabric that holds its shape when you press a thumb into it. That firmness comes from the half double crochet worked in a tight oval at the start — each stitch packs closer than a single crochet but without the height of a double, so the base stays thick enough to cushion a bare foot on a cold floor without turning stiff or board-like.
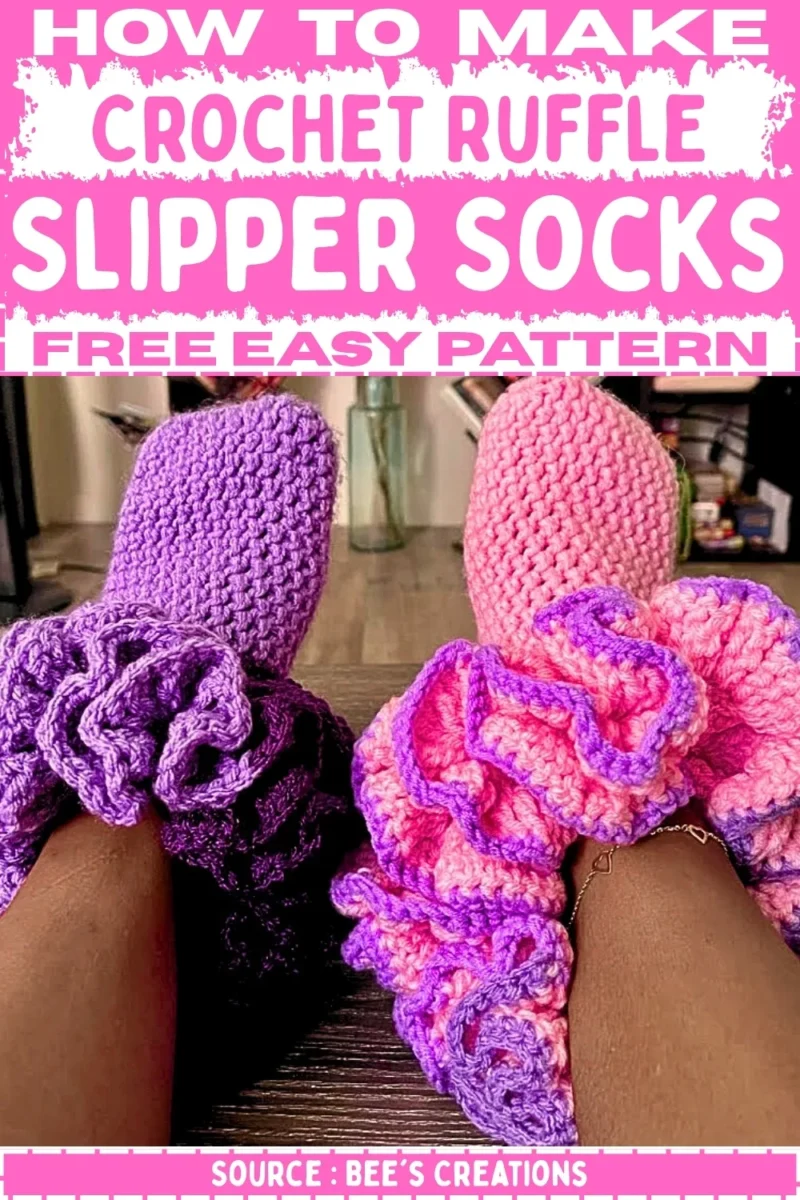
The finished piece is a low, close-fitting sock: a folded and seamed hdc sole and heel, a tapering single crochet ankle, and a ruffled collar of triple crochet shells that flares open at the top like a cuff. Once assembled, it slides straight onto the foot — no laces, no closures — and works equally well pulled up over the ankle or left loose around it.
The swatch in numbers
- Rounds
- 10
- Parts
- 4
- Level
- Intermediate
- Time
- 4-6 hours
- Hook
- 5 mm
- Yarn
- Worsted
The yarn and the hook
- 100% acrylic yarn (approx. 252 yards per ball), 4 balls
- Scrap white yarn for the border
- 5 mm crochet hook
- Measuring tape, scissors, threading needle, stitch markers (optional)
Stitches, spelled out
sc single crochetDense; hdc half double crochetDense; tr treble crochetDrape.
Tension and hand-feel
After working the first few rows of Part 2, lay the heel flat and count rows against the sizing note — 18 rows for a size 6, 20 for a size 7, 22 for a size 8 — to confirm you are tracking toward the right foot length.
If your row count runs short or long against that target, add or remove full repeats of Row 2 before closing the heel rather than adjusting stitch count mid-row, since the hdc fabric holds its width best when the row pattern stays unbroken.
Part 1
Size 6 – 18 rows Size 7 – 20 rows Size 8 – 22 rows Size 9 – 24 rows The Toe
Part 2
The Ankle
Part 3
Part 4
How the texture is built
- The base oval gets its curved ends from stitch multiplication rather than separate shaping: 4 hdc worked into the last stitch of the starting chain and 2 hdc into the last stitch of the return side round the toe and heel of the sole in a single pass.
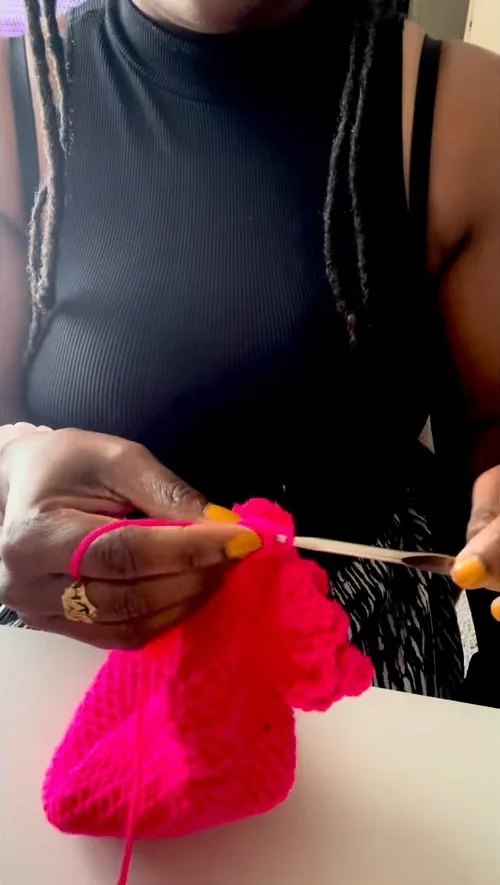
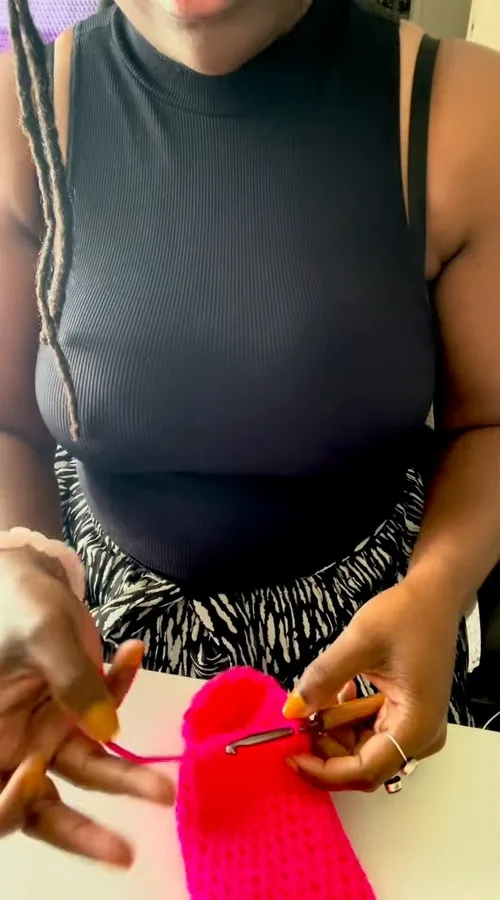
- Part 2 is worked flat in turned rows instead of in the round, which lets the rectangle of fabric be folded lengthwise and seamed with sc through both layers — the seam itself forms the back heel line of the sock.
- The ruffle in Part 4 gets its flare from working 5 tr into every single stitch of the previous round, multiplying the stitch count fivefold each pass; a second optional round repeats that multiplication on top of the first for a fuller, more layered edge.
If you swap the yarn
| Cotton, worsted weight | Produces a heavier, less springy sole with a crisper, flatter ruffle that holds its flare more stiffly than acrylic; stay with the same 5 mm hook but expect a firmer, less cushioned fabric underfoot. |
|---|---|
| Wool-blend, worsted weight | Adds stretch and loft to the ankle and ruffle rounds, letting the sock ease over the heel more easily; the 5 mm hook still suits this weight, and the ruffle will drape softer and fall more loosely than the acrylic original. |
| Acrylic or acrylic-blend, bulky weight | Thickens the sole fabric considerably and shortens working time, but requires sizing up to a 6 mm or larger hook and will likely need fewer stitches or rows to match the same foot length. |
Colorways
- Contrast trim Keep the sole, heel, and ankle in a single main color, work both ruffle rounds in a second accent color, then use the scrap white yarn as written for the single crochet border so the ruffle edge is outlined in white.
Washing and blocking
Hand wash or machine wash on a gentle, cool cycle, since the acrylic yarn will not felt but can lose its ruffle shape if agitated too hard.
Lay flat to dry rather than hanging, so the weight of the wet tr shells does not stretch the ruffle out of shape.
While still damp, smooth the ruffle rounds open with your fingers and let them dry flat to keep the flare crisp; store the pair flat or loosely rolled rather than folded on the seam line.
When it does not look right
- The ruffle lies flat instead of flaring outward
- One or more repeats were worked as a single tr instead of the full 5-tr shell; check that every stitch around Part 4 has 5 tr worked into it before moving to the next round.
- The heel seam puckers or pulls the sole out of shape
- The single crochet seam through both layers was worked too tightly; loosen tension on the seaming stitches and check that both layers are aligned edge to edge before seaming.
- The ankle opening is too tight or too loose for the foot
- The decreases at the two curves in Part 3 were miscounted, changing the stitch total round to round; recount so each round drops by exactly one stitch as instructed (11 down to 10) before continuing.
Close-ups
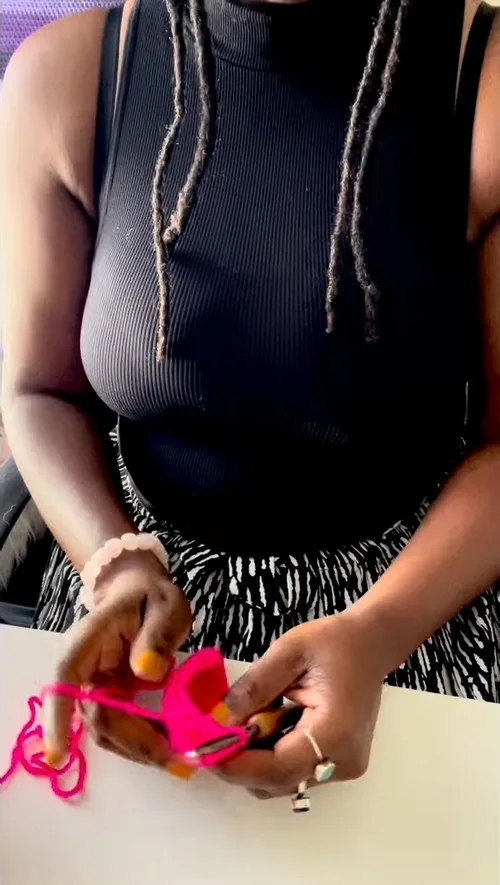
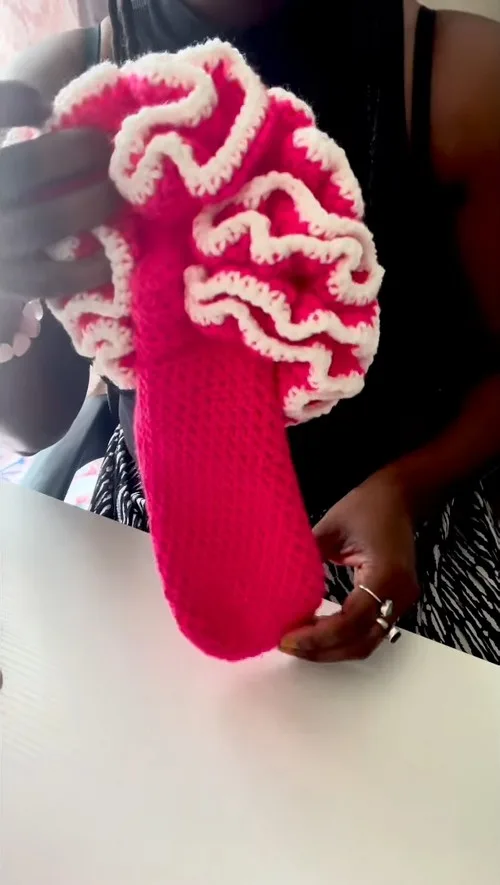
Questions people ask
How do you know which size you are making?
Size is set by how many rows you work in Part 2 before closing the heel: 18 rows for a size 6, 20 for a size 7, and 22 for a size 8. Measure the flat heel piece against your foot length as you go rather than waiting until it is seamed.
Is the second ruffle round necessary?
No, Round 2 of Part 4 is marked optional and only adds extra volume to the flare. Working Round 1 alone still produces a complete, finished ruffle edge.
Do you need the white scrap yarn for anything other than the border?
The scrap white yarn is used only for the optional single crochet border worked around the outer edge of the ruffle after Part 4 is complete. If you skip the border, you will not need it at all.
How much yarn does one pair of slipper socks use?
The materials list calls for 4 balls of worsted-weight acrylic at approximately 252 yards each, which covers both slippers including the ruffle rounds. Keep a small amount of scrap white yarn aside separately if you plan to add the border.
New patterns, as they are filed
One short email when a batch lands, with the feel of each.