
11 rounds · filed under dense · 7 of them
Amigurumi · added 6 Oct 2026
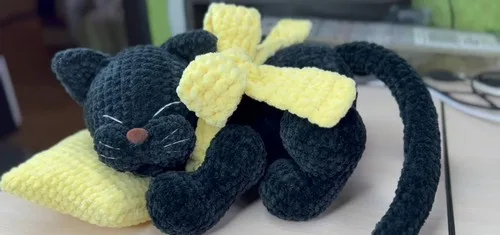
Crochet a sleeping cat amigurumi with a curled tail
Single crochet builds a dense, firm fabric for this curled sleeping cat amigurumi, with a flat sewn muzzle and a long turned tail.
- Skill
- Intermediate
- Time
- 4-6 hours
- Hook
- 4 mm
- Yarn
- Worsted
- Rounds
- 7
About this pattern
Single crochet carries the whole piece: tight, interlocking stitches with almost no gap between them, so the fabric comes out dense and firm under the fingers. That tightness is exactly what holds stuffing in place without the filling showing through or poking out between stitches. Worked in continuous increasing rounds, the fabric also curves smoothly rather than puckering, which matters once the muzzle and ears need to sit flat against the head. Expect a thick, slightly stiff hand rather than anything soft or floppy; the structure does the work, not the yarn.
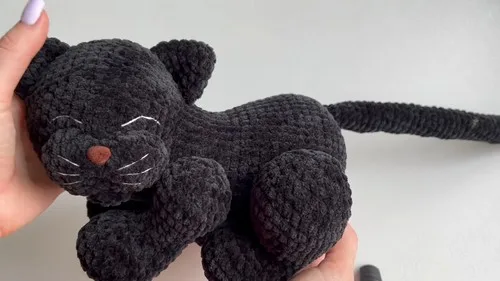
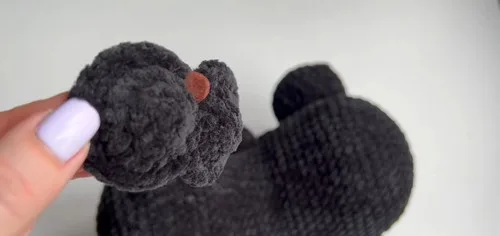
Reusing the bear's body, head, and paws means this cat keeps that same rounded, curled-up silhouette, with the muzzle, ears, and tail doing the work of turning it into a cat. The muzzle is a separate flat disc sewn onto the face with the nose seated into it; the ears are a matching pair set level with each other and in line with the tail; the tail itself is a long narrow tube seated slightly higher than the ears for a snug fit. Sew each part on before adding embroidered eyes, mouth, and whiskers.
The swatch in numbers
- Rounds
- 7
- Parts
- 4
- Level
- Intermediate
- Time
- 4-6 hours
- Hook
- 4 mm
- Yarn
- Worsted
The yarn and the hook
- Crochet hook number 4 (4 mm)
- Yarn of choice (color and type per preference)
- Filler material for stuffing
- Needle and thread for sewing parts together
Stitches, spelled out
sc single crochetDense.
Tension and hand-feel
After round 3 of the muzzle and ear pieces, count stitches rather than reach for a ruler: both should land on exactly 18 SC, since no finished measurement is given.
If the count runs short or long, the disc will either cup inward or ripple at the edge, so drop down or go up a hook size until the stitch count matches exactly.
Foundation Row
Create a slip knot, chain 2. In the first chain, make 6 single crochets (SC).
Foundation Row
Make a slip knot, chain 2. Into the first chain, 6 SC.
Foundation Row
Create a slip knot, chain 2, into the first chain make 5 SC.
Finish
Slip stitch and leave a long end for sewing.
This completes one part of the muzzle.
For the second part, repeat steps 1-3 but do not slip stitch or cut the yarn at the end.
To connect the two parts: Start from the third stitch of the first piece, crochet around in SC to form the muzzle shape.
Skip two stitches at the beginning of the second part and continue with 16 SC around the second part.
Cut the yarn, leaving a long tail for sewing, and sew the opening between the two muzzle parts.
How the texture is built
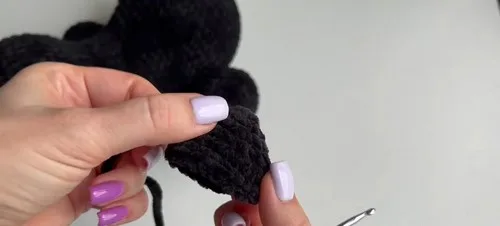
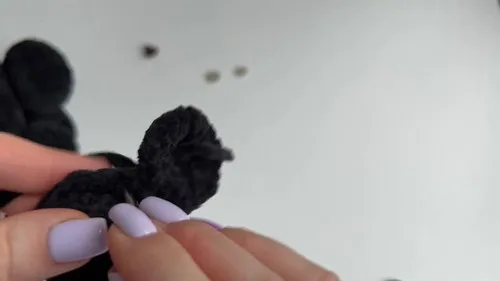
- The ear disc increases in every stitch during round 1 (6 to 12 SC) but only every other stitch in round 2 (12 to 18 SC), spreading the growth so the fabric lies flat instead of cupping into a bowl.
- The muzzle piece is finished with a slip stitch and a cut tail rather than continuing in rounds, which closes the disc into a firm, stuffable pad instead of leaving an open edge.
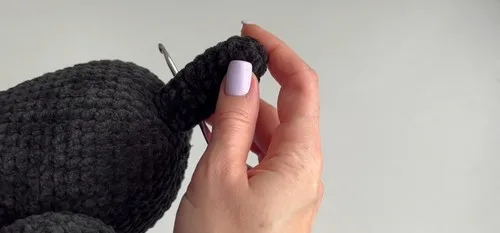
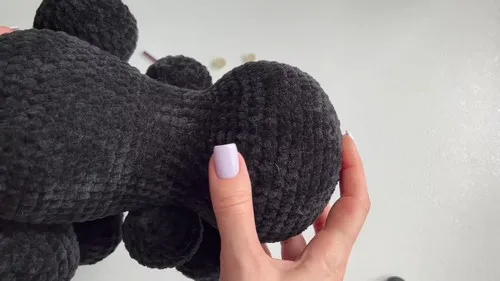
- The tail is worked flat in rows for 37 repeats of 10 SC with no increase, keeping the tube narrow and even along its whole length; turning it right side out partway through hides the rougher wrong-side texture so the outer surface stays smooth.
Putting the pieces together
If you swap the yarn
| Cotton, DK weight | Produces a smaller, slightly stiffer finished cat with crisper stitch definition and less loft for the stuffing to push against; drop to a 3.5 mm hook to keep the fabric dense. |
|---|---|
| Acrylic, chunky weight | Same stitch counts fill out to a larger cat with a thicker, plumper fabric; move up to a 5 mm hook and use slightly more filler so the bigger stitches don't gap over the stuffing. |
| Alpaca-blend, worsted weight | Adds a soft halo over the stitches, softening the tail's drape and blurring the sc texture; keep the 4 mm hook but work a touch looser since the fiber has more give than a plain acrylic. |
Colorways
- Oatmeal Tabby Body, head, and paws in oatmeal; muzzle in ivory; ears and tail in a warm taupe, so the dense single crochet fabric shifts tone gently without hard contrast.
- Charcoal and Cream Body, head, and tail in charcoal gray; muzzle in cream; both ears in matching charcoal, giving the firm fabric a sharp two-tone break at the face.
Washing and blocking
Hand wash in cool water regardless of fiber chosen; the tight single crochet fabric traps water inside the stuffing, so wringing or machine washing can distort the firm shape.
Lay flat to dry with the stuffing redistributed evenly, since a dense sc fabric takes a long time to dry through and hanging will stretch the heavier stuffed sections.
Reshape the ears and muzzle by hand while still damp, pressing them back into their flat disc shape, then store the finished cat upright rather than squashed so the firm fabric doesn't hold a crease.
When it does not look right
- The muzzle or ear disc cups instead of lying flat.
- The increases are likely bunched together instead of spread evenly across the round; rework the round keeping the increase spacing given for row 2 and row 3 so the fabric grows outward rather than upward.
- The tail looks twisted or shows its seam after turning it right side out.
- Turning happens too late if the tube has already set into its working shape; turn it within the first 4 or 5 rows as described, while the fabric is still loose enough to flip cleanly.
- The two ears come out different sizes or sit crookedly on the head.
- One ear likely stopped short of the full 18 SC in row 3; recount both before sewing, then measure out from the tail as a center point so the pair sits equidistant and level.
Close-ups
Questions people ask
Can the sleeping bear body really be reused for this cat?
Yes, the body, head, and paws follow the same shaping as the bear pattern without changes. Only the muzzle, ears, tail, and embroidered face are specific to the cat.
How many ears does the first foundation piece make?
Work the piece twice to get a matching pair, each one finishing round 3 at exactly 18 SC. Attach them level with each other and in line with the tail across the head.
Why is the tail worked flat instead of joined into rounds?
Working it in rows for 37 repeats keeps the tube narrow and lets it be turned right side out partway through, which hides the rougher wrong-side texture. The result is a smooth outer surface along the whole length.
Where exactly should the tail sit relative to the ears?
Stitch the tail slightly higher than the line of the ears so it sits snug against the body rather than drooping. This placement keeps the curled, sleeping posture intact once everything is sewn on.
New patterns, as they are filed
One short email when a batch lands, with the feel of each.