

60 rounds · filed under dense · 43 of them
Amigurumi · added 16 Sep 2026
Amigurumi bear with a wire-stem daisy
Single crochet worked in tight spirals builds a dense, huggable bear amigurumi with a wire-stemmed daisy accessory.
- Skill
- Intermediate
- Time
- 4-6 hours
- Hook
- 4 mm
- Yarn
- Worsted
- Rounds
- 52
About this pattern
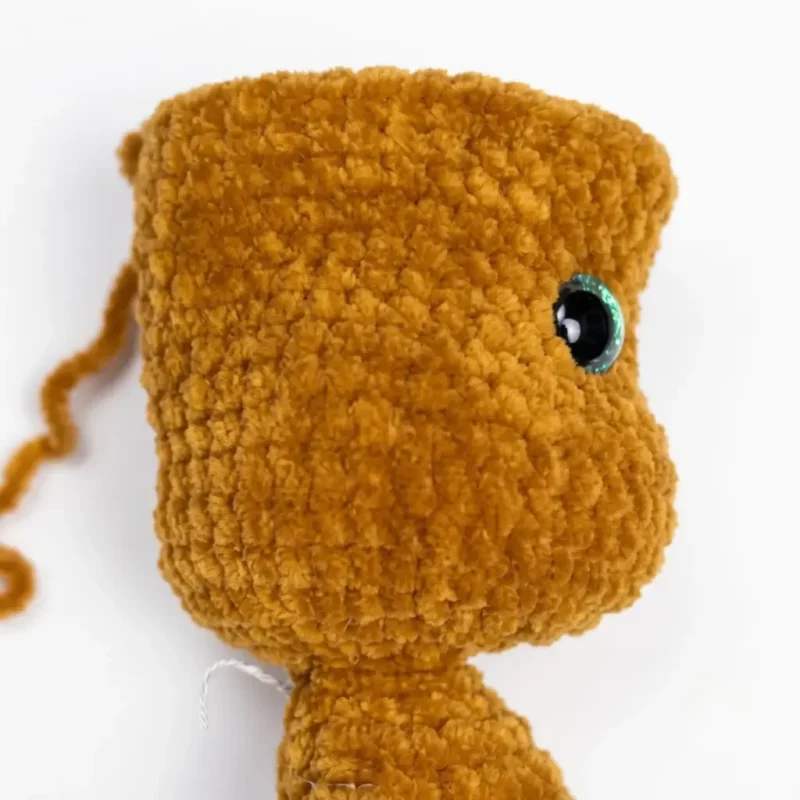
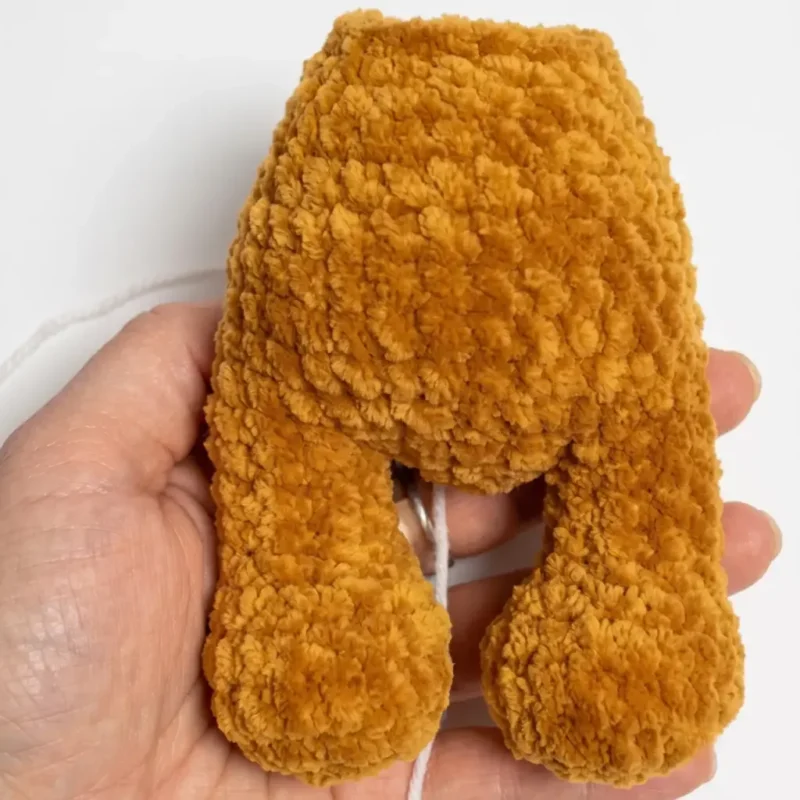
Worked entirely in single crochet, this bear comes out dense and closed-faced under the hand — the plush or chenille yarn fills the gaps between stitches so no fiberfill shows through, even before the piece is fully stuffed. Single crochet packed into a tight spiral is what does this: each stitch sits close to the next with almost no drape, so the fabric holds its shape rather than sagging around the stuffing.
The body builds from a flat magic ring into a rounded, fully three-dimensional form across the head, body, arms, legs, and tail, each part stuffed and joined by sewing rather than worked in one piece. Once the pieces are made, the job is assembly: attach limbs and ears to the head and body by hand, seat the safety eyes before closing the head, and wire-stem a daisy to tuck into a paw or sew at the chest.
This pattern is written in US crochet terminology. The body, head, limbs, and tail are worked in continuous spirals — do not join or chain between rounds unless instructed. The legs begin with a flat foundation row before joining into rounds. Stitch count is given at the end of each round in parentheses, like this: (12). Stuff firmly but evenly, shaping the belly, bottom, muzzle, and cheeks as you go, adding stuffing gradually rather than all at once. The arms and legs are worked unstuffed or lightly stuffed and joined directly into the body as you crochet, rather than sewn on afterward.
The swatch in numbers
- Rounds
- 52
- Parts
- 8
- Level
- Intermediate
- Time
- 4-6 hours
- Hook
- 4 mm
- Yarn
- Worsted
The yarn and the hook
Yarn
- Worsted weight (size 4) plush/chenille-style yarn, approximately 100g (about 120m) in brown for the bear; small amounts of yellow, white, and green for the daisy
Hook
- US size G-6 (4 mm)
Safety eyes
- 16mm, 1 pair
- Fiberfill stuffing
Floral wire
- 35cm, copper, 1.5mm gauge (for the daisy stem)
- Stitch marker
- Yarn needle (large eye, for sewing and embroidery)
- Scissors
- Strong fabric/craft glue (for securing eyes or wire ends, optional but recommended)
Stitches, spelled out
ch Chain; dec Decrease (invisible decrease recommended); inc Increase (2 sc in same stitch); MR Magic RingDense; sc Single CrochetDense; sl st Slip Stitch; st(s) Stitch(es).
Tension and hand-feel
Gauge is not critical for this project; just be sure your tension is tight enough that stuffing doesn’t peek through the stitches.
If the disc cups or the center gapes open, the stitches are too loose for the plush yarn to hide stuffing later — go down a hook size and work the next round again before continuing.
Arms (make 2)
Tail
Ears (make 2)
Nose
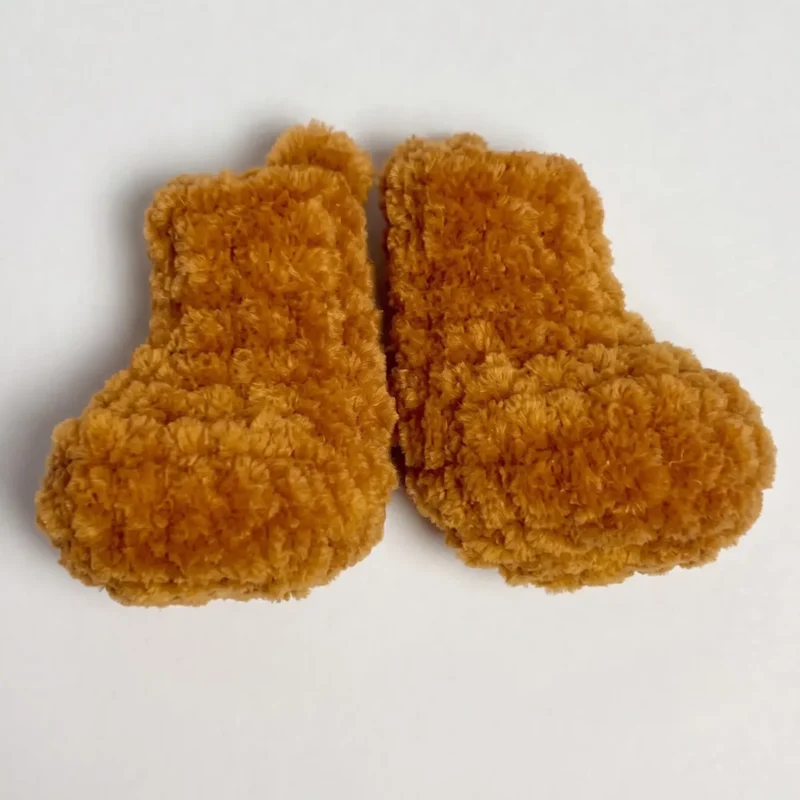
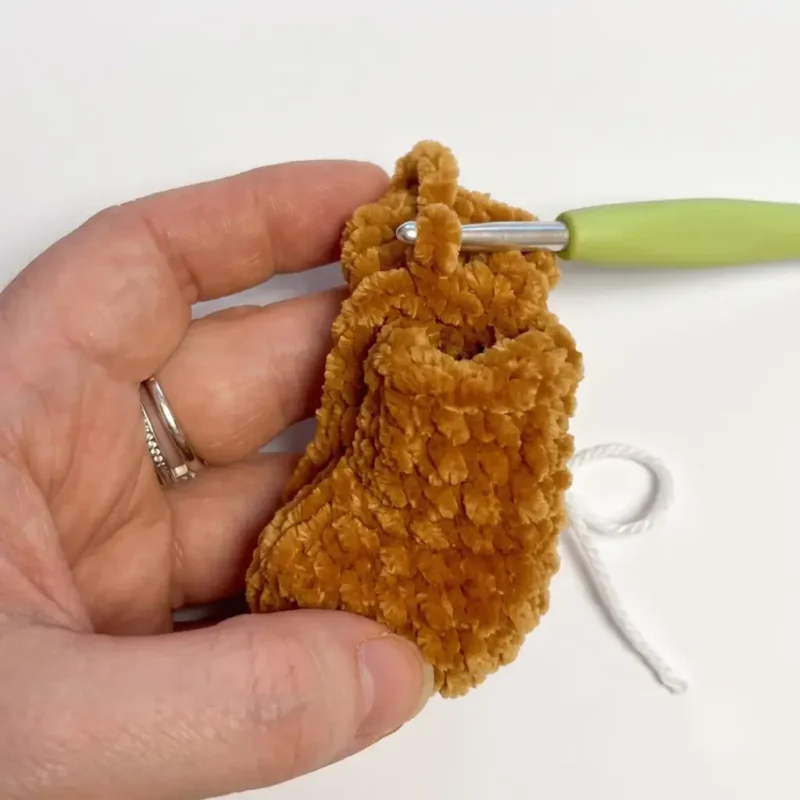
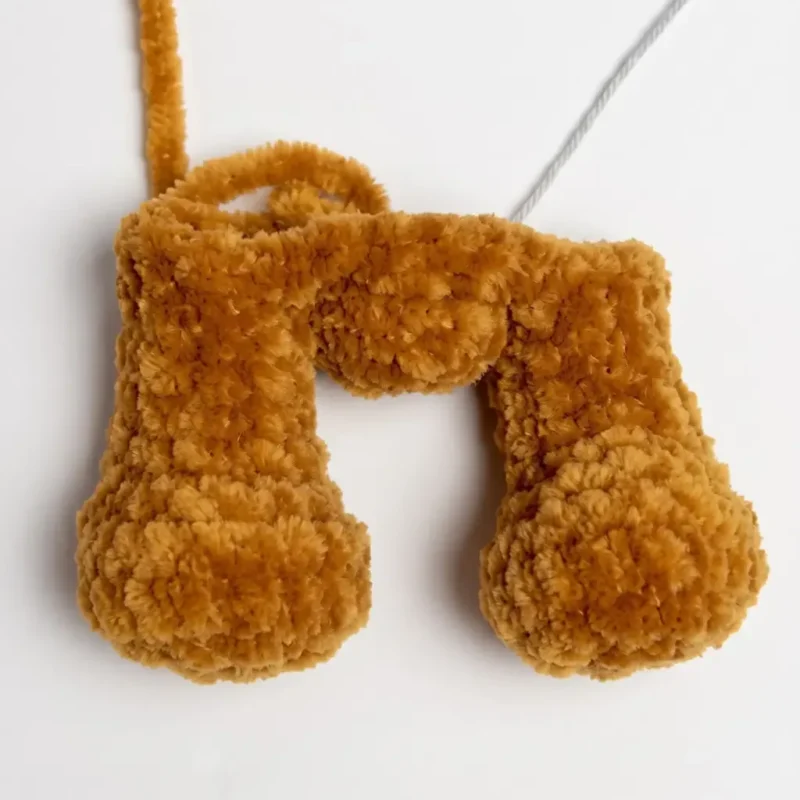
Legs / Feet (make 2)
Body
Head
Daisy Center (make 2)
How the texture is built
- The legs are the only part that starts flat: Row 1 is worked back and forth around a foundation chain of 4, building an oval sole before Round 2 joins it into continuous rounds — this is what lets the foot sit flat under the leg instead of tapering to a point.
- The arms increase only in Round 1 (6 to 12), then run straight in single crochet for the remaining rounds, so the rounded increase sits at the shoulder end and the rest of the arm is a plain tube.
- The daisy center is made as two matching 2-round pieces rather than one, so the curled wire loop can be sandwiched between them and locked in place when Round 2 crochets both layers and the wire together in a single pass.
Putting the pieces together
If you swap the yarn
| Cotton, worsted weight (size 4) | Stitches show more definition and the fabric loses the soft pile of chenille, so the bear reads crisper and the daisy petals hold a firmer curve; drop to a smaller hook such as F-5 (3.75mm) to keep the fabric dense enough to hide stuffing. |
|---|---|
| Acrylic, worsted weight (size 4), single-ply plush | Keeps the same soft, low-drape surface as the chenille-style yarn called for, but comes lighter on the skein, so stuffing goes in easier and the finished bear weighs less in the hand; the G-6 (4mm) hook stays the same. |
| Wool-blend, worsted weight (size 4) | Adds spring and stitch memory, which helps the daisy petals keep their chained loop shape without blocking, but the fabric felts if machine washed, so wash it as if it were delicate regardless of how the bear yarn is cared for. |
Colorways
- Meadow Brown Brown carries the body, head, arms, legs, and tail; yellow fills both Daisy Center rounds; white forms the chained petals; green wraps the wire stem from base to the curled loop.
- Contrast Muzzle Brown stays on the body, head, arms, and legs, but a touch of the white set aside for petals also lines the inner ears for a bit of contrast; yellow still fills the daisy center and green still wraps the stem.
Washing and blocking
Hand wash in cold water and avoid heavy agitation — plush and chenille-style yarn sheds fiber when scrubbed or spun.
Lay the bear flat to dry rather than tumbling it; heat and tumbling crush the pile and flatten the texture that makes the fabric feel soft.
Reshape ears and petals by hand while still damp, then store the finished bear unweighted and upright so the stuffed rounds keep their shape.
When it does not look right
- The foot does not sit flat and the leg
- Row 1 of the leg was likely worked unevenly around the foundation chain — recount to 10 stitches before joining into Round 2, and check the increases land exactly where the pattern places them.
- The daisy petals curl under instead of
- The chain-10 loops were pulled too tight or the slip stitches are packed too closely — loosen tension on the chains and space the slip stitches evenly around the joined center edge.
- Fiberfill peeks through the stitches
- The single crochet is too loose for the plush yarn to close the gaps — tighten tension or drop to a smaller hook so the spiral stays dense enough to hold the stuffing in.
Close-ups
Questions people ask
Why do the legs start as rows instead of rounds like the rest of the bear?
The legs open with a flat foundation row worked around a chain of 4, building an oval base before joining into continuous rounds. This flat start is what gives the foot a sole to stand on, unlike the body, head, arms, and tail, which spiral from a magic ring straight into rounds.
Can the safety eyes be swapped for embroidered ones?
Yes — the 16mm safety eyes can be replaced with satin-stitched eyes worked directly into the head fabric before stuffing. Embroidered eyes sit flatter and are worth considering if the bear is meant for a very young child, since there is no hardware to work loose.
How does the wire stay hidden inside the daisy without poking through?
The wire is wrapped in green yarn and curled into a small loop no more than 1cm across, then sandwiched between the two Daisy Center pieces. Round 2 crochets around the edge, catching both layers and the wire loop together so nothing sharp is exposed.
How much yarn is needed to finish the whole bear and daisy?
Around 100g (about 120m) of worsted weight plush or chenille-style yarn in brown covers the bear itself, with only small amounts of yellow, white, and green needed for the daisy center and petals. The stem uses a short 35cm length of 1.5mm copper wire, wrapped rather than crocheted.
New patterns, as they are filed
One short email when a batch lands, with the feel of each.