
47 rounds · filed under dense · 34 of them
Amigurumi · added 16 Sep 2026
How to crochet a chubby bumblebee amigurumi
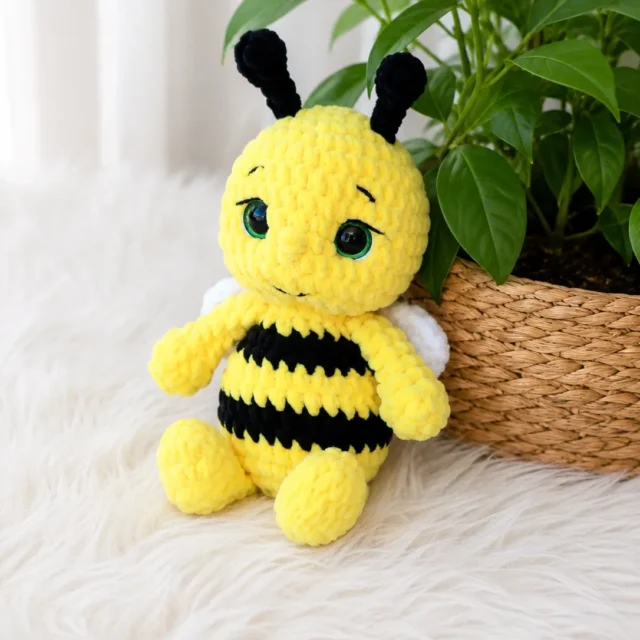
Single crochet in chenille yarn builds a dense, plush shell for this chubby bumblebee amigurumi.
- Skill
- Intermediate
- Time
- 4-6 hours
- Hook
- 3.5 mm
- Yarn
- Bulky
- Rounds
- 38
About this pattern
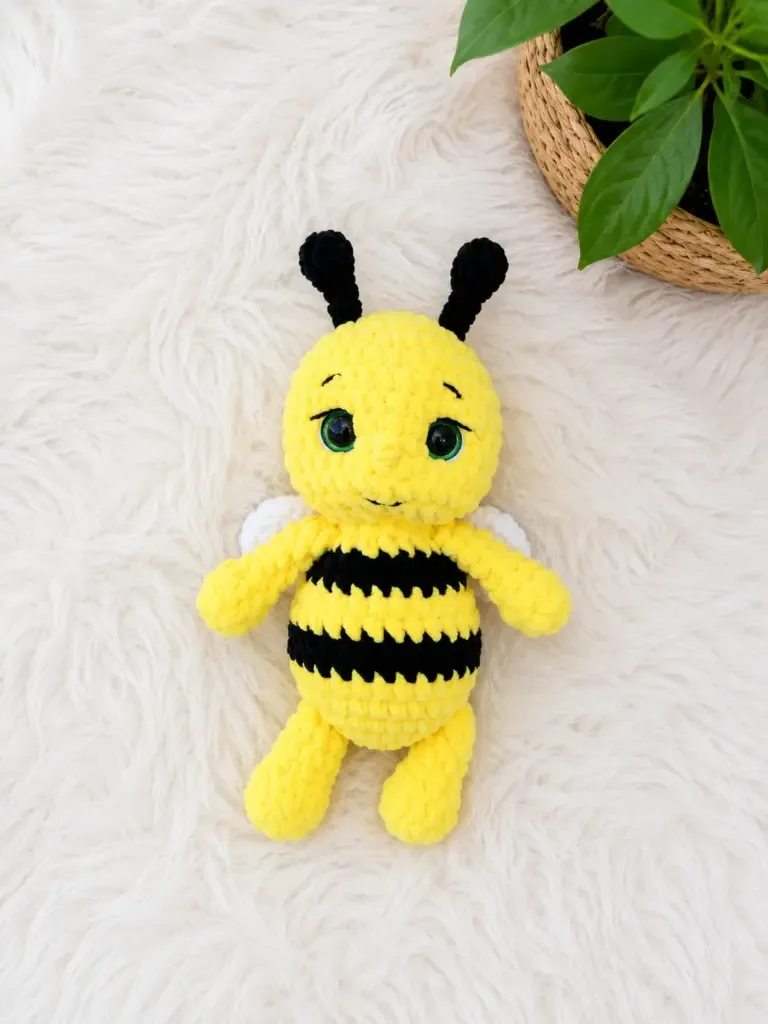
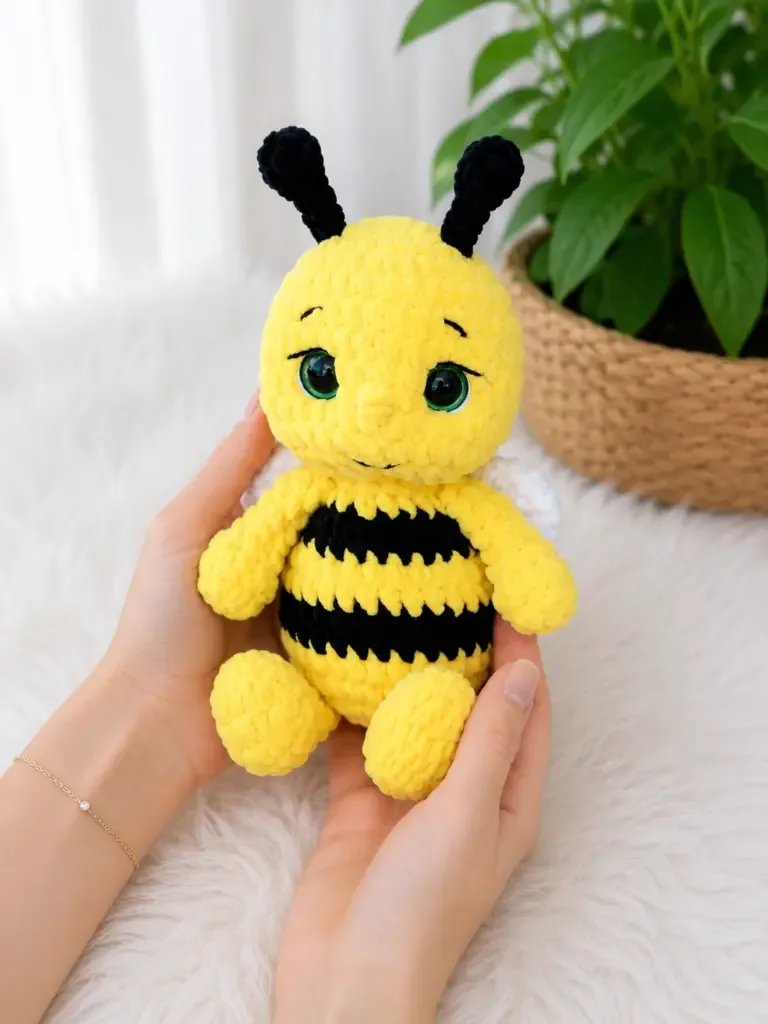
A chubby little bumblebee with velvet-soft yarn, glossy eyes, and tiny folded wings — this is the kind of handmade gift that gets kept for years. Whether you're making it for a nursery shelf, a nature-loving child, or simply because you want something cheerful on your hook this weekend, this bumblebee delivers big personality in a compact, satisfying project.
The pattern is beginner-friendly and works up quickly, using basic amigurumi shaping throughout. You'll build the head, body, arms, legs, stinger, wings, and a pair of little antennae — all separate pieces that come together into one irresistible little bee.
This pattern is written in US crochet terminology. All pieces are worked in a continuous spiral (no joining, no turning), except the wings and antennae, which begin with a foundation chain. Stitch counts are given at the end of each round in parentheses: (##).
The swatch in numbers
- Rounds
- 38
- Parts
- 7
- Level
- Intermediate
- Time
- 4-6 hours
- Hook
- 3.5 mm
- Yarn
- Bulky
The yarn and the hook
Yarn
- Yarn Art Dolce (or any bulky-weight velvet/chenille yarn) in yellow (1 skein), black, and white
Hook
- E-4 / 3.5 mm
Safety eyes
- 16 mm, shiny/glossy finish — 2 total
Stuffing
- Polyester fiberfill
Stitch markers
- 1–2 locking markers
- Yarn needle / tapestry needle
- Scissors
- Sewing thread and hand-sewing needle (for attaching parts)
Stitches, spelled out
ch Chain; dc Double CrochetDrape; dec Invisible Decrease (insert hook under front loops of next 2 sts, pull up a loop, yarn over, pull through all 3 loops); hdc Half Double CrochetDense; inc Increase (2 sc in the same stitch); MR Magic RingDense; sc Single CrochetDense; sl st Slip Stitch; st / sts Stitch / Stitches.
Tension and hand-feel
Gauge is not critical for this project; consistent, tight tension is more important to prevent gaps in the fabric.
Head
After Round 9 is complete, insert safety eyes between Rounds 9 and 10, spacing them 7 stitches apart. Secure the backings firmly.
Body
Begin with yellow yarn.
Arms (make 2)
Legs (make 2)
Stinger
Wings (make 2)
Use white yarn.
Foundation chain: ch 6. Starting in the 2nd ch from the hook, work as follows along the chain: sc, hdc, 2 dc. In the last chain stitch, work 8 dc (this creates the rounded tip of the wing). Continuing along the opposite side of the foundation chain, work: 2 dc, hdc, sc.
Fasten off and leave a yarn tail. Sew wings to the back of the Body.
Antennae (make 2)
Use black yarn.
Foundation chain: ch 7. In the 2nd ch from the hook, work a Puff Stitch using 3 dc (yarn over, insert hook, pull up a loop — repeat 3 times, then yarn over and pull through all loops on hook). Ch 2, then sl st into the foundation chain to anchor the puff tip. Work 4 sl sts back along the chain.
Fasten off and leave a yarn tail. Sew antennae to the top of the Head.
Putting the pieces together
When it does not look right
- Chenille/velvet yarn and stitch visibility
- Yarn Art Dolce and similar velvet yarns are beautiful but can make it hard to see individual stitches. Work in good lighting and use a stitch marker at the beginning of every round without exception — it's the only reliable way to track your count when the stitches blend together.
- Getting a clean invisible decrease
- velvet yarn, the invisible decrease is especially important because the fabric shows puckers more readily than with smooth yarn. Always insert your hook under the front loops only of the next two stitches before pulling through. It keeps the surface smooth and the stitch count honest.
- Stuffing density
- The Body and Head should feel firm — not rock-hard, but with no soft squishy pockets. Underfilling leaves the finished bee looking deflated once the pieces are sewn together. Add stuffing in small amounts as you decrease rather than trying to pack it in at the end.
- Folding and closing the arms and legs flat
- When you sc through both layers to close the arms and legs, make sure the seam sits centered on the piece rather than at the side edge. This keeps the arms and legs pointing naturally forward rather than twisting to one side when sewn on.
- Antennae placement
- The puff-tipped antennae can be a little fiddly to attach neatly. Thread the yarn tail onto your needle and sew down through the Head and back up a stitch away, pulling snugly before knotting off. This keeps each antenna from flopping sideways over time.
Close-ups
Questions people ask
Can I use a different yarn instead of Yarn Art Dolce?
Yes — any bulky-weight velvet or chenille yarn will work beautifully and give you that same plush, velvety texture. If you substitute with a smooth bulky yarn, the finished bee will still look great but will have a slightly different feel. Just make sure your yarn weight matches so the finished size stays consistent.
When exactly should I insert the safety eyes?
Insert the safety eyes after completing Round 9 of the Head, positioning them between Rounds 9 and 10 and spacing them 7 stitches apart. Attach the backings firmly.
New patterns, as they are filed
One short email when a batch lands, with the feel of each.