
15 rounds · filed under dense · 10 of them
Amigurumi · added 15 Sep 2026
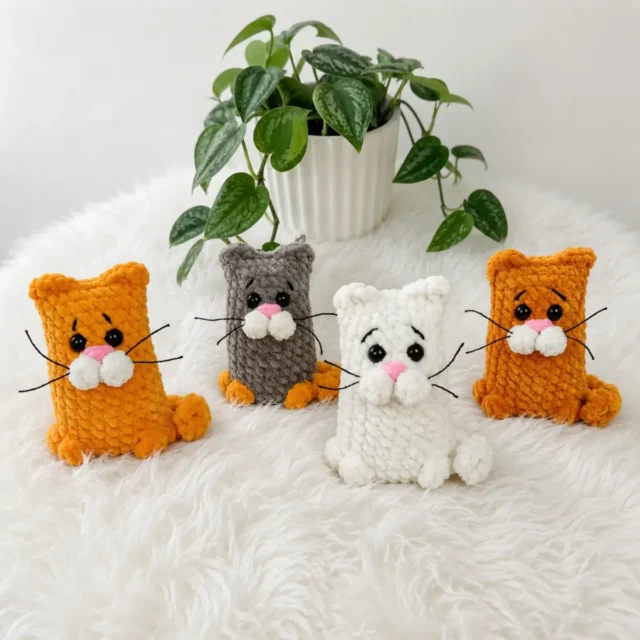
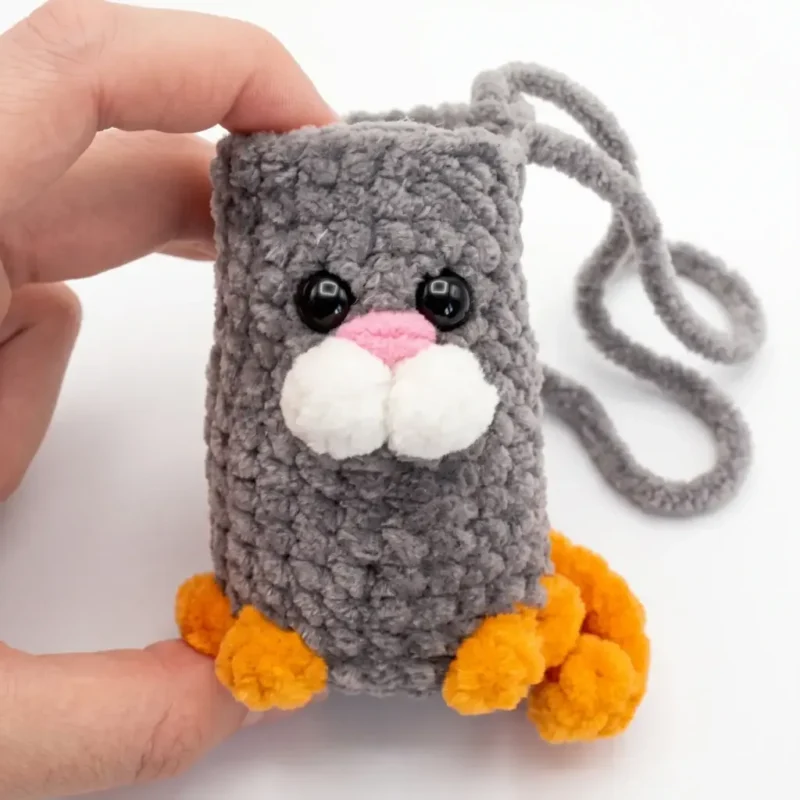
Chubby cat keychain amigurumi in velvet yarn
Tight single crochet in velvet yarn makes a dense, plush fabric for this cat keychain with muzzle, legs, and tail.
- Skill
- Intermediate
- Time
- 4-6 hours
- Hook
- 3.5 mm
- Yarn
- Worsted
- Rounds
- 10
About this pattern
Velvet or chenille yarn worked in tight single crochet builds a dense, slightly fuzzy fabric that holds its shape without a hard edge. The low pile softens each stitch so the surface reads soft and plush under the hand rather than sharply ridged, while working tightly keeps the safety eyes and stuffing from showing through the gaps a looser gauge would leave. That density is what lets a small stuffed piece stay firm enough to be handled by a keychain clip without sagging.
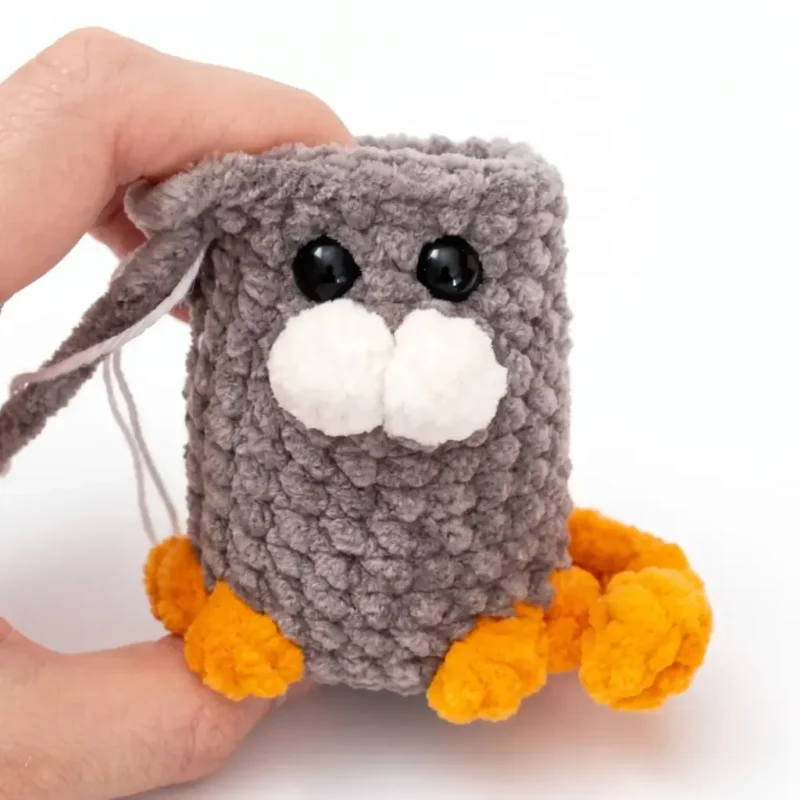
The body builds from an oval base at the chain-6 start into a rounded, slightly elongated form that carries the legs, tail, and muzzle all worked directly onto it in one continuous spiral. Once the last round closes, that shape becomes the whole cat: no separate limbs to sew on later, just a compact stuffed lump ready for a keyring or clasp. Keep the piece firm and the bottom flat rather than domed so it sits or hangs evenly once finished.
This pattern is written in US crochet terminology. The body is worked in continuous rounds (spiral) — do not join or chain up between rounds; use a stitch marker to track the start of each round. Stitch count is given at the end of each round in parentheses, like this: (22).
Gauge isn't critical for this project, but working tightly is essential so stuffing doesn't peek through the stitches. Stuffed firmly and consistently, the finished cat measures approximately 3.5 inches (9 cm) tall using the materials listed, though your gauge and yarn choice may produce a slightly different size.
The swatch in numbers
- Rounds
- 10
- Parts
- 2
- Level
- Intermediate
- Time
- 4-6 hours
- Hook
- 3.5 mm
- Yarn
- Worsted
The yarn and the hook
Yarn
- Velvet/chenille-style yarn (Worsted weight, 4), 1 skein in your main color (gray, orange, white, or yellow all work beautifully)
- Small amounts of white yarn for the muzzle puffs (if using contrast color)
Hook
- US size E-4 (3.5 mm)
Tools
- Safety eyes, 8mm, 1 pair
- Fiberfill stuffing
- Stitch marker
- Yarn needle
- Scissors
- Fabric marker or embroidery thread for the nose (optional, black yarn works too)
Stitches, spelled out
ch Chain; dc Double CrochetDrape; dec Decrease (invisible decrease); hdc Half Double CrochetDense; inc Increase (2 sc in same stitch); sc Single CrochetDense; sl st Slip Stitch; st(s) Stitch(es); tr Treble CrochetDrape.
Tension and hand-feel
After Round 2, count stitches before moving on: the round should total 22, matching the pattern's own count, since velvet yarn's nap can hide missed or doubled increases that a plainer yarn would show clearly.
If the count runs off, unravel back to Round 1 and recheck that it reads 14 before continuing, since the oval base laid down here sets the shape for the whole body.
Main Body (includes legs, tail, and muzzle)
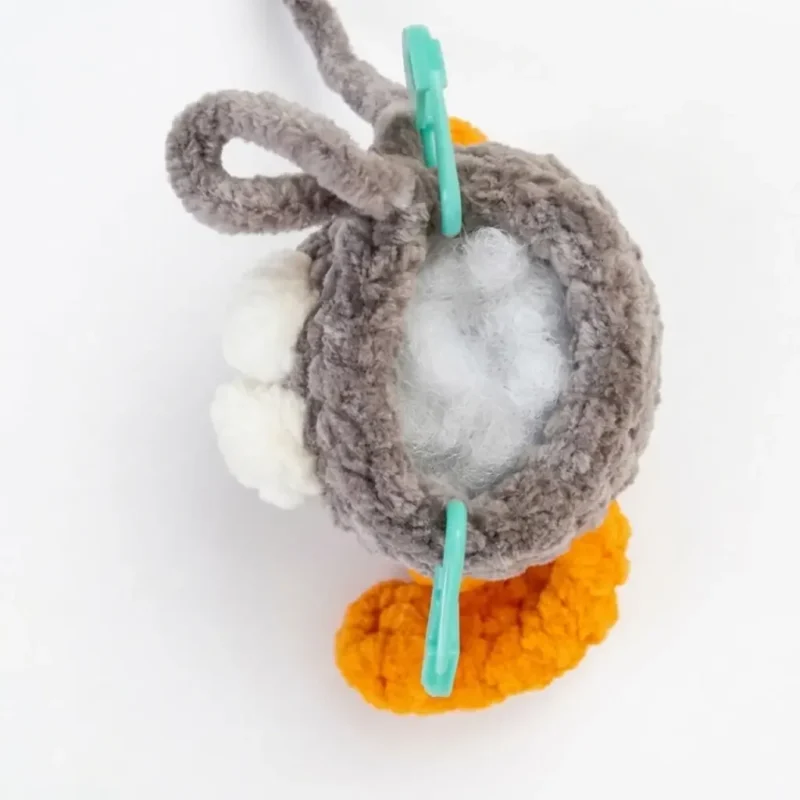
Stuff the piece firmly as you work. Keep the bottom flat rather than domed.
Ch 6, starting in the 2nd ch from hook.
Place your two decreases on the sides of the piece so they stay hidden — check a photo reference if you have one for placement.
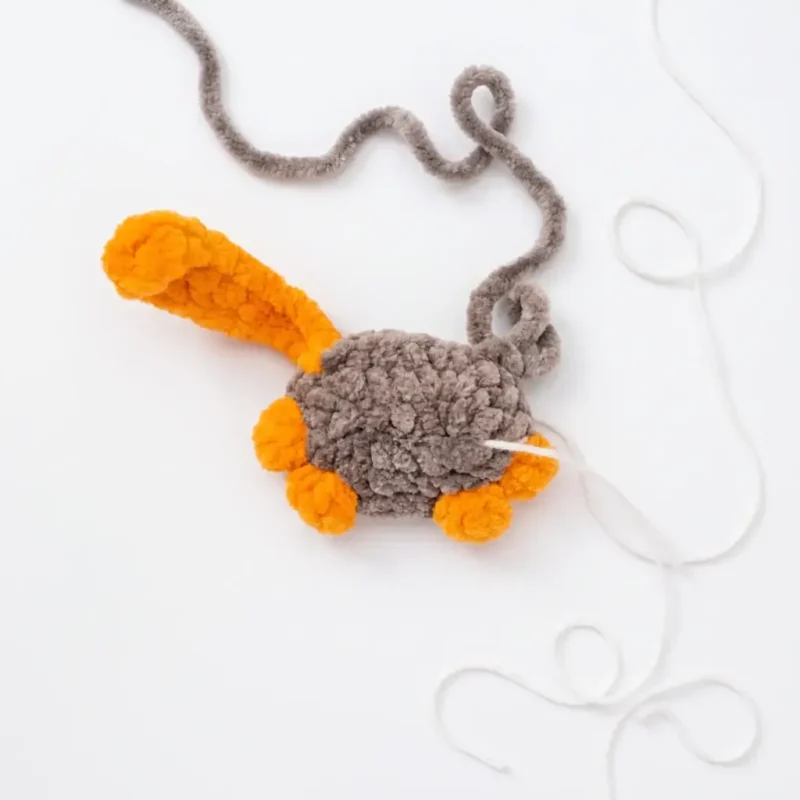
Tiger or Leopard Tail (alternate version)
Ch 12, starting in the 2nd ch from hook, sc across the chain. (11)
Fasten off and set aside to attach later, or work it directly onto Round 3 in place of the curled tail if you prefer a straight tail.
How the texture is built
- The Round 1 increases fall at both ends of the row (inc, 3 sc, 4 sc in next st, 3 sc, inc) rather than spaced evenly, which turns the chain-6 start into an oval base instead of a circle, matching the instruction to keep the bottom flat.
- Round 2 doubles the increases at the same four points used in Round 1, so the oval keeps its proportions as it grows instead of rounding out into a circle.
- The body is worked in one continuous spiral with a stitch marker tracking the round start rather than joined rounds, which is what lets the legs and tail attach directly at Round 3 without breaking yarn or adding a seam.
Putting the pieces together
If you swap the yarn
| Cotton, worsted weight | Stitches show up crisper since cotton has no nap to blur the surface; the fabric loses velvet's give and drapes stiffer, so stuff a little firmer to avoid a saggy look. The E-4 (3.5 mm) hook still works. |
|---|---|
| Acrylic, worsted weight (non-brushed) | Weight and hook size stay the same, but without chenille's pile the stitch definition becomes visible on the surface, so joins and increases will show more than they do in the finished velvet version. |
| Chenille or velvet, DK weight | A lighter, smaller version of the same keychain; drop the hook to roughly a C/D (3.25 mm) and use less stuffing, since the thinner yarn needs a smaller frame to stay dense rather than stretched. |
Colorways
- Classic tabby Gray for the main body, legs, and curled tail; white for the muzzle puffs; black yarn or embroidery thread for the nose and whiskers.
- Golden marmalade Orange for the main body and legs; white for the muzzle puffs; if working the alternate tail, use the leopard or tiger version in the same orange with contrast spots or stripes embroidered on afterward.
Washing and blocking
Hand wash in cool water rather than a machine cycle, since agitation crushes the chenille pile and flattens the plush surface.
Air dry flat away from direct heat; chenille and velvet-style yarns can flatten or take on a shine if pressed hot or hung to dry.
Reshape the piece while still damp, fluffing the pile with fingers, and store it away from rough or scratchy surfaces that can snag and pull the loops.
When it does not look right
- The muzzle puffs look flat instead of round.
- They are likely under-stuffed or worked too loosely; pack the fiberfill in firmly and keep the single crochet tight so the shape holds without collapsing.
- Stuffing peeks through the stitches on the body.
- Velvet and chenille yarn is slippery and tension often runs looser than expected; drop to a slightly smaller hook or tighten the stitches so the gaps close over the fill.
- The base cups instead of lying flat.
- The increases in Rounds 1 and 2 may not have landed at the correct ends of the oval; recheck the stitch counts (14 then 22) and stuff evenly rather than overpacking the center.
Close-ups

Questions people ask
What size hook should I use for this cat keychain pattern?
This pattern calls for a US size E-4 (3.5 mm) hook when working with worsted weight velvet or chenille yarn. If you substitute a thinner or thicker yarn, adjust your hook size accordingly to keep your stitches tight enough to hide the stuffing.
Do I need to sew the legs and tail on separately?
No, this pattern is designed so the legs and tail are crocheted directly into Round 3 of the body, eliminating the need for separate pieces and seams. The only exception is the alternate straight tail for the tiger or leopard variation, which is worked separately and whipstitched on afterward.
How much yarn do I need to make one cat keychain?
A single skein of worsted weight velvet or chenille yarn is more than enough to complete one cat, with plenty left over for a second piece in the same color. Exact yardage will vary depending on your tension and how firmly you stuff the finished toy.
Can I make this pattern without safety eyes?
Yes, you can substitute embroidered eyes using black yarn or embroidery thread if you prefer not to use safety eyes or if the toy is intended for a very young child. Simply stitch small circles or ovals in the same position described in Round 13 to 14 of the pattern.
New patterns, as they are filed
One short email when a batch lands, with the feel of each.