
20 rounds · filed under dense · 7 of them
Amigurumi · added 15 Sep 2026
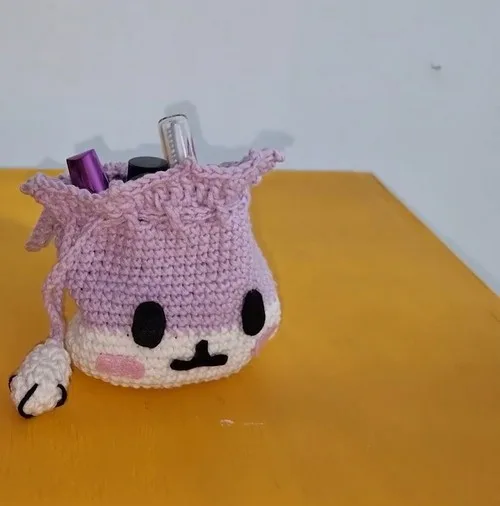
Crochet bunny bag with amigurumi legs and ears
Single crochet builds a dense, sturdy fabric for this bunny bag with stitched-on ears and legs.
- Skill
- Intermediate
- Time
- 4-6 hours
- Yarn
- Worsted
- Rounds
- 16
About this pattern
Single crochet worked in tight, even rounds gives this bag a fabric that feels closed and dense under your fingers, with almost no gaps to catch a fingernail. The oval base starts as a 9-chain foundation and gets worked behind the chain on the way back, so both long sides fill in solid while the two ends round out through repeated increases, landing at 20 stitches total. The result is a firm, flat panel that holds its shape without any stiffener before stuffing even touches it.
That oval base, plus the separate legs, ears, and carry loops, builds toward a bunny-shaped bag: a stuffed body worked up in rounds to 50 stitches, finished with a shell-stitch trim, with two loops of 90 chains each for handles, two legs sewn on below, and four ear pieces joined into two finished ears and attached above, topped with felt for the face. Once the base and legs are firm to the touch, sew the legs on first so the bag has something to stand its weight against, then add the ears and felt features last so you can adjust their angle before the thread locks them in place.
The swatch in numbers
- Rounds
- 16
- Parts
- 4
- Level
- Intermediate
- Time
- 4-6 hours
- Yarn
- Worsted
The yarn and the hook
- 2 cotton threads
- 1 crochet hook
- Synthetic cotton
- 2 craft felt
- 1 point marker
- Wool or blunt needle
Stitches, spelled out
ch chain; st stitch; sl st slip stitch; sc single crochetDense; hdc half double crochetDense; dc double crochetDrape; inc increase; dec decrease; mr magic ringDense; fo finish off.
Tension and hand-feel
After round 2 of the legs, count the stitches around the ring — the pattern expects 9 at that point, so a different number means the increase round was skipped or doubled.
If the count is off, unravel back to the magic ring and rework round 2 one stitch at a time rather than pushing on, since an early miscount will make the leg cylinder lean or flare by round 6.
Bag Base and Body
Start with 1 slip knot and make 9 chains
Loops (Handles)
Legs (Make 2)
Start with 1 magic ring
Ears (Make 4)
Start with 8 chains
How the texture is built
- The oval base gets its rounded ends from working 3 single crochets into the last chain and 2 single crochets into the first chain after turning, while the two long sides stay flat at 7 and 6 stitches — this uneven, end-loaded increasing is what turns a straight chain into an oval reaching 20 stitches.
- The legs increase only once, in round 2, taking the magic-ring start from 6 stitches to 9; rounds 3 through 6 hold that count steady, so all the widening happens right at the base of the leg and the rest works up as a straight, unshaped tube.
- Each ear starts from a chain of 8 and is worked around it in a single round, building graduated low, medium, and high stitch heights that curve one edge more than the other; two ear pieces (one in each color) are then joined at the back with a short row of low stitches and increases, so the finished ear is a two-layer, gently curved shape rather than a straight strip.
Putting the pieces together
If you swap the yarn
| Worsted-weight acrylic | Keeps the same hook and stitch counts but produces a lighter, slightly springier fabric with less of the dense drape cotton gives, and it machine-washes easier without holding water in the stuffing. |
|---|---|
| DK-weight cotton | Needs a smaller hook to keep the fabric closed, shrinks the finished base and legs down in scale, and calls for less stuffing to fill the smaller cavity. |
| Chunky-weight cotton blend | Requires a larger hook and produces a noticeably thicker, stiffer fabric with bolder stitch definition, so the bag grows in scale and needs more stuffing to fill out the legs and base fully. |
Colorways
- Classic Bunny Work the oval base and bag body in a cream or oatmeal cotton, the legs in a soft pink, and the ears in the same cream with a pink felt inner-ear piece layered on before attaching.
Washing and blocking
Hand wash in cool water rather than machine wash, since the cotton fibers hold water and can pull the flat oval base out of shape if agitated or wrung.
Lay the piece flat to dry away from direct heat; cotton fabric stiffens if forced to dry fast, while the synthetic stuffing inside dries on its own without extra care.
Reshape the base and ease the legs and ears into position while the piece is still slightly damp, then store the bag stuffed and upright rather than flattened, so the oval base doesn't crease permanently.
When it does not look right
- The oval base curls up at the edges instead of lying flat.
- One of the end increases — the 3 single crochets in the last chain or the 2 single crochets in the first chain — was likely missed or worked short; recount to confirm the base reaches 20 stitches total and add the missing increase.
- The legs flare outward instead of
- An increase was repeated past round 2; only round 2 should widen the leg from 6 to 9 stitches, so rounds 3 through 6 need exactly one single crochet per stitch with no further increasing.
- The ears go limp and won't hold a curved shape when sewn on.
- The flat chain foundation was likely worked too loosely; tighten tension or drop half a hook size, since the ears rely on firm stitch tension and the graduated low-medium-high stitch heights to hold a curve without any stuffing inside.
Close-ups
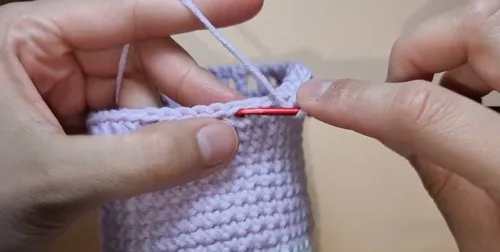
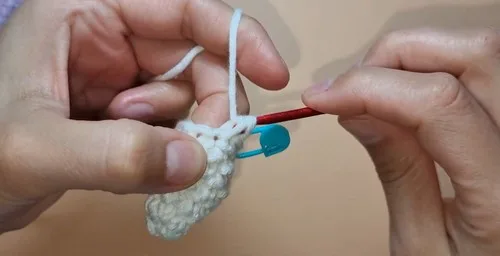
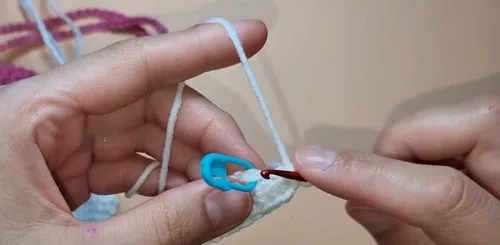
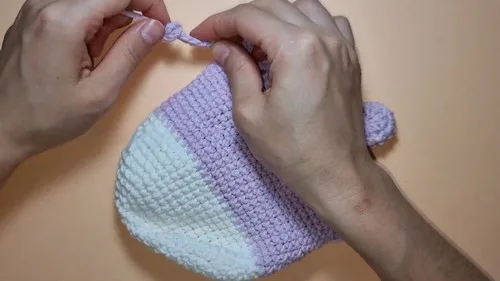
Questions people ask
How firm should the leg fabric feel before you add stuffing?
The single crochet fabric on the legs should already feel closed and springy to the touch, with no visible gaps between stitches. If light shows through when you hold it up, tighten your tension before moving on to stuffing.
Does the oval base need stuffing to lie flat on its own?
The base is worked densely enough in single crochet to stay flat unstuffed, since the increases at each end already shape it into an oval. Stuffing comes into play once the base is joined into the rest of the bag body, not before.
How many legs and ears does this bag actually need?
The pattern calls for 2 legs and 4 ears total, with the 4 ear pieces joined in pairs to make 2 finished ears. Make all pieces before starting assembly so you can match tension across matching parts before sewing them on.
What holds the felt facial features in place once they're added?
The craft felt pieces get sewn directly onto the finished bag using the wool or blunt needle listed in the materials. Position them after the ears and legs are attached, so you can judge the face placement against the finished shape.
New patterns, as they are filed
One short email when a batch lands, with the feel of each.