
24 rounds · filed under dense · 16 of them
Amigurumi · added 4 Oct 2026
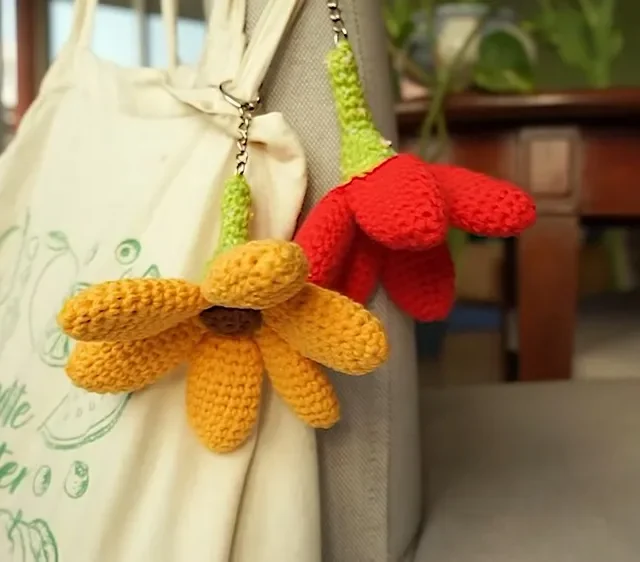
Crochet flower keychain charm with petals and stem
Single crochet builds a dense, curved fabric for a small flower charm with stuffed petals and a solid stem.
- Skill
- Intermediate
- Time
- 4-6 hours
- Hook
- 2.5 mm
- Yarn
- Light / DK
- Rounds
- 17
About this pattern
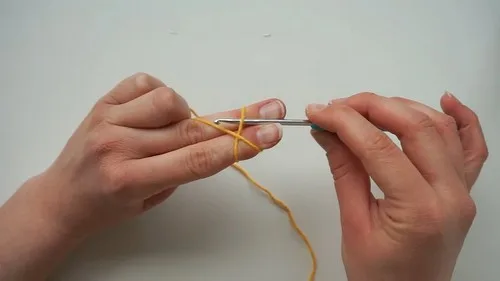
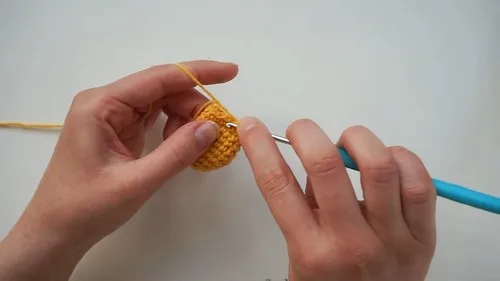
Single crochet, worked in a continuous spiral with a 2.5 mm hook on cotton, makes a tight, slightly stiff fabric with almost no gap between stitches. That density is what holds each petal's rounded shape once stuffing goes in, and what keeps the stem from collapsing even though it is narrow. Under the hand it feels firm and a little ridgy rather than soft or drapey, closer to a small fabric bead than a piece of clothing.
Six petals, a stuffed center, and a stem come together into a flat-backed flower sized for a keyring or bag strap. Once the pieces are joined and the stem is stitched on, clip the keyring through the stem's base and the charm is ready to carry on keys, a zipper pull, or a bag handle.
The project lets you play with colors as you stitch the petals, center, and stem, using a different shade for each part to give every charm its own personality.
The swatch in numbers
- Rounds
- 17
- Parts
- 3
- Level
- Intermediate
- Time
- 4-6 hours
- Hook
- 2.5 mm
- Yarn
- Light / DK
The yarn and the hook
- Two different yarn colors for the flower petals and the stem (plus a third color for the flower center)
- Cotton yarn
- Crochet hook (2.5 mm)
- Scissors
- Keyring
- Stitch marker
- Stuffing
Stitches, spelled out
sc single crochetDense.
Flower Petals
Make 6Flower Stem
Center of the Flower
How the texture is built
- Each petal increases on Rounds 2 through 4 only, moving the stitch count from 6 to 9 to 15, then holds flat at 15 stitches for five straight rounds, which builds the rounded base before the petal's sides run parallel.
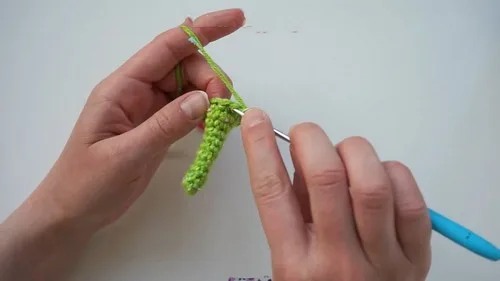
- The stem is worked flat for six rounds at a steady six stitches before its own increase sequence begins on Round 8, keeping the lower stem narrow and tube-like compared to the wider, increasing rounds above it.
- The center is only two rounds, doubling from 9 to 18 stitches, which keeps it small and flat relative to the deeper, stuffed petals, so it reads as a disc rather than a dome once sewn on.
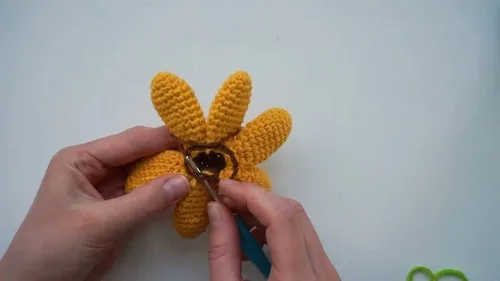
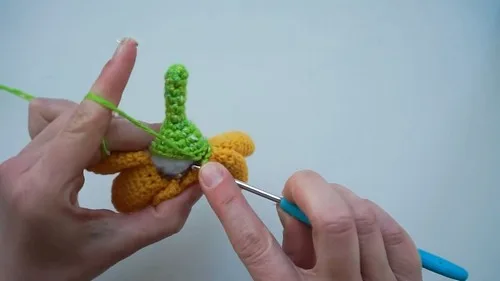
Putting the pieces together
When it does not look right
- A petal cups or domes instead of lying with a flat base
- The magic circle in Round 1 was pulled too tight before Round 2 was worked; next time keep it slightly open until after the second round, as the pattern notes, then tighten.
- The stem looks wavy or leans instead of standing straight
- Stitch count drifted during the six flat rounds; recount to six stitches after every round before starting Round 8's increases.
- Petals sit unevenly around the center once attached
- Uneven slip-stitch spacing during assembly pulls petals off-center; space the three connecting stitches per petal evenly against the 18 center stitches before cutting yarn.
Close-ups
Questions people ask
Why does Round 2 of the petals need a stitch marker?
Round 2 is where the stitch count jumps from 6 to 9 through alternating increases, and losing track of the spiral's start makes it easy to miscount. The marker keeps the start point visible so the increase pattern lands correctly.
Why are Rounds 5 through 9 of the petal worked even with no increases?
Those five rounds hold the stitch count at 15, building the straight-sided depth of the petal above the rounded, increasing base. This is also where stuffing gets added before the petal closes.
Can the stem be made shorter or longer than six rounds?
Rounds 2 through 7 are worked flat at six stitches with no shaping, so adding or removing rounds there changes only the stem's length, not its width. The increase rounds that follow should stay as given to keep the top matching the flower's base.
How does the stem attach without a visible seam?
The long tail left after the stem's final slip stitch is used to stitch through the stem's inner loops into the petals' outer loops, which sets the join along a loop line rather than across visible stitch faces. Weaving in the end afterward keeps the back of the join clean.
New patterns, as they are filed
One short email when a batch lands, with the feel of each.