
41 rounds · filed under dense · 27 of them
Amigurumi · added 15 Sep 2026
Crochet parakeet amigurumi pattern for confident beginners
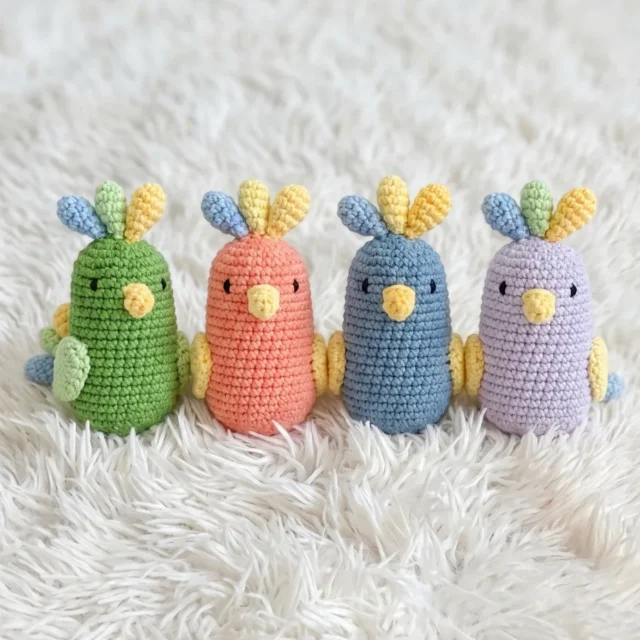
Tight single crochet builds a dense, firm parakeet body ready for stuffing, with separate wings, crest, and beak.
- Skill
- Intermediate
- Time
- 4-6 hours
- Hook
- 3.5 mm
- Yarn
- Worsted
- Rounds
- 33
About this pattern
Under your hand this fabric feels dense and closed, with no daylight showing between stitches. Single crochet worked in a continuous spiral, at a tighter gauge than the yarn label suggests, is what does it: each stitch locks against its neighbor so the wall stays firm enough to hold stuffing without bulging or thinning at the curves.
The body starts as a flat chained oval that rounds itself into a stuffed egg shape as increases build the sides, then narrows again toward the top of the head. Wings, crest pieces, and beak are worked separately as small flat or domed rounds, then sewn on once the body is closed and holding its shape.
This pattern is written in US crochet terminology.
The swatch in numbers
- Rounds
- 33
- Parts
- 5
- Level
- Intermediate
- Time
- 4-6 hours
- Hook
- 3.5 mm
- Yarn
- Worsted
The yarn and the hook
Yarn
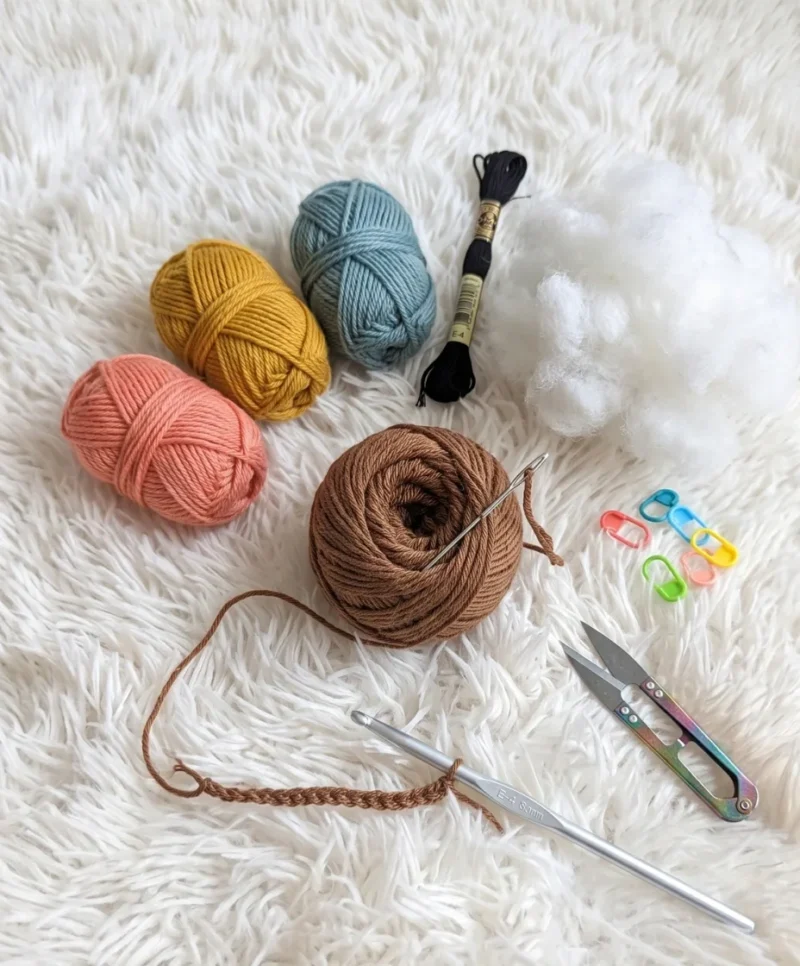
- Worsted weight (or comparable weight), in 4 colors — 1 main color (brown for the body base) and 3 accent colors for the crest, wings, and beak details
Hook size
- Appropriate to your yarn weight (typically E-4 / 3.5 mm for worsted; adjust to achieve a firm, tight fabric)
Embroidery floss
- Black, for stitching the eyes
Stuffing
- Polyfill / fiberfill
- Stitch markers
- Yarn needle / tapestry needle
- Scissors
Stitches, spelled out
BLO Back Loop OnlyRidge; ch Chain; dec Decrease (invisible decrease recommended); dc Double CrochetDrape; FLO Front Loop OnlyRidge; hdc Half Double CrochetDense; inc Increase (2 sc in same stitch); MR Magic RingDense; sc Single CrochetDense; sl st Slip Stitch.
Tension and hand-feel
After Round 2 of the body, lay the piece flat and check that the 18 stitches sit snug against each other with no visible gaps between posts.
If you can see through the fabric or the stitches slide loosely, drop to a smaller hook; if the round cups or won't lie flat, size up.
Body
Begin with your main color (brown).
Wing (Make 2)
Crest 2 and Crest 3 (Make 2)
Work each crest identically.
Beak
Crest 1 (Make 1)
Crest 1 is the larger of the two crest versions in this pattern — it forms the center of the three-piece crest on top of the head, with the smaller Crest 2 and Crest 3 pair flanking it on either side.
How the texture is built
- Round 1 of the body turns a straight chain into an oval by placing 3 sc in the last stitch and 2 sc in the first, a corner-increase method that avoids a visible seam at the base.
- The wing and crest pieces both start from a magic ring and increase only in their early rounds (Round 2 doubles the stitch count in each case), then hold a flat stitch count through several rounds before decreasing, which is what keeps them lying flat rather than domed.
- Crest 2 and Crest 3 are worked identically as a pair from the same magic-ring start, so the two pieces come out matched in size and shaping even though they attach at different points on the head.
- Use the invisible decrease for all dec stitches: insert the hook through the front loop of the first stitch, then the front loop of the next, and complete the decrease as normal — this eliminates the small hole and bump that standard decreases leave behind.
Putting the pieces together
If you swap the yarn
| Cotton, worsted weight | Gives crisper stitch definition and a stiffer, less stretchy fabric than acrylic, so the body holds its oval shape with slightly less stuffing; use the same E-4/3.5mm hook or drop half a size since cotton shows looser stitches more readily. |
|---|---|
| Acrylic or acrylic-blend, DK weight | Produces a smaller, lighter-weight bird than the pattern's worsted gauge; pair with a smaller hook (roughly a C-2/2.75mm to D-3/3.25mm) to keep the fabric dense enough to hide stuffing. |
| Acrylic, bulky weight | Scales the parakeet up considerably and softens stitch definition, with a fabric that drapes more and needs a firmer hand or larger hook (roughly G-6/4mm) plus more fiberfill to keep the larger stitches from gapping. |
Colorways
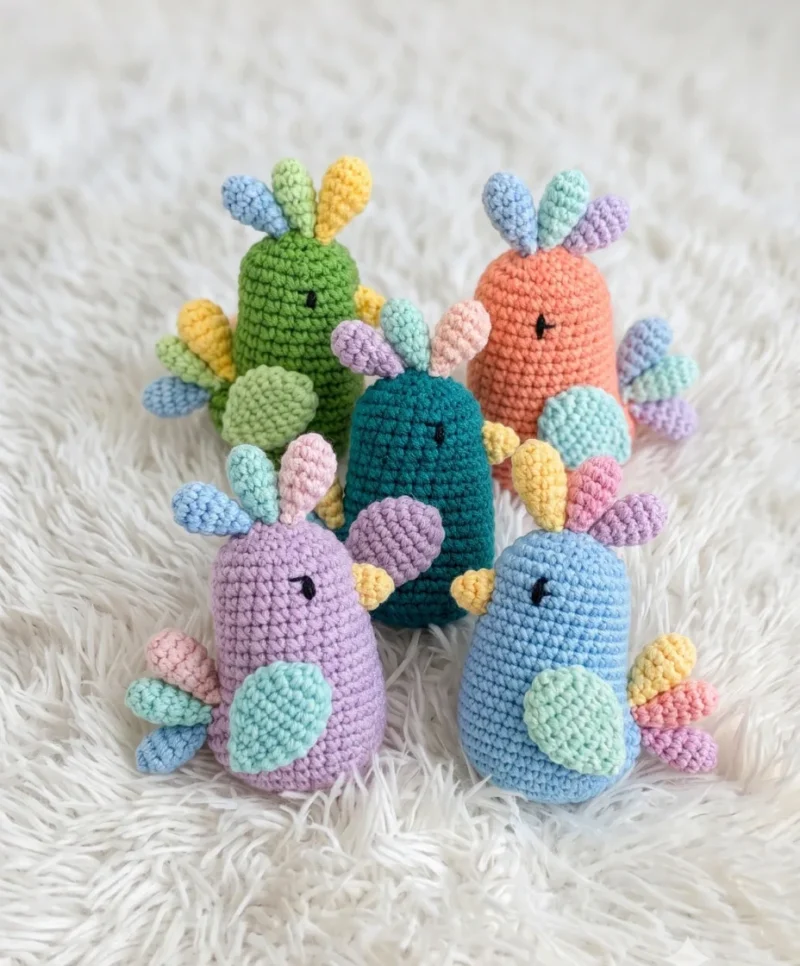
- Classic parakeet Brown main color for the entire body, green for Crest 1 and the Crest 2/3 pair, blue for both wings, and yellow for the beak.
- Warm-toned finch Brown main color for the body, orange for the crest pieces, yellow for both wings, and a muted gray-brown for the beak so it reads as a natural accent rather than a bright highlight.
Washing and blocking
Hand wash in cool water if the piece needs cleaning; acrylic worsted yarn tolerates a gentle wash but should not be wrung, since twisting distorts the stuffed shape.
Lay the parakeet flat on a towel to air dry, reshaping the body, wings, and crest by hand while still damp so the tight single crochet sets in its rounded form.
Store away from direct sunlight to keep the accent colors from fading, and avoid hanging the piece by a wing or the crest, which puts strain on the seam where it's sewn to the body.
When it does not look right
- The body has visible lumps or soft spots under the surface.
- Fiberfill was added in one large clump instead of small pieces worked into the corners; unstuff partially and refill with small tufts, pressing each one toward the edges before closing the round.
- The wings or crest pieces curl at the
- This happens when tension tightens partway through the flat rounds; block the piece by dampening it and pinning it flat until dry, and keep an even hand across all rounds next time.
- A gap or loose thread shows where the
- The whipstitch spacing was too wide when attaching the piece; re-sew with smaller, closer stitches and weave the tail through the same anchor points twice before trimming.
Close-ups
Questions people ask
Why does the body start with a chain instead of a magic ring like the other pieces?
The body's Round 1 works along both sides of a foundation chain with corner increases, which produces the flat-based oval the amigurumi is built on. The wings, crest pieces, and beak instead start from a magic ring since they need a closed, round starting point rather than an elongated base.
How firm should the fabric feel before you start stuffing?
The stitches should sit close enough that you can't see fiberfill through the gaps when you hold the piece up to light. If the fabric feels loose or floppy, work at a tighter tension or drop to a smaller hook before continuing.
Can this pattern work with a yarn weight other than worsted?
Yes, since gauge isn't critical here as long as the resulting fabric is firm and tight. Moving to DK or bulky yarn changes the finished size, so pick a hook that keeps the stitches dense rather than matching a specific measurement.
Why are Crest 2 and Crest 3 made as a matching pair while Crest 1 is separate?
Crest 2 and Crest 3 are worked identically from the same instructions, which keeps that pair symmetrical where they sit side by side on the head. Crest 1 is a single, larger piece with its own shaping, since it sits at a different point and doesn't need a mirror match.
New patterns, as they are filed
One short email when a batch lands, with the feel of each.