
63 rounds · filed under dense · 51 of them
Amigurumi · added 15 Sep 2026
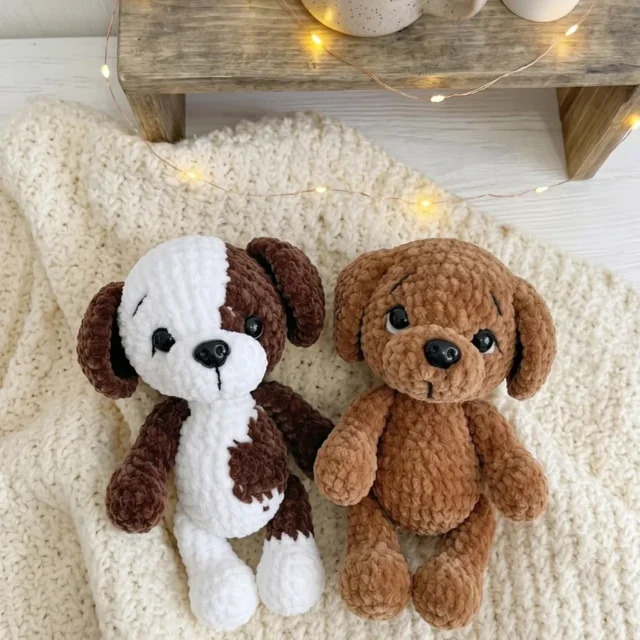
Crochet plush puppy amigurumi in soft chenille yarn
Single crochet works up a dense, plush chenille fabric for this 18–19cm stuffed puppy amigurumi.
- Skill
- Intermediate
- Time
- 4-6 hours
- Hook
- 4.0 mm
- Yarn
- Worsted
- Rounds
- 55
About this pattern
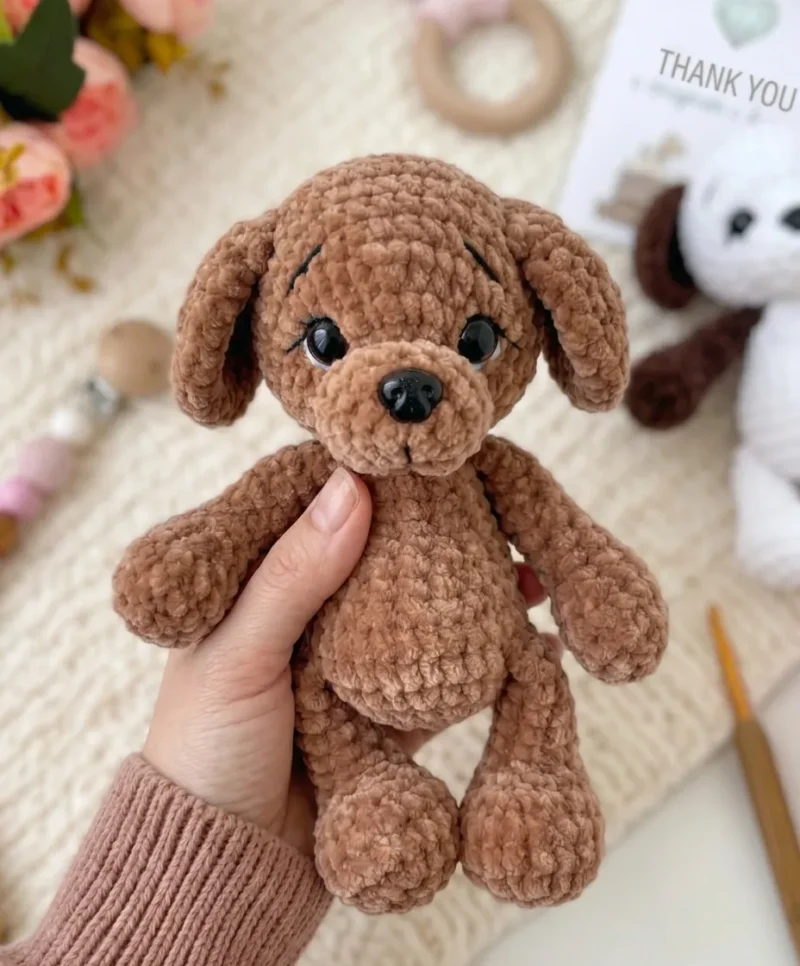
Worked almost entirely in single crochet, the fabric here comes out dense and tight, with no gaps between stitches for stuffing to peek through. The chenille-type main-color yarn adds a low, soft pile on top of that tightness, so the finished surface feels plush and slightly fuzzy under the hand rather than smooth or ropey, and it swallows stitch definition the way flat cotton never would.
The body builds up as a rounded torso and head joined at the neck, with four separate paws, two ears, and a tail attached afterward, so you end up handling several small dense pieces before the dog takes its final shape. Once assembled and stuffed firm, the whole thing holds a compact, seated-dog silhouette approximately 18–19cm tall, sturdy enough to sit upright on a shelf or get gripped and carried.
Written in US crochet terminology, the pattern works up in a continuous spiral throughout — no joining rounds or chaining 1 to turn — except for the ears, which are worked flat in turned rows with a chain-1 turn at the end of each row. Gauge is not critical; what matters is keeping a firm, consistent tension so the fiberfill never shows through the stitches.
The swatch in numbers
- Rounds
- 55
- Parts
- 7
- Level
- Intermediate
- Time
- 4-6 hours
- Hook
- 4.0 mm
- Yarn
- Worsted
The yarn and the hook
Main yarn
- Himalaya Dolphin Baby — main color (body, head, limbs, tail, ears)
Accent yarn
- Himalaya Dolphin Baby — white (for embroidering eye whites)
Detail yarn
- Vita Coco — black, held double (for embroidering eyelids and eyebrows)
Hook
- US G-6 / 4.0 mm
Safety eyes
- 12 mm (×2)
Safety nose
- approx. 16×12 mm oval (×1)
- Fiberfill / polyfill stuffing
- Stitch markers
- Long doll needle
- Strong thread (for face sculpting / tightening)
- Yarn needle / tapestry needle
- Scissors
Stitches, spelled out
ch Chain; dc Double CrochetDrape; dec Invisible Decrease (insert hook through front loops of next 2 sts); hdc Half Double CrochetDense; inc Increase (2 sc in same stitch); MR Magic RingDense; sc Single CrochetDense; sl st Slip Stitch; sm Stitch Marker.
Tension and hand-feel
After round 3 of the lower paw, when the stitch count reaches 21, check that the circle sits flat without cupping or rippling at the edge.
If the fabric feels loose enough that stuffing shows through, drop to a smaller hook; if the round won't lie flat and starts to dome or curl, go up a hook size.
Gauge is not critical for this project overall; consistent tension that keeps fiberfill from showing through is what matters. Aim for a firm, tight fabric, and expect a finished toy measuring approximately 18–19 cm.
Upper Paws (make 2)
Foundation: Ch 4.
Lower Paws (make 2)
Tail (make 1)
Do not stuff the tail.
Ears (make 2)
Foundation: Ch 4. Work flat in turned rows.
Body
Joining the lower paws and tail at Rnd 6:
Note: if your count after Rnd 11 reads 17 rather than 18, continue as written — the shaping is intentional.
Joining the upper paws at Rnd 14: Make sure arms are positioned evenly on each side before joining.
Head
Lip / Muzzle Pad (make 1)
Foundation: Ch 3.
How the texture is built
- The upper paw starts from a ch-4 foundation worked around both sides rather than a magic ring, with 3-sc increases at each end of round 1 forming two corners; that corner shaping is what gives the paw a flat oval base instead of a round one.
- In the tail, rounds 2 through 8 hold steady at 5 stitches with no shaping at all, then rounds 9 through 11 add single increases; the piece stays a slim, straight tube for most of its length and only flares at the very tip.
Putting the pieces together
If you swap the yarn
| Worsted-weight cotton-acrylic blend | Stitch definition comes out crisper than the chenille original, so stuffing lumps and uneven tension show more readily and want firmer packing; the same G-6/4.0mm hook still gives a dense fabric, and facial embroidery reads more clearly against the flatter surface. |
|---|---|
| DK-weight acrylic microfiber | Thinner than the pattern's baby-weight chenille, so the finished dog comes out smaller and the fabric drapes looser at 4.0mm; dropping to a 3.5mm hook tightens the stitches back up enough to hold stuffing without gaps. |
| Bulky-weight chenille or velvet | Keeps the same soft, low-pile hand as the original yarn but scales the whole dog up past 18cm; a 5.0-5.5mm hook and extra fiberfill are needed to fill the larger cavity without the fabric sagging. |
Colorways
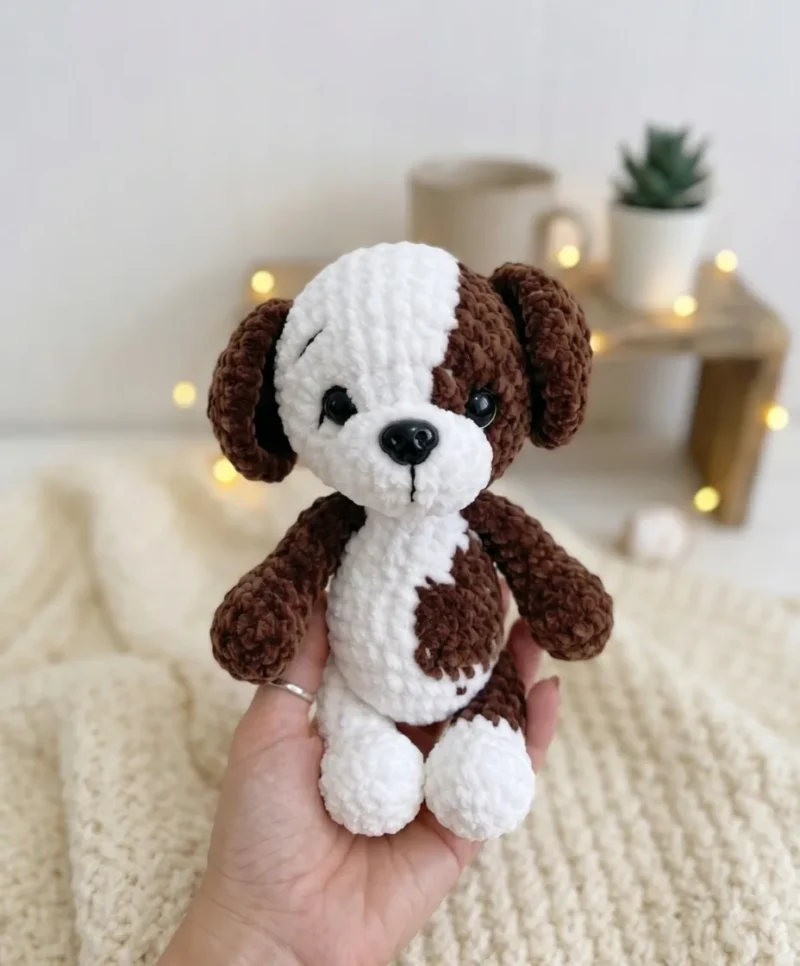
- Classic Puppy Main color covers the body, head, tail, ears, and both upper and lower paws in full; white is held back for the muzzle pad and the embroidered eye whites, keeping the face as the only contrast area.
- Contrast Paws Main color stays on the body, head, tail, and ears; a second color takes over the lower paws only, with white still doing the eye whites and muzzle pad, so the coat reads two-tone from the ankles down.
Washing and blocking
Hand wash in cool water rather than machine washing, since chenille pile flattens and mats under agitation.
Lay flat to dry away from direct heat, as chenille and microfiber yarns can scorch or fuse under a hot dryer or iron.
Reshape paws and ears by hand while still damp, then store the finished dog upright and stuffed so the spiral-built body and head hold their round shape instead of flattening in storage.
When it does not look right
- One upper paw comes out longer or
- The ch-4 foundation oval needs the 3-sc corner increase worked exactly at each end of round 1; recount to 8 stitches before starting round 2 so both corners match.
- The lower paw narrows crookedly instead
- Round 6's decreases are meant to sit centered between the 3 plain stitches on each side; work the bracket as written, 3 sc first, so the decreases land at the same spot every time.
- The ears puff up round and stand off
- This happens when the ear is worked in continuous spiral instead of flat turned rows; turn the work and chain 1 at the end of each row as directed to keep the panel single-layer and flat.
Close-ups
Questions people ask
Why are the ears crocheted flat instead of in the round like the rest of the dog?
The flat turned rows with a ch-1 turn produce a single, low-domed panel that lies naturally against the curve of the head. The body, head, and paws all use continuous spiral rounds instead, since they need to close into a 3D form that holds stuffing.
Do the eyes need to be safety eyes, or can they be embroidered instead?
The materials call for two 12mm safety eyes rather than embroidery, since the plush chenille pile would blur embroidered detail. Insert them before the head is fully stuffed and closed so the backing washers can be seated from inside.
How much fiberfill does an 18cm dog like this take?
The pattern lists fiberfill/polyfill stuffing without a gram amount, so pack by feel. The body and head should feel firm and rounded with no dents when pressed, while the paws and tail need just enough to hold shape without stretching the stitches apart.
What does holding the black yarn double actually do for the face?
Doubling the strand thickens the black yarn used for the eyelids and eyebrows so those lines read clearly against the plush main-color pile. A single strand would sink into the chenille texture and disappear.
New patterns, as they are filed
One short email when a batch lands, with the feel of each.