
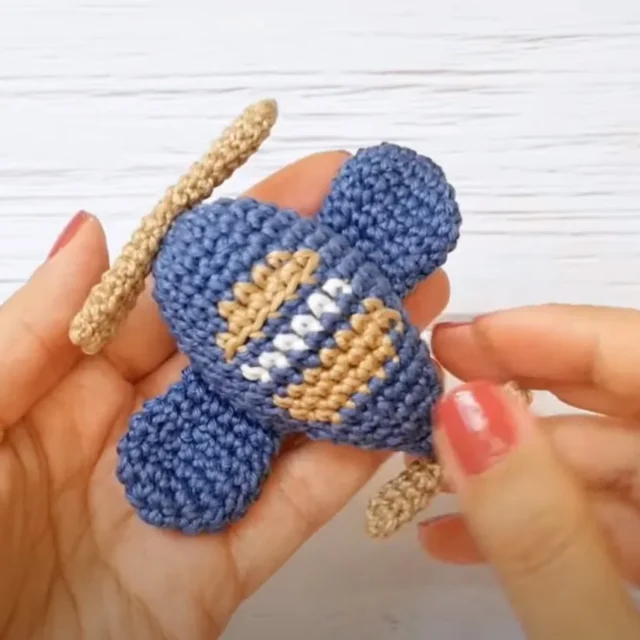
21 rounds · filed under dense · 5 of them
Amigurumi · added 26 Sep 2026
Mini airplane amigurumi: a small plane in single crochet
Single crochet builds a dense, rounded plane body and two flat wings for a pocket-size amigurumi toy.
- Skill
- Intermediate
- Time
- 4-6 hours
- Hook
- 2 mm
- Yarn
- Thread/Fingering
- Rounds
- 12
About this pattern
Under your fingers this plane comes out firm and slightly nubby, the kind of dense surface single crochet always makes when it is worked in tight, unbroken rounds. Each stitch closes over the last one almost completely, so the wall of the body holds its shape before the filling even goes in. The double crochet rounds worked into the propellers open the fabric up in comparison, looser and a touch more see-through where the taller stitch lets more yarn show between loops.
The body builds into a rounded, blunt-nosed shape, wider at row 6 than where it started, closer to an egg than a cylinder once the increases taper off. Wings are worked flat and folded rather than shaped in the round, giving you two flat panels to sew on either side once the body is filled and closed. Propellers, made in the finer thread, come out as a small stiffened unit meant to sit at the front and back rather than move independently.
The swatch in numbers
- Rounds
- 12
- Parts
- 3
- Level
- Intermediate
- Time
- 4-6 hours
- Hook
- 2 mm
- Yarn
- Thread/Fingering
The yarn and the hook
- Amigurumi thread in three colors of your choice
- Thinner thread for the helix
Crochet needles
- 2mm and a smaller one for the thinner thread (1.5mm suggested)
- Filling material
- Yarn needle
- Scissors
- Stitch marker (a piece of yarn in a contrasting color can also work)
Stitches, spelled out
ch chain; st stitch; sl st slip stitch; sc single crochetDense; hdc half double crochetDense; dc double crochetDrape; inc increase; dec decrease; mr magic ringDense; fo finish off.
Tension and hand-feel
After round 2 of the plane body, lay the piece flat and count: you should have 12 stitches sitting evenly around the ring with no ring visible through the center.
If the stitches look loose enough to show gaps or the round buckles instead of lying flat, drop to the smaller hook size until the fabric closes up tight.
Plane Body
First Color Change at Row 7:
Do 10 double crochets, change color to brown. Continue with 4 single crochets in brown, then change back to blue.
Continue Color Changes: Follow the pattern's instructions for further rows, continuing with the alternating color stripes.
Changing colors: Pull the new color through the last two loops of the last stitch of the old color to create a smooth color change.
Wings (Make 2)
Propellers (2 Big, 2 Small)
With thinner thread and 1.5mm needle.
How the texture is built
- The plane body increases in rounds 2, 3, and 6, spacing the growth so the fabric widens gradually rather than flaring all at once, which keeps the body rounded instead of cone-shaped.
- The wings are worked flat through six rows instead of continuing in the round, so each wing comes out as a single panel meant to be sewn flat against the body rather than stuffed as its own closed shape.
- Joining two propeller pieces of each size doubles up the thin-thread fabric, turning what would be a floppy single layer into a stiffer unit that can hold its position once attached front and back.
- Keep tension consistent throughout to ensure even stitches and smooth color transitions between rounds.
Putting the pieces together
If you swap the yarn
| Cotton, fingering weight | Gives a crisper, less stretchy fabric than the amigurumi thread specified, holding the body's rounded shape well; use a slightly smaller hook than usual for cotton to keep the stitches tight enough to contain the filling. |
|---|---|
| Acrylic, sport weight | Produces a softer, slightly fuzzier surface with more give in the fabric, so the finished toy will feel squeezable rather than firm; size up to a 2mm hook to match the thicker strand and stuff a little more generously to compensate for the looser stitch. |
| Wool blend, fingering weight | Adds a bit of drape and a warmer surface texture, though the fabric will hold its shape less crisply than cotton; a lighter fill helps prevent the wool's natural stretch from sagging the body's rounded profile. |
Colorways
- Classic cockpit Blue for the plane body through its early rounds, white or cream introduced at the first color change, with the propellers worked in a contrasting thread color so the front and rear pieces stand out against the body.
- Two-tone wings Body in one solid color throughout, wings worked in a second color so the flat panels read as a distinct layer once sewn to each side, propellers left in a third neutral thread shade.
Washing and blocking
Hand wash the finished toy in cool water, since the amigurumi thread and finer propeller thread can lose their crisp stitch definition under a machine cycle's agitation.
Reshape the body and wings gently while still damp, pressing the rounds back into their rounded profile before letting the piece air dry flat.
Store away from direct sunlight to keep the color-changed sections from fading unevenly against each other, and keep the propellers unbent so the joined thread layers stay flat.
When it does not look right
- The plane body looks lumpy instead of smoothly rounded
- This usually means the increases in rounds 2, 3, and 6 landed in the same spots rather than staggering around the circle; spread the increase stitches out evenly next time and check stitch counts after each round.
- The wings curl instead of lying flat against the body
- Flat pieces worked in rows can curl if the tension tightens up partway through; keep an even hand across all rows and steam-block the panel lightly before sewing it on.
- The propeller feels floppy instead of
- This points to the two propeller layers not being sewn together closely enough along the edge; whipstitch the pieces snugly all the way around so the joined thread layers reinforce each other.
Close-ups
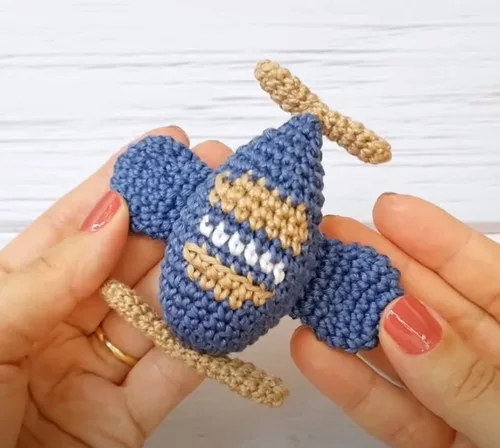
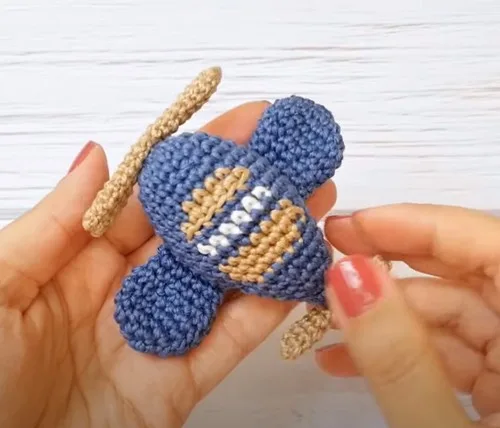
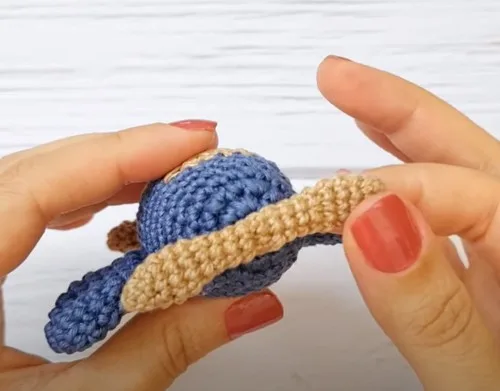
Questions people ask
Can the wings be made in one piece instead of two separate makes?
The pattern calls for making two wings and sewing one to each side, which keeps the flat panels symmetrical when placed against the rounded body. Working them separately also makes it easier to check that both match in size before attaching.
How full should the body be stuffed before closing the last round?
The instructions call for gradual filling as the piece closes, so add stuffing in small amounts each round rather than packing it all in at the end. This keeps the rounded shape even instead of straining the stitches at the final closure.
Does it matter which propeller size goes at the front versus the back?
Yes, the assembly step is specific: the bigger propeller unit goes at the front and the smaller one at the rear. Since both are built from the same joined-thread method, only the total round count in each piece tells them apart, so it helps to set them aside labeled as you finish each one.
New patterns, as they are filed
One short email when a batch lands, with the feel of each.