
39 rounds · filed under dense · 32 of them
Amigurumi · added 4 Oct 2026
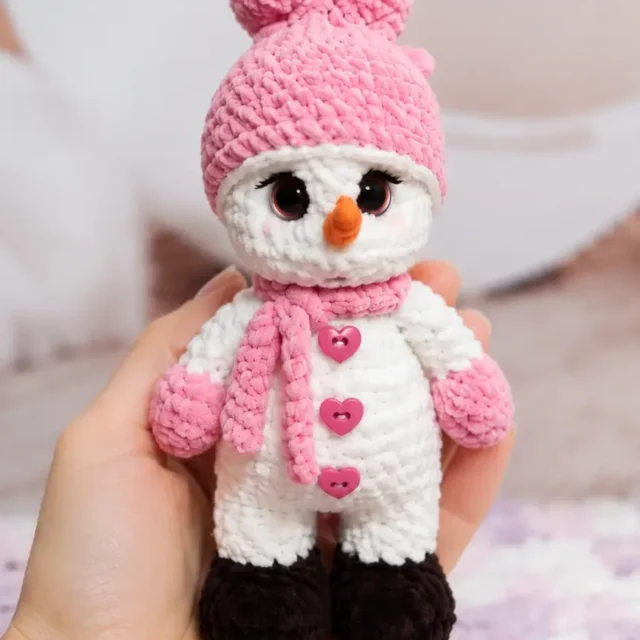
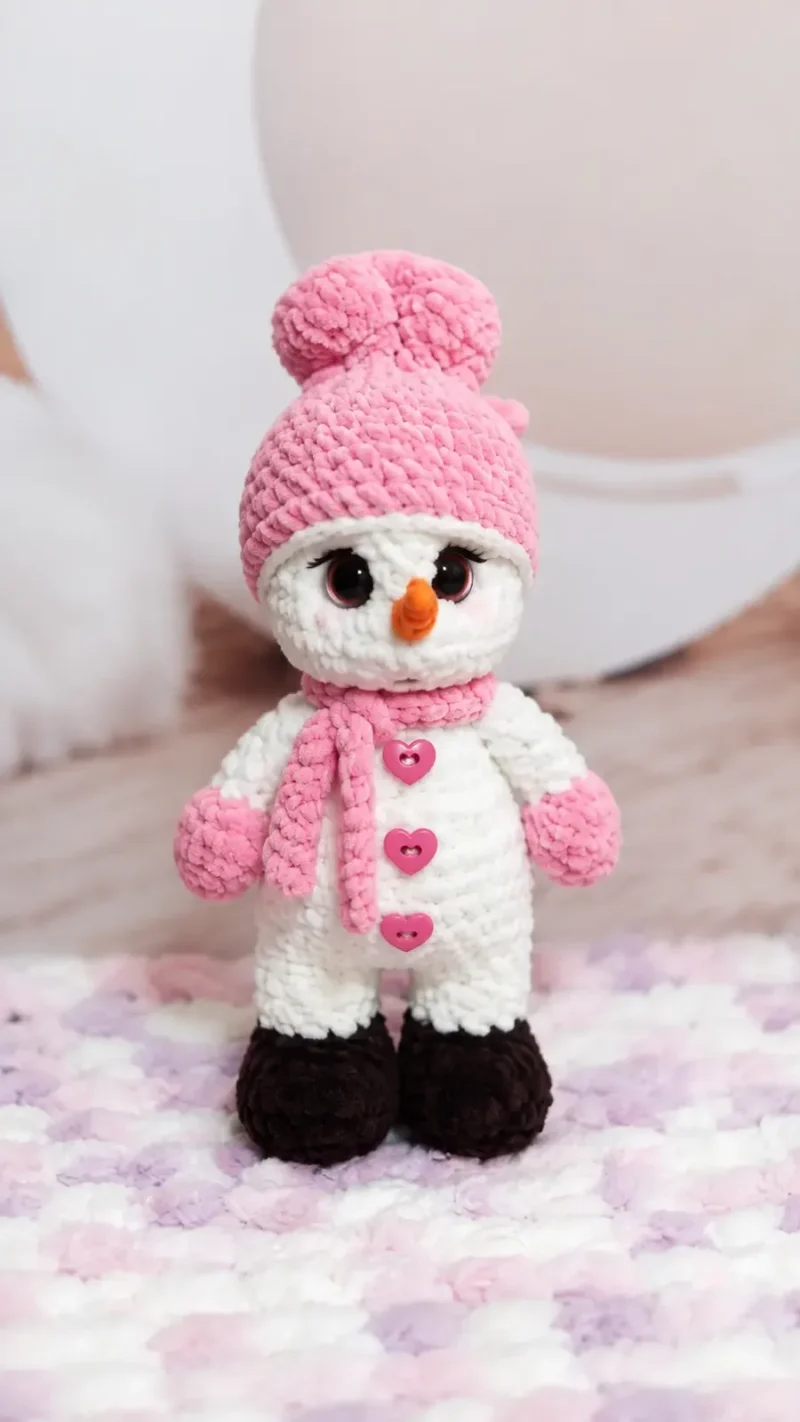
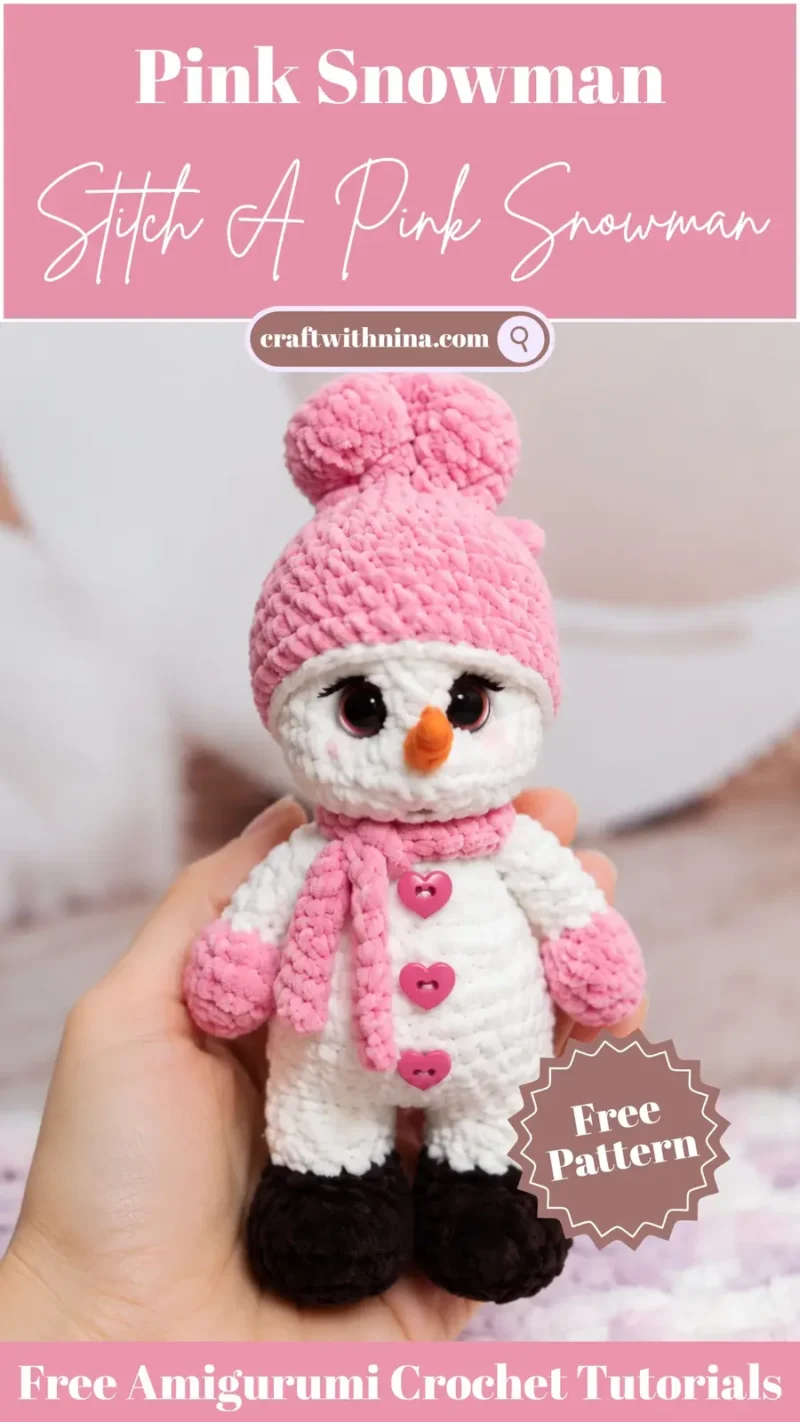
Pink amigurumi snowman plush worked in single crochet
Single crochet builds a dense, firm fabric for this standing pink snowman plush, shaped from legs up through one joined body and head.
- Skill
- Intermediate
- Time
- 4-6 hours
- Hook
- 16 mm
- Yarn
- Worsted
- Rounds
- 36
About this pattern
Pick this up and the single crochet rounds that make up most of the body feel tight and almost leathery, no gaps between stitches for the stuffing to peek through. The hdc cluster worked at the top of each arm breaks that density on purpose, raising a small ridge of taller stitches where the hand needs to read as rounded rather than flat. Everywhere else, sc keeps the wall of the fabric thick enough to hold its shape without a wire or armature inside it.
Legs, body, and head come off the hook as one continuous piece, legs built first and then crocheted straight into the base of the body so there is no side seam to sew later. The arms attach separately at round 13, well below the neck shaping, so the body is already narrowing toward the face by the time they go on. Stuff as you climb from the feet upward, firming each section before it closes over, so the finished figure stands on its own without leaning.
The swatch in numbers
- Rounds
- 36
- Parts
- 5
- Level
- Intermediate
- Time
- 4-6 hours
- Hook
- 16 mm
- Yarn
- Worsted
The yarn and the hook
- Pink yarn
- White yarn
- Brown yarn
- Safety eyes 16 mm
- Safety nose
- Stuffing
- Crochet hook
- Tapestry needle
- Stitch marker
- A standard 3.5 mm or 4.0 mm crochet hook works great depending on your yarn thickness and personal tension.
Stitches, spelled out
sc single crochetDense; hdc half double crochetDense; inc increase; dec decrease; ch chain; MR magic ringDense.
Tension and hand-feel
No stitch-gauge measurement is given for this pattern, so judge round 1 of the legs by feel: the 5 ch base should lie flat with the first sc row snug against it, not rippling or cupping.
If the fabric already shows gaps at that stage, drop to a smaller hook within the 3.5 mm to 4.0 mm range the notes allow; if the stitches feel stiff and hard to work into, move up within that same range.
Arms
Make 2We start crocheting with pink yarn.
Body-Head
On the second leg, do not cut the thread and cast on 3 ch; the marker should be in the middle of the inner side of the leg.
Scarf
Hat
Legs
Make 2We start crocheting with brown yarn.
How the texture is built
- The legs begin with a 5-chain worked flat rather than a magic ring, which produces an oval sole instead of a round one, and gives each foot a flat base to stand on once stuffed.
- Round 1 of the Body-Head picks up 12 sc along each leg plus 3 sc along each chain gap for 30 stitches total, so the legs are joined directly into the body with no separate seam, and the second leg's live thread carries straight into the torso.
- The body widens at round 2 with (4 sc, inc) x 6 to reach 36 stitches, then narrows again at round 8 with (4 sc, dec) x 6 back to 30, marking the fullest point of the torso between those two rounds before the arms are set in at round 13.
Putting the pieces together
If you swap the yarn
| DK weight cotton | Produces a firmer, smaller plush with crisp stitch definition around the eye and nose placement rounds; drop to a 3.0-3.5 mm hook and expect less give when stuffing firmly. |
|---|---|
| Chunky weight acrylic | Scales the whole figure up from the same round counts, with thicker walls that need less stuffing to look full; move up to a 5.0-5.5 mm hook and work loosely to keep the fabric from going rigid. |
| Sport weight cotton-bamboo blend | Gives a softer, more fluid drape through the arms and legs and a lighter overall plush; use a smaller hook than the 3.5-4.0 mm range to keep stitches close enough to hide stuffing. |
Colorways
- Inverted panel White for the Body-Head throughout, pink for the legs in place of brown, and brown reserved for the arm cuffs worked from round 6 onward.
Washing and blocking
Hand wash in cool water only and avoid wringing, since twisting strains the stuffed body and can push fiberfill against the stitches until it shows through.
Press out excess water in a towel rather than hanging to dry, then reshape the body and limbs by hand while still damp so the snowman stands evenly once dry.
Store upright or lying flat in a single layer rather than stacked, which keeps the firmly stuffed legs from flattening over time.
When it does not look right
- The safety eyes sit crooked or the back
- This happens when the eyes go in before the head is firm; stuff the head fully first, then insert the eyes between rounds 22-23 at the 3 sc spacing and press the washer on from inside while the fabric is taut.
- The legs splay outward instead of standing with feet forward
- The stitch marker has shifted off the center inner side of the second leg; reset it there before joining with the 3 ch so the feet rotate to face forward when the legs meet.
- The finished snowman leans or slumps at the waist
- The body and legs were stuffed loosely as the rounds climbed; add stuffing firmly round by round working upward toward the neck before closing after round 31.
Close-ups
Questions people ask
What hook size works best for this pattern?
A standard 3.5 mm or 4.0 mm crochet hook works great depending on your yarn thickness and personal tension.
Are the arms sewn on or crocheted directly into the body?
The arms are crocheted right into the body at round 13, saving you an extra sewing step later on.
When should I insert the safety eyes and nose?
Place the 16 mm safety eyes between rounds 22 and 23 of the head, and insert the safety nose one round directly below them before closing up the head.
How is the body connected to the head?
The body and head are crocheted as one continuous piece, starting from the legs up to the top of the head.
Is this pattern beginner-friendly?
Yes, basic knowledge of single crochet, increases, decreases, and working in rounds will allow you to make this project easily.
New patterns, as they are filed
One short email when a batch lands, with the feel of each.