
63 rounds · filed under dense · 51 of them
Amigurumi · added 5 Oct 2026
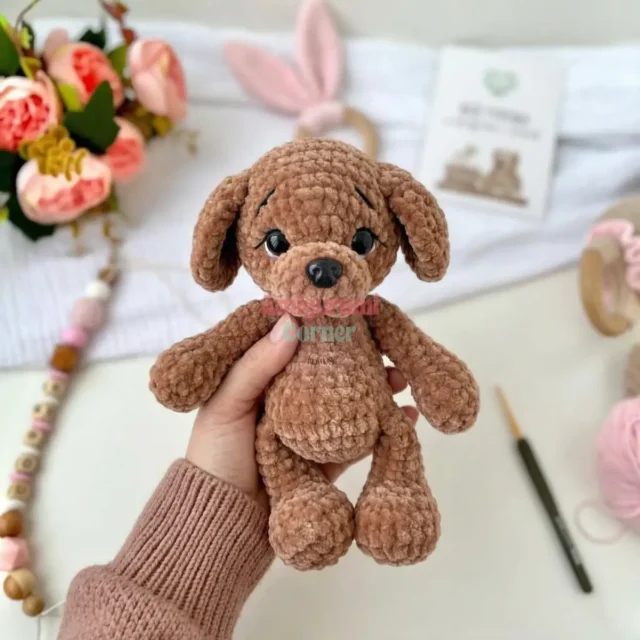
Plush chenille puppy amigurumi with a needle-sculpted face
Single crochet in bulky chenille builds a dense, plush puppy amigurumi with a needle-sculpted face.
- Skill
- Intermediate
- Time
- 4-6 hours
- Hook
- 4.0 mm
- Yarn
- Bulky
- Rounds
- 55
About this pattern
Worked in single crochet with a bulky chenille plush yarn, this fabric comes out dense and soft under the fingers, closer to a brushed pile than a typical crochet surface. The tight single crochet stitches pack close together, which is what keeps the fuzzy chenille strands from separating and lets the fabric hold its shape once stuffed rather than sagging under the fiberfill.
The body builds into rounded, continuous shapes — head, body, and legs all turn in spiral rounds with no seam line breaking up the surface. Front legs and ears are the exception, worked flat in short rows, then folded over and closed into a seam, giving them a flatter, foldable shape before they get stitched onto the rounded body and sculpted into a face with pulled thread.
This is an intermediate-level amigurumi pattern that finishes at roughly 7–7.5 inches tall — compact enough for a gift bag but substantial enough to feel genuinely cuddly. The muzzle shaping uses half double crochet increases to build dimension, and the finishing technique of needle-sculpting the face is what transforms the stuffed toy into something that looks almost alive.
Pattern is written in US crochet terminology. All pieces except the ears and front legs are worked in continuous spiral rounds — do not join rounds unless specifically instructed. Stitch count is given at the end of each round or row in parentheses: (##).
The swatch in numbers
- Rounds
- 55
- Parts
- 7
- Level
- Intermediate
- Time
- 4-6 hours
- Hook
- 4.0 mm
- Yarn
- Bulky
The yarn and the hook
- Yarn (Main Color): Himalaya Dolphin Baby or equivalent bulky chenille/plush yarn — approx. 55g per toy, in your chosen color
- Yarn (White): Small amount of the same plush yarn in white, for embroidering eye whites
- Yarn (Black): Vita Coco or equivalent lightweight smooth yarn in black, for embroidering eyelids and eyebrows
Hook
- US G-6 (4.0 mm)
Safety Eyes
- 12 mm, 1 pair
Safety Nose
- Approximately 16×12 mm, 1 piece
- Fiberfill stuffing
- Stitch markers
- Long yarn needle / tapestry needle
- Scissors
- Strong thread or yarn for needle-sculpting the face
- 2 knitting needles or pins for positioning the head during assembly
Stitches, spelled out
ch Chain; dec Invisible Decrease; hdc Half Double CrochetDense; hdc-inc 2 hdc in same stitch (Half Double Crochet Increase)Dense; inc Increase (2 sc in same stitch); MR Magic RingDense; ps Shift/Alignment Stitch (used only for repositioning the round marker); sc Single CrochetDense; sl st Slip Stitch; st(s) Stitch(es).
Tension and hand-feel
After the first few rounds, press a finger against the fabric and check that no gaps show between stitches and no fiberfill peeks through from inside.
If the surface feels loose or stuffing shows through, drop to a smaller hook and keep tension tighter, since the pattern treats consistent tight tension as more important than matching an exact gauge.
Front Legs — Make 2
Worked in flat rows, then folded and closed.
Foundation: Ch 4.
Back Legs — Make 2
Worked in continuous spiral rounds.
Tail — Make 1
Worked in continuous spiral rounds. Do not stuff.
Ears — Make 2
Worked in flat rows. At the end of every row from Row 2 onward, ch 1 and turn.
Foundation: Ch 4.
Muzzle Bump — Make 1
Foundation: Ch 3.
Body — Make 1
Worked in continuous spiral rounds. Stuff firmly as you go, shaping the belly as you decrease.
Head — Make 1
Worked in continuous spiral rounds. Stuff firmly as you go. Do not align the stitch marker during Head construction.
How the texture is built
- The Front Legs start as a flat chain of 4, worked in rows rather than spiral rounds, because they need to be folded in half and seamed closed into a tube shape before stuffing, unlike the rest of the body.
- Row 1 clusters its increases at both ends of the foundation chain (3 sc in one stitch, plus an increase on the return side), which rounds out the toe of the paw right from the first row rather than building it up gradually.
- Row 2 spreads three separate increase points across the row (inc, 1 sc, 3 inc, 1 sc, 2 inc) to jump the stitch count from 8 to 14 in a single pass, giving the paw its widest point immediately after the foundation before the shaft narrows in later rows.
Putting the pieces together
If you swap the yarn
| Bulky weight velvet/velour polyester yarn | Keeps the same soft, brushed surface as the chenille but sits lighter in the hand, so the stuffed pieces may need extra fiberfill to hold the same firm shape; the G-6 hook stays the same. |
|---|---|
| Worsted weight cotton yarn | Produces a firmer, less fuzzy fabric where individual stitches are visible, so tension needs to run tighter to hide fiberfill, and a smaller hook closer to US E-4 may suit the denser fiber better than G-6. |
| Bulky weight wool-blend yarn | Adds more loft and drape than chenille, so the fabric can stretch slightly once stuffed; tightening stitches during the spiral rounds keeps the shape from loosening around the fiberfill. |
Colorways
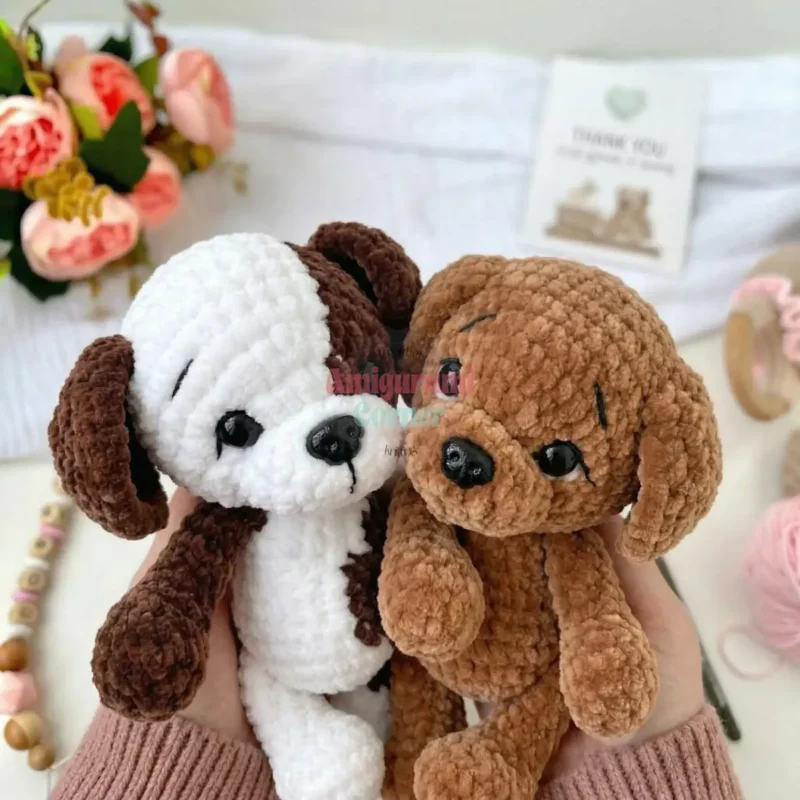
- Single-color pup Head, body, legs, and ears all worked in the same main-color plush yarn; white stays confined to the eye-white embroidery and black to the eyelid and eyebrow embroidery plus the nose piece.
Washing and blocking
Hand wash in cool water and avoid wringing the chenille pile, since twisting crushes the plush texture rather than cleaning it.
Lay the toy flat to air-dry away from direct heat, which keeps the brushed surface from matting down or going stiff.
Store the finished puppy loosely, without heavy items pressed against the Front Legs or ears, so the folded-and-seamed shaping holds instead of flattening over time.
When it does not look right
- The front legs look flat or floppy instead of rounded
- The fold-and-seam edges were likely closed before packing in enough fiberfill; stuff firmly before seaming the row edges shut so the leg holds a round profile.
- Fiberfill shows through between the stitches
- The spiral rounds were worked at too loose a tension; drop to a smaller hook or tighten each stitch, since consistent tight tension is what keeps the chenille fabric opaque.
- The face looks flat or the eyes sit too far apart
- The sculpting pins were likely set too far apart or the thread wasn't pulled tight between Rounds 7 and 8; re-mark the pin points 1–2 stitches apart at the center lower face and draw the thread tight before knotting.
Close-ups

Questions people ask
Why are the front legs worked flat instead of in spiral rounds like the rest of the body?
The Front Legs are built in rows so they can be folded in half and seamed closed into shape before stuffing. Every other part of the puppy works in continuous spiral rounds with no seam, which keeps their surface unbroken.
Does gauge matter for this pattern?
Exact gauge is not critical here. What matters is keeping tension consistently tight throughout, since that's what stops fiberfill from showing through the chenille fabric.
What is the eye-sculpting step actually doing to the fabric?
Pin points are set at the center lower face between Rounds 7 and 8, and strong thread draws each safety eye inward toward its pin point. Pulling that thread tight and knotting it pulls the fabric into a sculpted eye socket rather than leaving the eyes sitting flat on the surface.
How much yarn does one puppy use?
The main color plush yarn runs approximately 55g per toy. White and black are needed only in small amounts, for the eye-white, eyelid, and eyebrow embroidery.
New patterns, as they are filed
One short email when a batch lands, with the feel of each.