
33 rounds · filed under dense · 17 of them
Amigurumi · added 5 Oct 2026
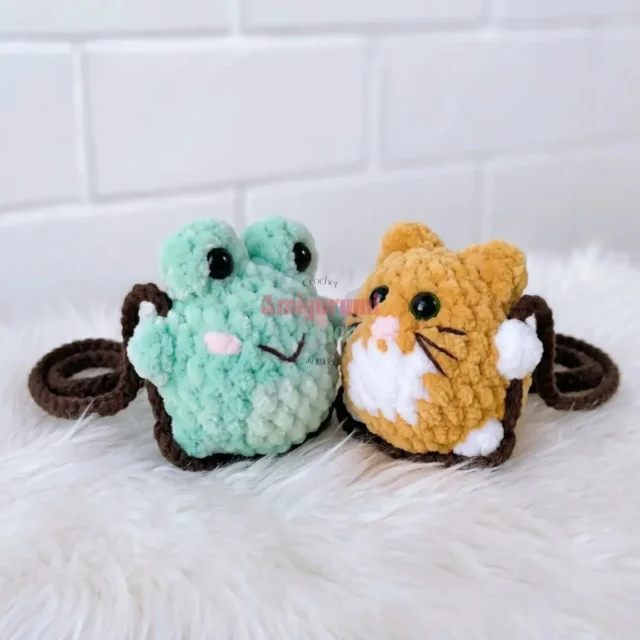
Plush frog and cat amigurumi on hanging swings
Single crochet and bobble stitches build a dense, plush frog and cat duo seated on swings.
- Skill
- Intermediate
- Time
- 4-6 hours
- Hook
- 6.5 mm
- Yarn
- Bulky
- Rounds
- 28
About this pattern
Worked in single crochet through bulky chenille or velvet yarn, this piece comes off the hook dense and plush, swallowing light rather than showing stitch texture. The tight, firm gauge the pattern calls for closes each stitch against its neighbor, so the fiberfill underneath never shows through and the surface stays smooth instead of bumpy. The one exception sits at the legs and arms, where four double crochet stitches cinched into one post raise a firm knot that stands up from the flat round, giving the limbs a shape you can feel with a fingertip.
Each body builds as a continuous spiral sphere, widening fast through the first few rounds before the increases taper off and the round holds steady for the rest of the height. The swing seat breaks that pattern, worked flat in short turning rows with a long chain left hanging off one corner. Once the figure is stuffed and closed, that chain threads through both arms and ties off underneath the seat, so the finished piece hangs by its arms rather than sitting on a shelf. Plan placement with that swing in mind before fastening off the body.
The swatch in numbers
- Rounds
- 28
- Parts
- 4
- Level
- Intermediate
- Time
- 4-6 hours
- Hook
- 6.5 mm
- Yarn
- Bulky
The yarn and the hook
Yarn
- Bulky chenille or velvet yarn in the following colors — Green (main) and Light Green (contrast) for the Frog; Rust/Ginger (main) and White (contrast) for the Cat; Dark Brown for the Swing Seats
Hook size
- US K-10.5 / 6.5 mm, or whichever size gives you a firm, tight fabric with your chosen yarn
Stuffing
- Polyester fiberfill
Stitch markers
- At least 1 to track the beginning of each spiral round
- Yarn needle / tapestry needle
- Scissors
- Embroidery thread or yarn: Pink and white for Frog cheeks and smile; pink for Cat nose, black or dark brown for Cat whiskers
Safety Eyes
- 4 total, approximately 8–10 mm (2 per figure) — or substitute glue-on or sew-on eyes
Stitches, spelled out
ch Chain; dc Double CrochetDrape; dec Invisible Decrease (2 sc worked together through front loops only); hdc Half Double CrochetDense; inc Increase (2 sc in the same stitch); MR Magic RingDense; sc Single CrochetDense; sl st Slip Stitch; st(s) Stitch(es).
Tension and hand-feel
After round 3, when the body reaches 18 stitches around, press a thumb against the fabric to check that the loops sit close enough together that no fiberfill peeks through.
If light or stuffing shows between stitches, drop to a smaller hook or pull your tension tighter rather than continuing at the same gauge. Gauge itself is not critical to the pattern; what matters is that the fabric is tight enough that fiberfill is never visible through the stitches.
Frog Body
Yarn: Green (main), Light Green (contrast). Worked in continuous spiral.
Cat Body
Yarn: Rust/Ginger (main), White (contrast). Worked in continuous spiral. The Frog and Cat share identical structure through Rnd 3, diverging at Rnd 4 with color placement and unique details.
Swing Seat (Make 2 — one per figure)
Yarn: Dark Brown. Worked in flat rows with turning at the end of each row.
Cat Ears
Worked directly onto the finished body. No separate pieces to sew on.
First Ear: Bring the long yarn tail up and out between Rnds 10 and 11 — one round above the Arms.
Insert hook into Rnd 10 and pull up a loop.
Embroider the nose in pink yarn and whiskers in black or dark brown.
How the texture is built
- Rounds 2 and 3 double the stitch count in two even steps (6 to 12 to 18), the standard shaping that turns the flat starting disc into a rounded body before the bobble legs are added in round 4.
- In round 4 of both the frog and cat body, the two leg bobbles sit at opposite points in the round rather than side by side, keeping the pair placed symmetrically across the sphere.
- The swing seat is worked in flat turning rows instead of a spiral because row 1 needs a 3-sc corner increase to turn a straight chain into a shaped seat with a defined end, something a continuous round of increases cannot produce.
- Due to varying tension, body sections may shift slightly out of position round to round. Correct placement using a slip-stitch offset at the start of any affected round.
Putting the pieces together
If you swap the yarn
| Worsted weight cotton | Finished figures run smaller since cotton stitches close tighter than chenille at the same hook, drape turns stiff and structured instead of plush, and the bobble legs show sharper stitch definition; pack stuffing firmer to compensate. |
|---|---|
| DK weight acrylic plush or velvet | Keeps the soft hand in a lighter weight; drop to a smaller hook to keep the fabric closed, and expect to add rounds if the same finished size is wanted, since DK stitches build slower than bulky. |
| Super bulky faux fur or boucle | Adds loft and thickness, hides the bobble leg texture under its own pile, and calls for a larger hook plus a lighter hand with stuffing so the seams do not strain against the extra bulk. |
| Standard worsted weight acrylic | A straightforward substitute for the chenille or velvet yarn — figures will look slightly less fluffy and more defined in stitch texture, but the pattern works the same at the stated gauge. |
Colorways
- Standard pairing Frog body in Green with Light Green worked into the bobble legs; Cat body in Rust/Ginger with White worked into the bobble legs; both Swing Seats in Dark Brown underneath each figure.
- Inverted contrast Frog body worked mainly in Light Green with Green reserved for the bobble legs; Cat body worked mainly in White with Rust/Ginger reserved for the bobble legs; Swing Seats stay Dark Brown for both.
Washing and blocking
Hand wash in cold water and avoid wringing; chenille and velvet-style yarn flattens and sheds when agitated hard.
Lay flat to dry away from direct heat; heat from a dryer or radiator can crush the pile and leave the nap looking matted.
Reshape the bobble legs and swing seat corners while the piece is still slightly damp, then store away from rough fabric or friction so the plush surface keeps its texture.
When it does not look right
- The bobble legs look flat instead of raised.
- The bobble loop was not cinched tightly before closing. Pull the closing loop firm and snug it against the body before moving on to the next stitch.
- The swing seat will not lie flat and the edges curl.
- Tension is uneven at the corner increases in rows 1 through 3. Work the 3-sc corner group at the same tension as the straight sides so one edge does not pull tighter than the other.
- Fiberfill shadows through the body fabric.
- Gauge is too loose for bulky chenille. Drop to a smaller hook or tighten tension until the stitches close without gaps between them.
- Stuffing looks lumpy instead of evenly rounded.
- Add fiberfill in small amounts every few rounds after Rnd 8 rather than all at once — this distributes stuffing evenly and keeps the figure round. The Cat especially benefits from this approach since its decrease rounds close quickly.
- The Frog's safety eye won't seat into the Eye Cluster dome.
- Press the eye post through the center of the cluster dome before fully closing the body — backing it from inside is much easier while a small opening remains. If the dome still won't cooperate, glue-on eyes placed on the surface look just as polished.
- The hanging cord ends up the wrong length for display.
- The ch-90 cord is intentionally generous. For a shorter hang, chain 60 instead, check the drape against the figure and swing seat, and adjust before fastening off — the cord can be shortened by restarting but not extended once fastened off.
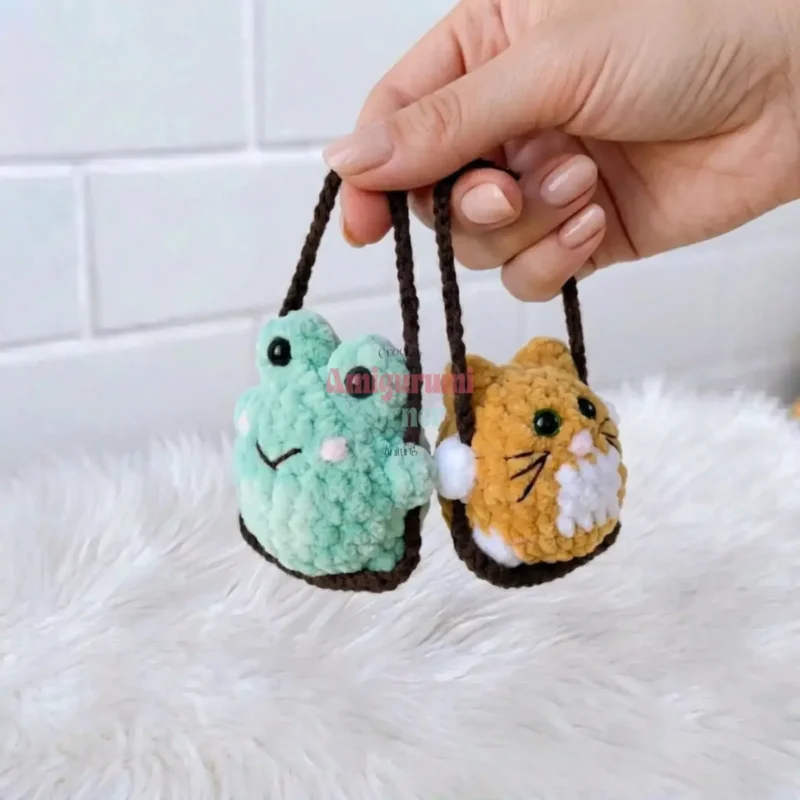
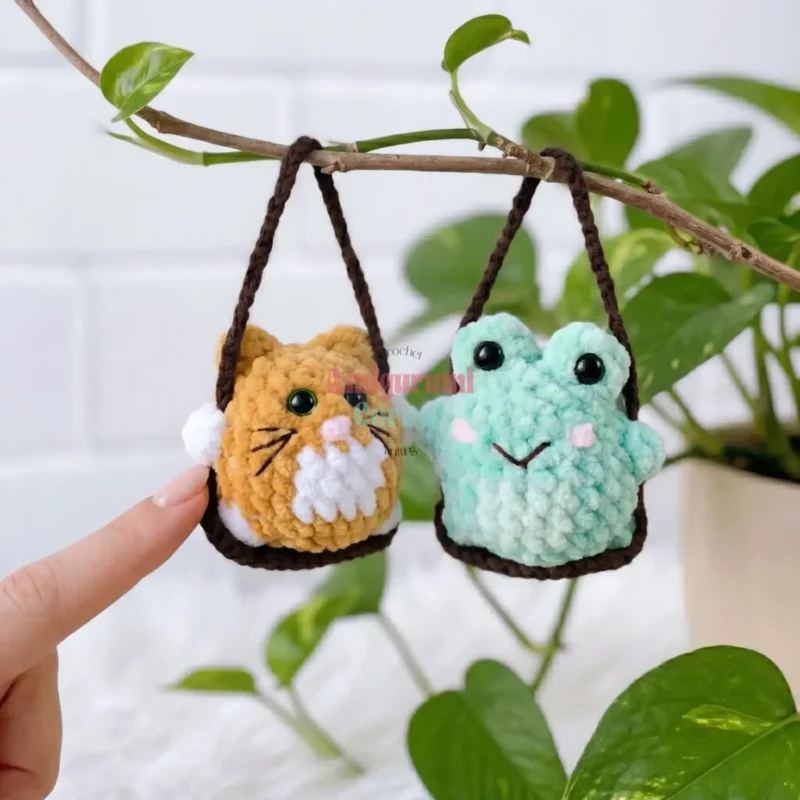
Close-ups
Questions people ask
Can the body rounds be joined with a slip stitch instead of worked as a spiral?
Joining would leave a visible seam line running up the plush fabric. Working in a continuous spiral with a stitch marker is what keeps the sides smooth and round.
How long should the hanging cord be before trimming it?
Chain 90 to start the cord, then hold it against the figure and swing seat before fastening off. The pattern leaves the end open on purpose so you can set the hanging length by eye.
Why does the cat body have more rounds than the frog?
The cat body runs to 11 rounds against the frog's 10, which gives the cat a slightly taller body before the final rounds close it.
What keeps the hanging cord from pulling loose under the figure's weight?
The anchor stitches sewn through the swing seat underside carry the weight, not the cord alone. Several firm passes with the tapestry needle at that join matter more than any single knot.
New patterns, as they are filed
One short email when a batch lands, with the feel of each.