
15 rounds · filed under dense · 5 of them
Amigurumi · added 4 Oct 2026
A plush single crochet amigurumi ladybug for beginners
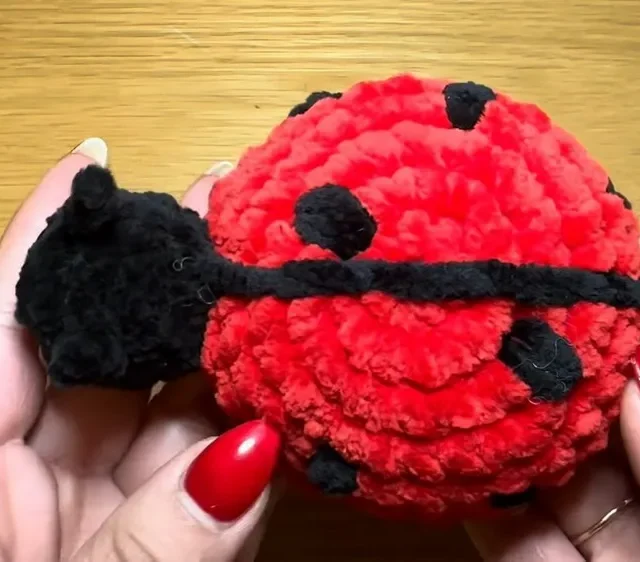
Single crochet turns plush yarn into a dense, stuffable shell and head for this beginner amigurumi ladybug.
- Skill
- Beginner
- Time
- 3-5 hours
- Hook
- 5.5 mm
- Yarn
- Worsted
- Rounds
- 11
About this pattern
Worked entirely in single crochet, this ladybug comes out dense and solid under the fingers, the kind of fabric that holds fiber fill without showing gaps between stitches. The spiral construction used for the head and the two shell pieces leaves no seam line running up the side, so the surface stays smooth and continuous from round to round. Plush yarn thickens that effect further, padding out each stitch so the finished piece feels more like a firm pillow than a typical crocheted toy.
The finished shape stacks three rounded pieces: a small head, a flat gray disc, and a domed red shell that rises off that disc once stuffed. Sewing the head onto the base disc and the shell over the top turns three separate pieces into one rounded body, with the darning needle doing the work a seam allowance would do in fabric sewing. Once assembled and stuffed firm, the piece sits on a flat base rather than rolling, ready for the gray embroidered spots and chained antennae that finish it.
The swatch in numbers
- Rounds
- 11
- Parts
- 3
- Level
- Beginner
- Time
- 3-5 hours
- Hook
- 5.5 mm
- Yarn
- Worsted
The yarn and the hook
- Plush yarn in two colors (gray and red preferred)
- 5.5 mm crochet hook
- Scissors
- Stitch marker
- Darning needle
- 10 mm safety eyes
- Fiber fill
Head
Base of the Shell
Shell
Before completely closing, stuff the shell with fiber fill.
Finally, close the round and finish off.
Putting the pieces together
Close-ups


Questions people ask
Why chain two and work six single crochet into the second chain instead of a magic ring?
It is listed as an alternative to the magic ring for starting the head, giving the same 6-stitch closed center without tying a ring first. Pulling the starting tail snug closes the small center gap the same way a magic ring would.
When do the safety eyes go in?
They are inserted just below the closing round of the head, before stuffing. Placing them while the head is still open makes it easy to check their position and spacing from the inside.
How much fiber fill does the shell actually need?
The pattern gives no exact amount, so judge it by feel: fill until the shell holds its domed shape and feels firm to a light squeeze, not soft or collapsing, before working the final closing round.
Why is the shell worked separately in red instead of continuing from the gray base?
Working it as its own piece lets you stuff and close the shell completely before attaching it with a darning needle. This keeps the color change clean at the seam rather than carrying red through gray stitches.
New patterns, as they are filed
One short email when a batch lands, with the feel of each.