
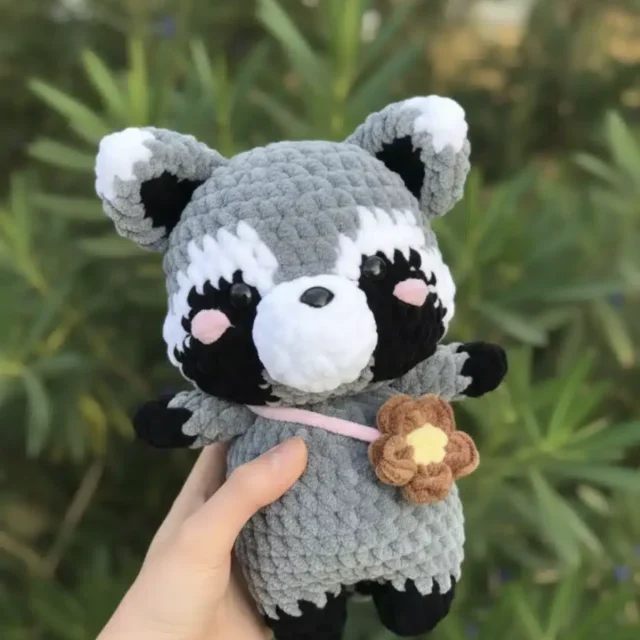
23 rounds · filed under dense · 4 of them
Amigurumi · added 30 Sep 2026
Raccoon amigurumi pattern with masked face shaping
Single crochet builds a dense, poseable raccoon amigurumi with a color-worked mask and stuffed limbs.
- Skill
- Intermediate
- Time
- 4-6 hours
- Hook
- 5 mm
- Yarn
- Worsted
- Rounds
- 18
About this pattern
Single crochet worked in the round keeps this raccoon dense and closed-faced, the loops packed tight enough that fiberfill won't peek through anywhere on the head, body, or legs. That tightness is what lets the gray, white, and black sections on the head hold a crisp edge against each other instead of blurring, so the mask reads as a mask and not a smudge.
Every piece is a stuffed sphere or cylinder — head, nose, body, arms, legs, tail — joined afterward with a needle rather than crocheted together as it goes. That means you can stuff and shape each part on its own before it ever meets another, packing the cheeks full on the head while keeping the tail firmer for it to stand away from the body.
The swatch in numbers
- Rounds
- 18
- Parts
- 8
- Level
- Intermediate
- Time
- 4-6 hours
- Hook
- 5 mm
- Yarn
- Worsted
The yarn and the hook
Yarn Requirements
- Himalaya Dolphin Baby in gray, white, black, yellow, and pink (less than one skein per color)
Alternative brands
- Yarn Art or Premier Parfait, depending on your location
Tools and Notions
- Crochet hook: 4-5mm (suitable for chunky yarn)
- Stitch markers
- Scissors
- Fiberfill stuffing
- Yarn needle for sewing
- 12mm plastic safety eyes
- Optional: Safety nose or black embroidery yarn
Stitches, spelled out
Mr Magic ring (or chain 2 and crochet into first chain)Dense; Sc Single crochetDense; Inc Increase; Dec Decrease (invisible decrease recommended); (…) n * Repeat stitches in brackets n times; Slst Slip stitch; Ch Chain; Hdc Half double crochetDense; Dc Double crochetDrape; Trc Treble crochetDrape; BLO Back loop onlyRidge; FLO Front loop onlyRidge.
Head
Starting with gray yarn to create the distinctive raccoon mask pattern.
Eye Placement: Insert 12mm safety eyes between rounds 10-11, spacing them approximately 6 stitches apart. The white patches frame these eyes perfectly, creating an alert, friendly expression.
Finishing Touch: Stuff the head completely, paying special attention to filling out those adorable cheeks. The proper stuffing technique makes all the difference in achieving that perfect chubby-cheeked look.
Nose
Made using white yarn.
Stuff lightly with fiberfill and sew to the face between rounds 11-14 of the head.
Using black yarn, embroider a triangular nose detail between rounds 2-3 of the nose piece, or insert a plastic safety nose for a different look.
Adding Character: Use pink yarn to create blushing cheeks beside each eye.
Arms
Make 2Using black yarn for the paws and gray for the arms.
Leave arms unstuffed for a floppy, natural appearance, or lightly stuff if you prefer more structured limbs.
Attach to round 15 of the body, positioning them slightly forward for an embracing pose.
Tail
Alternates between gray and black in a striking ringed pattern.
Stuff the tail generously to give it structure and weight.
Attach between rounds 7-9 of the body, positioning it to curve naturally.
Flower Accessory
Uses yellow and pink yarn.
Leave a long pink tail to create a strap, allowing you to position the flower decoratively on your raccoon's head or body.
Body
Joining the Legs: The second leg connects to the first via a chain bridge in gray yarn, creating a seamless transition into the body. This is a standard amigurumi technique that creates the characteristic pear-shaped body.
Critical Stuffing Note: Like the head, the body requires generous stuffing so your raccoon can sit upright and maintain its adorable posture.
Legs
Make 2Starting with black yarn, make two identical legs.
Ears
Make 2These triangular ears should remain unstuffed to maintain their alert, perky appearance.
Attach them between rounds 4-7 of the head, angling them slightly outward.
Putting the pieces together
Colorways
- Standard mask Gray for the head base and body, white for the eye-patch rounds (8-9), black for the mask rounds (10) and the legs, yellow and pink reserved for the flower accessory.
Close-ups
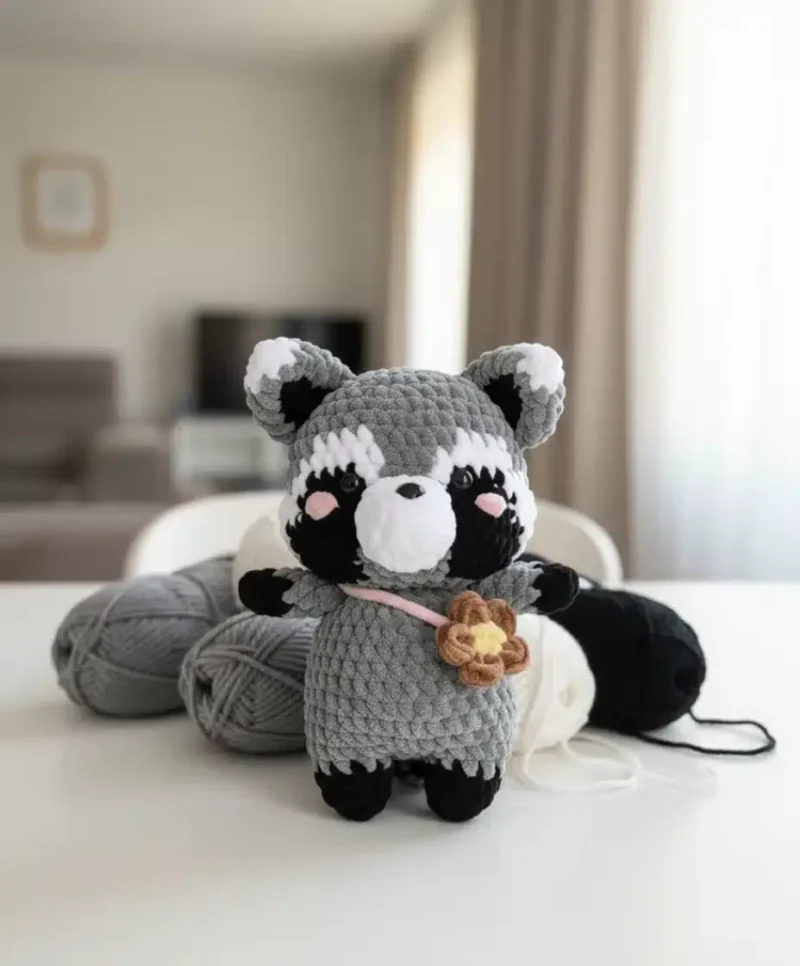
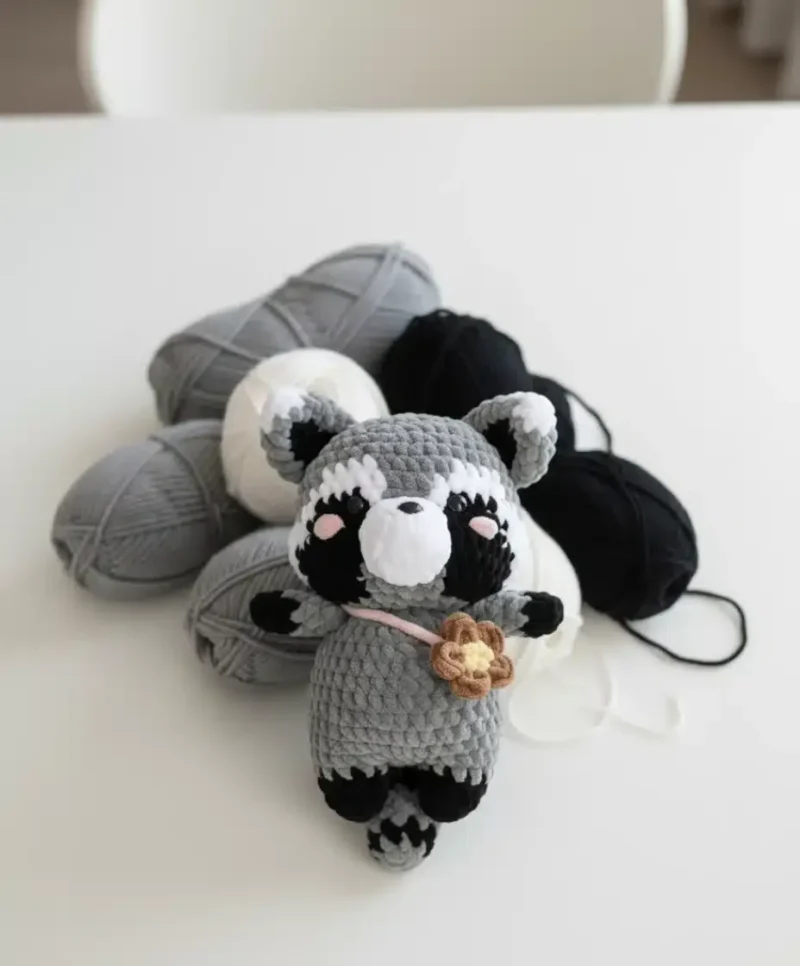
Questions people ask
Which part should you crochet first?
Start with the head since it carries the color-change pattern and takes the longest to get right. Working the smaller pieces like the nose and ears afterward lets you match tension once your hands have settled into the project.
How much of each color do you actually need?
The materials list calls for less than one skein of each color, since gray, white, and black cover the head and body while yellow and pink are limited to the flower accessory. Small amounts are enough to complete the whole toy.
Can the safety nose replace the embroidered one without changing the pattern?
Yes, the nose piece is worked the same three rounds either way; the choice only changes what covers the round 2-3 area, either black embroidery yarn stitched into a triangle or an inserted plastic safety nose.
Why does the tail need to be attached firmly?
The tail is listed as providing stability to the finished figure, meaning a loose attachment leaves the amigurumi tipping backward once it's stuffed and set down. A secure whip stitch around its full base keeps the raccoon balanced on its feet.
New patterns, as they are filed
One short email when a batch lands, with the feel of each.