
15 rounds · filed under dense · 5 of them
Amigurumi · added 27 Sep 2026
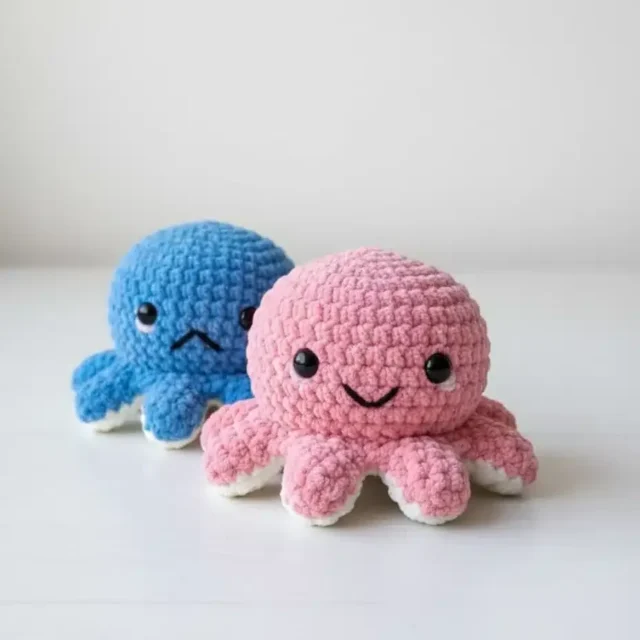
Reversible amigurumi octopus pattern with two faces
Single crochet builds a dense, huggable body and half double crochet fans into eight tentacles on this two-faced amigurumi octopus.
- Skill
- Intermediate
- Time
- 4-6 hours
- Yarn
- Worsted
- Rounds
- 7
About this pattern
Worked entirely in single crochet, this body comes off the hook tight and dense, with almost no gap between stitches. That closeness is what lets it hold stuffing without the filling showing through or pushing the fabric out of shape. Run a finger over a finished round and you feel a firm, slightly ridged surface rather than a soft, open one — a direct result of working single crochet in a continuous spiral instead of taller stitches or turned rows.
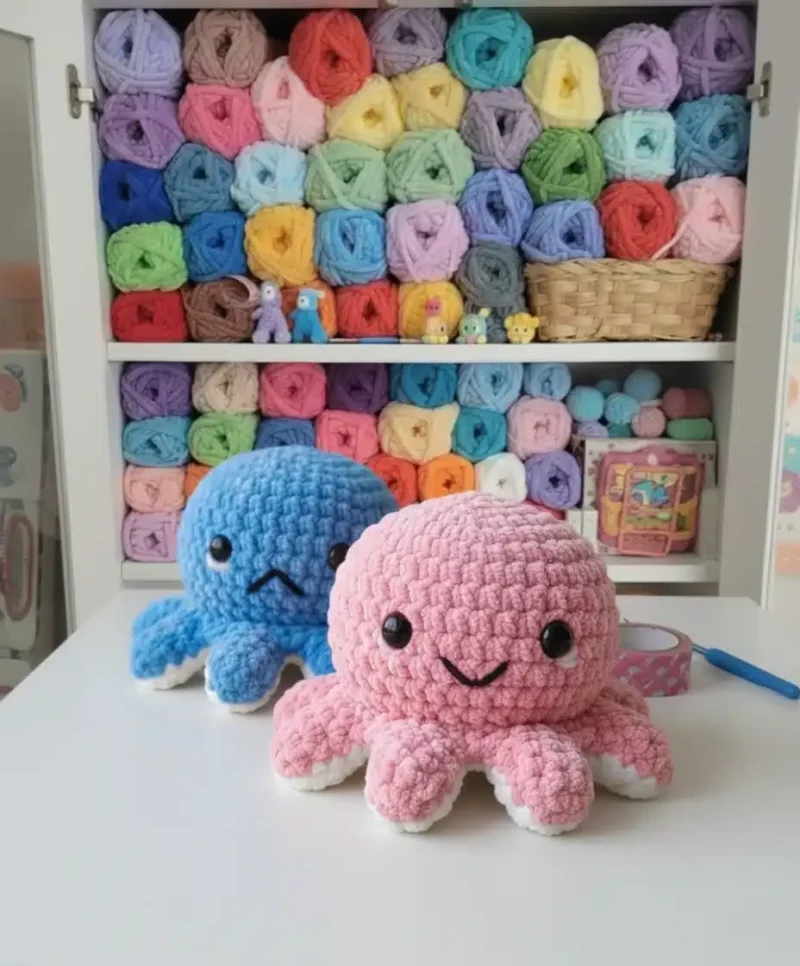
The body swells from a tight 6-stitch ring to 12 stitches and then 18, rounding into a dome rather than a cone, and the tentacle round fans that same dense fabric into eight distinct legs. Make this shape twice, add a face to each, and stitch the two bodies back to back so the tentacles line up — the result is a toy that shows a different expression no matter which side faces up.
The swatch in numbers
- Rounds
- 7
- Parts
- 2
- Level
- Intermediate
- Time
- 4-6 hours
- Yarn
- Worsted
The yarn and the hook
- Yarn in two contrasting colors (pink and white work beautifully)
- Crochet hook appropriate for your yarn weight
- Safety eyes
- Embroidery thread for facial features
- Yarn needle for sewing
- Stitch marker (optional but helpful)
Stitches, spelled out
MR Magic ringDense; Ch Chain; St Stitch; Sc Single crochetDense; Inc Increase; Dec Decrease; Hdc Half double crochetDense; Slst Slip stitch.
Tension and hand-feel
After Round 1, count the stitches in the magic ring before moving on — you should have exactly 6 single crochets sitting snugly around a closed center with no visible hole.
If the ring gapes open or the count runs short, pull the tail tighter and recheck before starting Round 2, since a loose start will throw off the 12- and 18-stitch counts that follow.
Creating the Octopus Body
The body is worked continuously in rounds without joining, except where specifically noted.
Starting Foundation: Begin with a magic ring or chain 2 and work into the first chain.
Crafting the Tentacles
How the texture is built
- The increase pattern moves from doubling every stitch in Round 2 to alternating single crochet with increase in Round 3, which spreads the added stitches evenly around the circle instead of stacking them in one spot — that even spacing is what keeps the body rounding into a dome rather than puckering into a cone.
- The body is worked in continuous rounds with no join, which leaves no seam line running down the surface — an important detail here, since both sides of the finished toy are meant to be seen once the two bodies are stitched together.
- The tentacle round works a 5-hdc cluster into a single stitch, then anchors it with a slip stitch in the next stitch before starting the following cluster — that slip stitch is what separates one leg from the next without cutting the yarn, letting all eight tentacles come from a single round.
Putting the pieces together
If you swap the yarn
| Cotton, worsted weight | Stitches sit firmer and show more definition, the fabric has less stretch, and a slightly smaller hook keeps the dense single crochet texture from loosening up. |
|---|---|
| Acrylic, DK weight | The finished octopus comes out smaller and lighter, uses less yarn per body, and needs a smaller hook to keep the same tight, no-gap fabric. |
| Acrylic or wool-blend, bulky weight | Tentacles and body grow noticeably larger and quicker to work, the fabric turns softer and more open, and a bigger hook is needed — stuff a little firmer to compensate for the looser stitch. |
Colorways
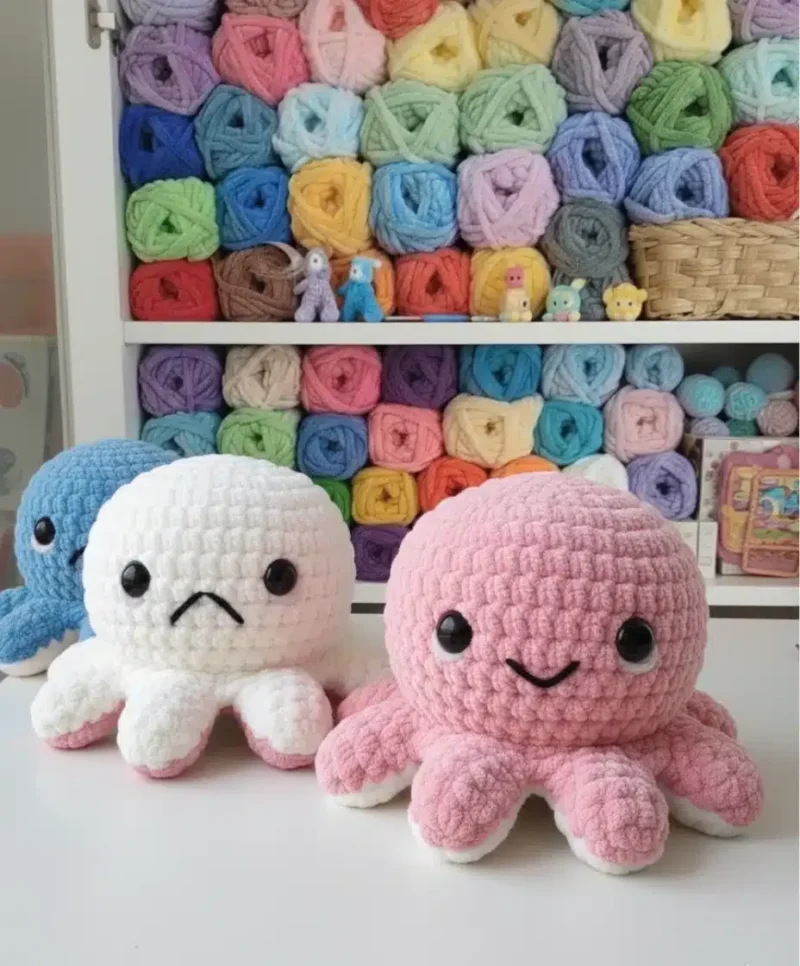
- Mirror Image Work one full octopus — body and tentacle round both — in pink, and the second full octopus in white, so each side of the joined toy reads as a single solid color.
Washing and blocking
Hand wash in cool water and avoid wringing, since twisting a stuffed single crochet body can distort the round shape built up over the increase rounds.
Lay the octopus flat to dry, tentacles spread out, so the fan-shaped hdc clusters dry lying open rather than curled under.
Reshape the dome of the body by hand while still damp, and store away from direct sunlight to keep both colors from fading unevenly.
When it does not look right
- The body looks like a cone instead of a rounded dome.
- The increases in Round 3 likely bunched together instead of alternating evenly with single crochets — recount to confirm 18 stitches with the increase landing on every third stitch.
- The tentacles curl under instead of lying flat.
- The 5-hdc clusters were worked too tightly into their stitch — loosen tension on the cluster and block the tentacles flat while the fabric is still damp.
- There's a small hole at the very center of the body.
- The magic ring wasn't pulled fully closed before Round 1 — tug the starting tail firmly tight before working any further rounds.
Close-ups
Questions people ask
Can the two octopi be different sizes?
No — both bodies need to follow the identical round counts so the tentacles line up when the finished pieces are sewn together. Working one octopus with extra or fewer rounds will leave the tentacles mismatched at assembly.
Does each octopus need its own safety eyes and mouth?
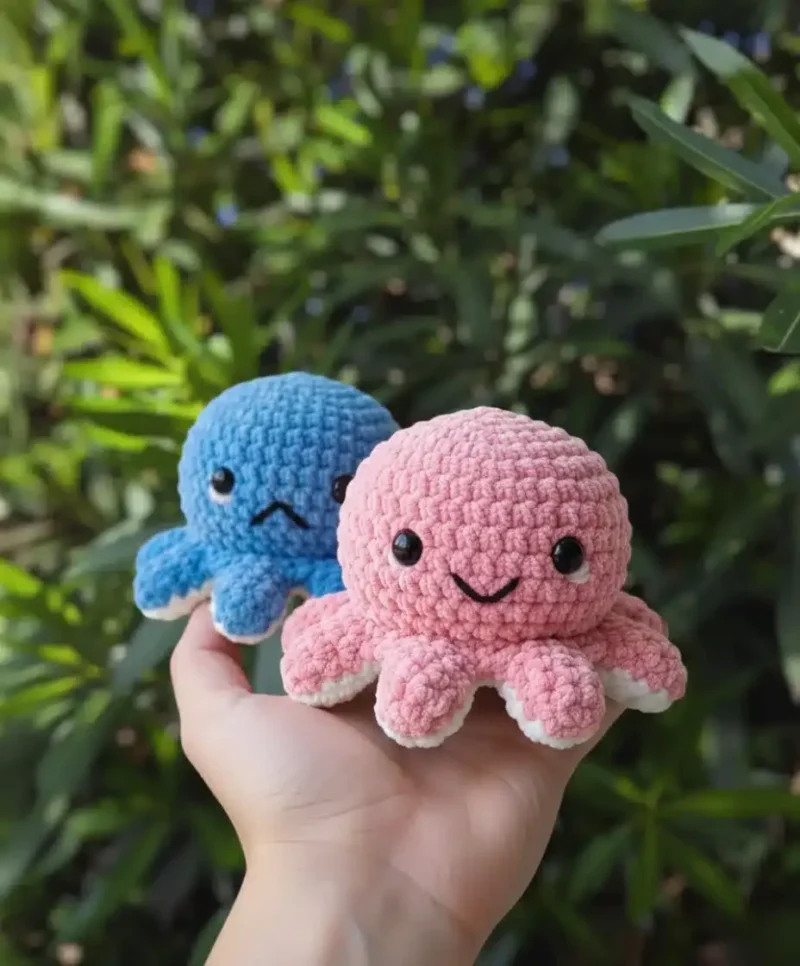
Yes, since each side of the reversible toy shows its own face — one smiling, one frowning. Insert eyes and embroider the mouth on both bodies before joining them.
How do the two octopi join without a visible seam down the side?
The tentacles of one octopus are sewn directly to the corresponding tentacles of the other, so the join sits between the legs rather than across the dense single crochet body. This keeps both smooth, seamless body surfaces facing outward.
Why does the body use single crochet instead of a taller stitch?
Single crochet worked in continuous rounds produces a tight, dense fabric with little stretch, which holds stuffing firmly and keeps the round shape from the increase rounds intact. A taller stitch would leave a looser, more open fabric less suited to a stuffed toy.
New patterns, as they are filed
One short email when a batch lands, with the feel of each.