
16 rounds · filed under dense · 7 of them
Shrugs & Wraps · added 6 Oct 2026
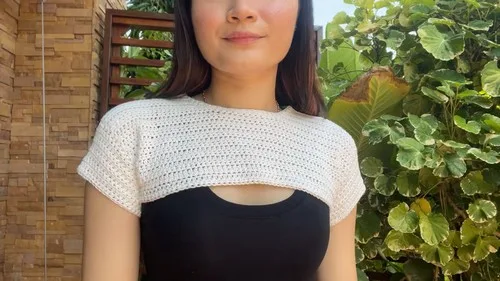
Short sleeve cotton shrug worked in half double crochet
Half double crochet builds a firm, textured cotton fabric for this short-sleeve shrug, shaped at the shoulders and sleeves.
- Skill
- Intermediate
- Time
- 4-6 hours
- Hook
- 4 mm
- Yarn
- Sport (#2)
- Rounds
- 11
About this pattern
Worked entirely in half double crochet with a 4mm hook on sport weight cotton, the fabric comes out close and firm under the fingers, with a faint horizontal ridge where each HDC row stacks on the last. Cotton has little give, so the stitch's taller post keeps the fabric from feeling stiff or boardy; it sits with some body but still folds. Edges hold their line without curling, which matters once the panels get seamed together at the shoulder.
The piece builds from a single rectangle worked wide enough to span the underarms, then two shoulder panels that narrow as they near the neck, finished with sleeves set into the armholes. Once seamed, it reads as a wrap: shoulders and short sleeves fitted, front and sides left open. Wear it over a sleeveless top or tank, letting the front edges hang loose rather than closing them.
The swatch in numbers
- Rounds
- 11
- Parts
- 4
- Level
- Intermediate
- Time
- 4-6 hours
- Hook
- 4 mm
- Yarn
- Sport (#2)
The yarn and the hook
- Sport weight cotton yarn (weight #2)
- 4 mm crochet hook (or size recommended for your yarn)
- Tape measure
- Needle
- Scissors
- Stitch markers
Stitches, spelled out
HDC Half Double CrochetDense.
Tension and hand-feel
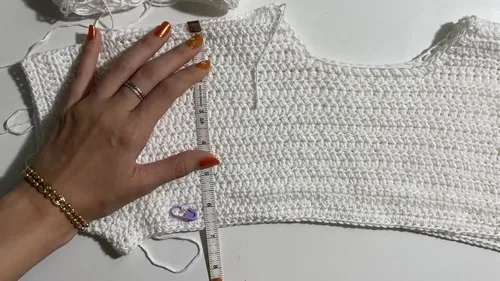
After the first row of the Base Panel, lay it flat and check that the chain length still matches your underarm measurement before continuing.
If the row has pulled narrower or wider than that measurement, swap to a half size up or down in hook and redo the chain until the width holds.
Base Panel
Measure across your underarms for desired shrug width before chaining.
Shoulder Panel
Make 2Measure your neck width and subtract 2 inches to get the adjusted neck width.
Fold the panel in half and mark the midpoint.
From the midpoint, measure half the adjusted neck width on each side and mark with stitch markers.
Work the second shoulder panel the same way on the opposite side.
Sleeve
Make 2Work the second sleeve the same way.
Bottom Edge (Extra Length)
This section is optional, worked if extra length is desired.
How the texture is built
- The Shoulder Panel decreases over the last two stitches of every row, so the taper happens along one edge only, narrowing steadily from the underarm toward the neck rather than shaping both sides at once.
- The Base Panel is worked flat in turned rows rather than in the round, which keeps its two selvage edges straight and ready to seam directly to the shoulder panels.
- Each Sleeve starts by joining yarn at the armhole corner and chaining across to the opposite corner before working HDC around the whole opening, so the sleeve closes into a tube at the join rather than being seamed afterward.
Putting the pieces together
If you swap the yarn
| Fingering weight cotton-linen blend | Drops to a 3mm hook, fabric turns lighter and more open, drape loosens so the shrug hangs softer against the shoulders. |
|---|---|
| DK weight cotton-acrylic blend | Move up to a 4.5mm or 5mm hook, fabric thickens and stiffens slightly, giving more structure at the shoulder taper but less fold at the front edges. |
| Sport weight bamboo-rayon blend | Same 4mm hook works, but the fabric gains slip and shine, drapes closer to the body, and the HDC ridge shows up softer against the smoother fiber. |
Colorways
- Tonal body, contrast sleeves Base Panel and both Shoulder Panels in the main color, both Sleeves and the Bottom Edge worked in a second color so the arms and hem read as a distinct band.
- Single color with bordered neckline Base Panel, Shoulder Panels, Sleeves, and Bottom Edge all in one color, with the Optional Neckline Border worked in a contrast color for a defined edge at the neck.
Washing and blocking
Hand wash in cool water, since sport weight cotton holds no elastic recovery and hot water or a machine cycle can stretch the HDC rows out of shape.
Dry flat on a towel rather than hanging, so the weight of the wet cotton doesn't pull the shoulder taper or sleeve join long.
Fold for storage instead of hanging on a hook or hanger, which keeps the neckline and shoulder seams from stretching under their own weight over time.
When it does not look right
- The shoulder taper looks uneven, wider in some rows than others
- The decrease over the last two stitches was skipped or misplaced on some rows; recount to the stitch marker each row and work the decrease at the same edge every time.
- The sleeve puckers or bunches right at the armhole corner
- Too many HDC stitches landed at the corner during the joining round; space them evenly across the chain and around the opening instead of crowding the corner.
- The neckline sits too tight or rides up toward the throat
- The neck width was used as measured instead of with the 2 inch adjustment subtracted; remeasure, subtract the 2 inches, and reset the stitch markers before working the shoulder taper.
Close-ups
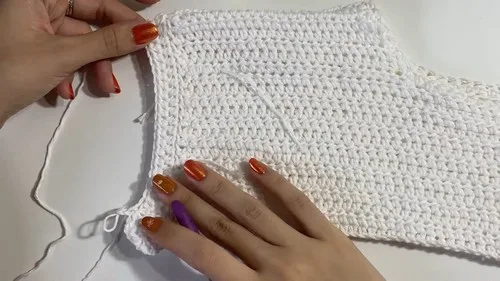
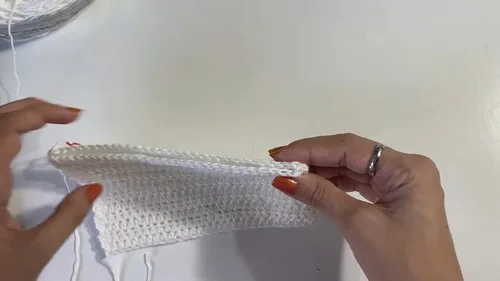
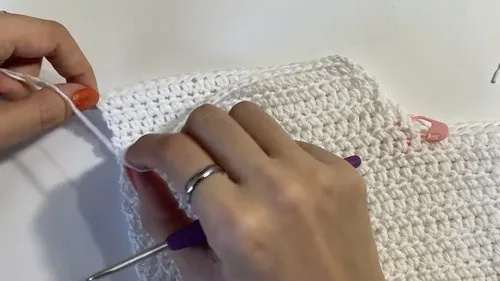
Questions people ask
What hook size does this shrug actually need?
The pattern calls for a 4mm hook with sport weight cotton, but the real test is the Base Panel width matching your underarm measurement. Go up or down half a size if the fabric comes out tighter or looser than that.
Is the Bottom Edge section required?
No, it is listed as extra length, meant for anyone who wants the body of the shrug to sit lower. Skip it if you prefer the shrug to end right at the Base Panel.
Can this be made without sleeves?
The Sleeve rounds are worked separately after the shoulder seams are joined, so leaving them off turns the piece into an open-shoulder vest-style wrap instead. The armhole opening stays as worked in the Base and Shoulder Panels.
How do you know the shrug will fit before finishing it?
The assembly steps include trying the piece on right after the shoulder seams are joined, before the sleeves or border go on. That is the point to check neckline and shoulder fit while there is still room to redo the Shoulder Panel if needed.
New patterns, as they are filed
One short email when a batch lands, with the feel of each.