
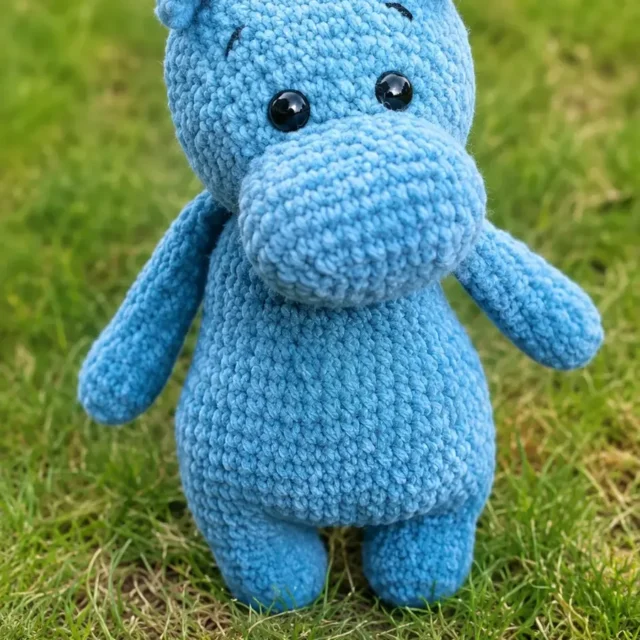
28 rounds · filed under dense · 24 of them
Amigurumi · added 4 Oct 2026
Single crochet hippo amigurumi with joined legs and tail
Single crochet builds a dense, huggable hippo with a rounded head, joined legs, and a chain-stitch tail.
- Skill
- Intermediate
- Time
- 4-6 hours
- Yarn
- Worsted
- Rounds
- 28
About this pattern
Under your hand this hippo comes out dense and firm, the result of single crochet worked tight and continuous through the head and body. Every round packs in close enough that stuffing stays put without peeking through the gaps, giving you a surface that holds its shape when you press a thumb into it rather than yielding like a looser double crochet piece would.
The body builds as a rounded head set on two legs crocheted separately and then joined with a short chain before the single piece continues upward. Once the legs are joined and the body closes over the stuffing, you are working toward a stable base the hippo can sit on, with the head, ears, and tail sewn on afterward to finish the shape.
The swatch in numbers
- Rounds
- 28
- Parts
- 3
- Level
- Intermediate
- Time
- 4-6 hours
- Yarn
- Worsted
The yarn and the hook
- Yarn
- Crochet hook
- Tapestry needle
- Stuffing
- Scissors
- Embroidery thread
- Stitch marker
Stitches, spelled out
mr magic ringDense; sc single crochetDense; sl st slip stitch; ch chain; inc increase; dec decrease; st stitch; * ()6 repeat whatever is between the brackets the number of times stated.
Tension and hand-feel
After Round 2 of the head, lay the piece flat and count the 24 stitches around the edge; the circle should sit without cupping up at the center or rippling at the rim.
If the stitch count is right but the circle buckles or splays, your tension is off for the hook you are using, so go down a hook size if it cups or up a size if it won't lie flat.
HEAD
ARMS – MAKE 2
Part 3
EARS – MAKE 2
TAIL
Insert the hook on the back of the body between R 14 and R 15, make 6 ch. Make a yarn tassel on the end of the tail SEW THE EARS ON THE HEAD
SEW THE HEAD TO THE BODY Tips for Success
Use a Stitch Marker: When working in continuous rounds, always place a stitch marker in the first stitch of each round so you never lose track of your spot.
Stuff the Muzzle Firmly: Fill the snout and head sections evenly with fiberfill before closing Round 26 to help maintain that adorable rounded hippo shape.
Align the Safety Eyes Carefully: Double check that your safety eyes are centered on the head between Rounds 10 and 11, spacing them exactly 4 stitches apart before securing the backings.
Check Arm Placement: When working Round 27 of the body, make sure the arms align evenly with the sides of the legs so your plushie looks symmetrical.
Frequently Asked Questions What type of yarn works best for this hippo pattern?
You can use plush velvet or chenille yarn for a soft, squishy finish, but regular worsted weight acrylic or cotton yarn also works wonderfully.
How do I join the legs together for the body?
Should I stuff the arms completely?
It is best to stuff the arms only halfway. Leaving the top portion unstuffed allows the arms to lay flat against the sides of the body when attached.
How do I attach the tail?
Can I embroider the eyes instead of using safety eyes?
Yes, if you are making this project for a baby or young child, embroidering sleep eyes or small knots with black embroidery thread is a safe and sweet alternative.
Conclusion
I hope you enjoy creating your very own plush hippo as much as I did. Projects like this are so rewarding because they come together quickly and make such heartwarming keepsakes. Be sure to save this Free Amigurumi Pattern Plush Hippo Mondy Doll to your favorite crochet board so you can easily find it whenever you want to work on a sweet plushie. Grab your crochet hook, choose your favorite yarn shade, and enjoy every single stitch!
You’ll Love Also This Free Amigurumi Pattern Plush Fox Free Amigurumi Pattern Scrump Doll Christmas Elf Doll Free Amigurumi Crochet Pattern
Cute Little Mermaid Doll Free Crochet Amigurumi Pattern Leave a Comment Cancel reply Hey! I am Nina Harber
I’m the creator behind Craftwithnina. What started as a small hobby at home slowly turned into a creative passion for making adorable amigurumi that bring happiness to crochet lovers around the world.
Read More Subscribe for exclusive amigurumi patterns & inspiration Recent Patterns Free Amigurumi Pattern Plush Fox Free Amigurumi Pattern Scrump Doll
Christmas Elf Doll Free Amigurumi Crochet Pattern Cute Little Mermaid Doll Free Crochet Amigurumi Pattern Leave a Comment Cancel reply
How the texture is built
- Round 1 of the head is worked flat over a 9-chain base rather than in the round, which sets up an oval rather than a sphere and gives the muzzle its flattened starting shape before Round 2 pulls it into a circle with increases.
- The two legs are crocheted separately, then joined with 3 chain stitches before the body continues in one continuous round at 30 stitches; that chain is what creates the open gap at the body's underside and lets both legs read as one piece going forward.
- Part 3 closes not by decreasing to nothing but by folding the tube flat and working 4 single crochets through both layers at once, which seams the opening shut into a flat edge instead of leaving a round hole to gather closed.
If you swap the yarn
| Cotton, worsted weight | Stitches sit crisper and the surface shows more definition; stuffing stays firmer under the tighter fabric, and the hook size given works without adjustment. |
|---|---|
| Chenille or velvet, worsted weight | The surface turns soft and plush with blurred stitch lines; go up a hook size to keep the fabric from stiffening, and expect the finished hippo to come out slightly larger. |
| Acrylic, worsted weight | Lightweight and easy to wash, holding its rounded shape well once stuffed; drapes a little softer than cotton but still dense enough to keep stuffing contained. |
Colorways
- River gray Gray for the head, body, and legs worked in Rounds 1 through 20 and beyond, a lighter gray or soft pink for Part 3, and a darker gray carried into the tail chain and tassel.
- Blush hippo Dusty pink for the head and body rounds, cream for Part 3 so it reads as a muzzle or ear accent, and a soft brown worked into the tail for contrast.
Washing and blocking
Hand wash in cool water and avoid wringing the body, since twisting a tightly stuffed piece can distort the rounded head and leg shapes.
Lay the hippo flat to air dry, reshaping the head and muzzle by hand while still damp so the fabric sets rounded rather than flattened on one side.
Store away from direct sunlight and keep it stuffed rather than squashed in a box, which keeps the single crochet fabric from developing permanent creases.
When it does not look right
- The head stays flat instead of curving into a rounded shape
- Round 1 is worked flat on purpose, but if the roundness never develops in the following rounds, check that each increase round matches its given stitch count before moving on.
- There's a loose, gappy seam where the legs meet the body
- The join is made with only 3 chain stitches, so if your tension runs loose there, tighten those chains as you work them to close the gap near the body's underside.
- The safety eyes end up sitting unevenly on the face
- The eyes need to land between Rounds 10 and 11 spaced exactly 4 stitches apart; count stitches on both sides before pushing on the backings, since once attached they can't be shifted.
Close-ups
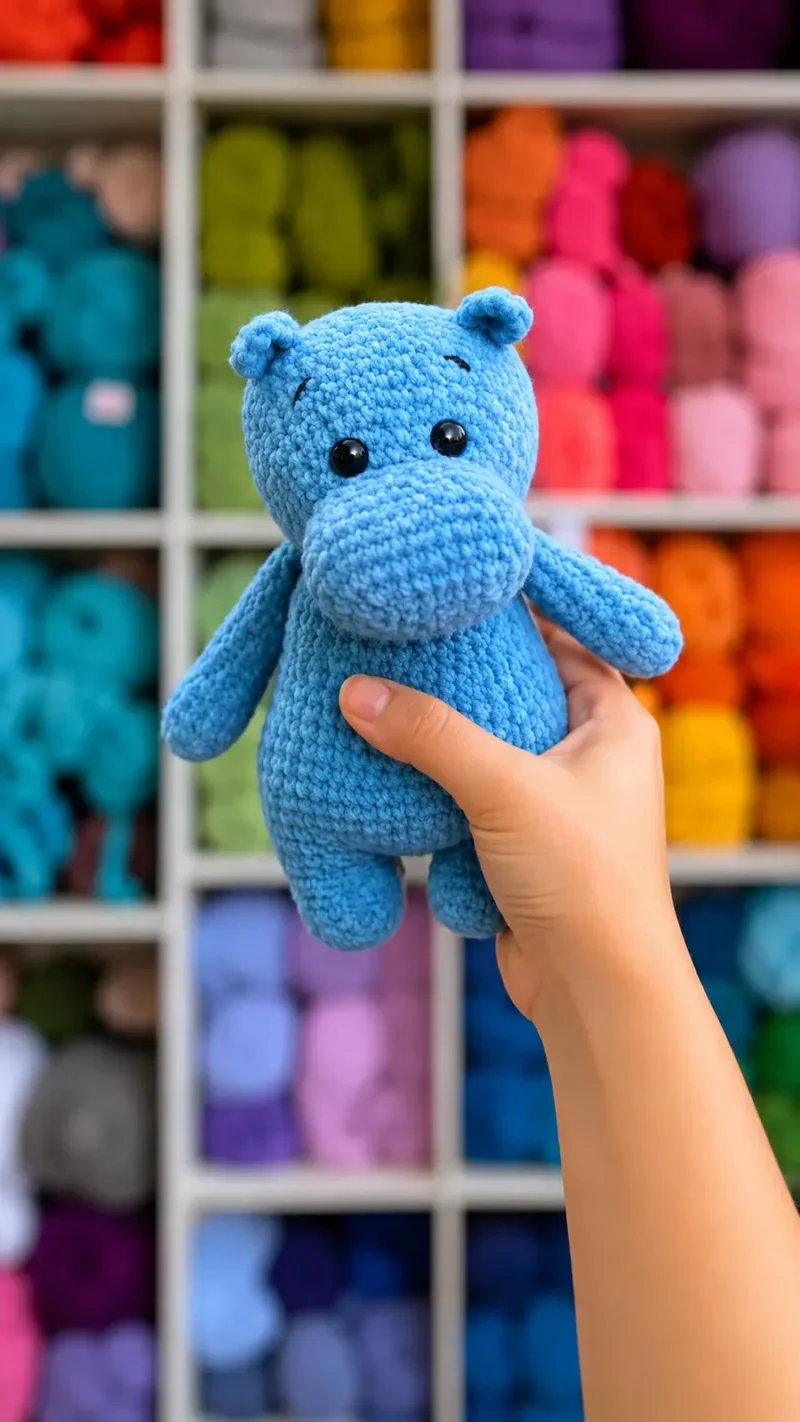
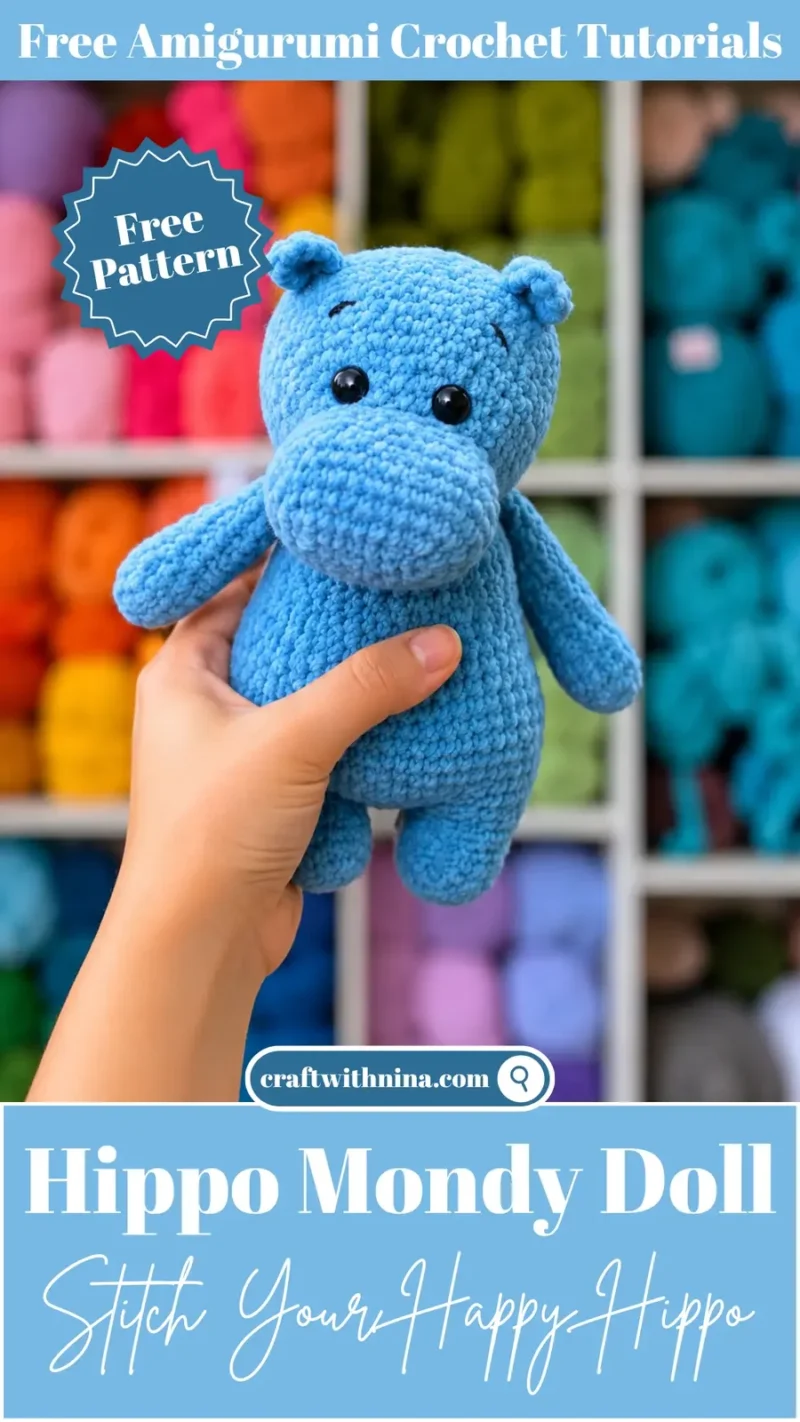
Questions people ask
Can the finished hippo be made larger or smaller?
Yes, size shifts with yarn weight and hook size since the pattern doesn't lock in a fixed gauge. A thicker yarn with a larger hook gives a bigger, softer hippo, while a finer yarn with a smaller hook tightens the fabric and shrinks the result.
Why are the legs made separately before the body is worked?
Each leg is built on its own, then the two are joined with a 3-chain bridge so the body can continue as one continuous round at 30 stitches. This keeps the legs distinct in shape while letting the body sit on top as a single piece.
What happens if the muzzle isn't stuffed firmly before Round 26 closes?
A loosely stuffed muzzle will cave in slightly once the round closes, since there's no way to add more fill afterward without opening the seam. Pack it evenly before closing so the rounded hippo profile holds.
Does the yarn choice change how the stitches look?
Yes, chenille or velvet yarn softens the stitch definition into a plush, blurred surface, while worsted acrylic or cotton keeps each single crochet visible and the fabric denser. Either works, but the hand feel and finished size will differ.
New patterns, as they are filed
One short email when a batch lands, with the feel of each.