
16 rounds · filed under drape · 12 of them
Hats · added 16 Sep 2026
Double crochet beanie pattern for every season
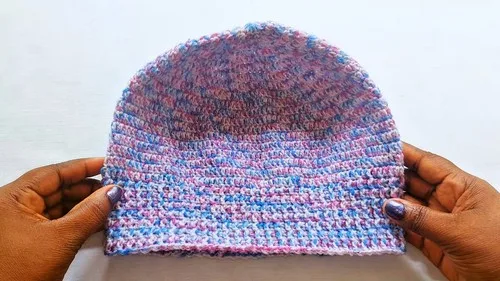
Double crochet forms a thick, springy fabric for this adult beanie, fitting 20-22 inches around.
- Skill
- Beginner
- Time
- 3-5 hours
- Hook
- 2.5 mm
- Yarn
- Light (3-ply)
- Rounds
- 14
About this pattern
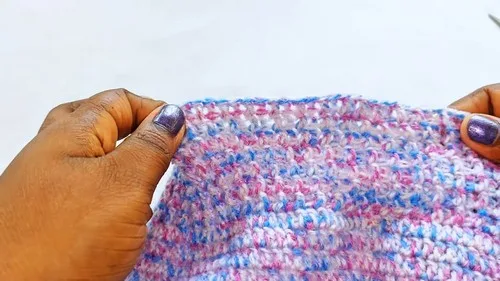
Double crochet stitches stack close and tall, giving the crown and body a firm, textured surface with visible V-shapes across every round. The alternating front-post and back-post double crochet worked into the brim pulls those same stitches into ribs, so the edge grips rather than gapes. Under the hand the fabric reads dense rather than airy, with enough body to hold its shape without a liner, though the lightweight yarn keeps it from feeling stiff or heavy once it's on the head.
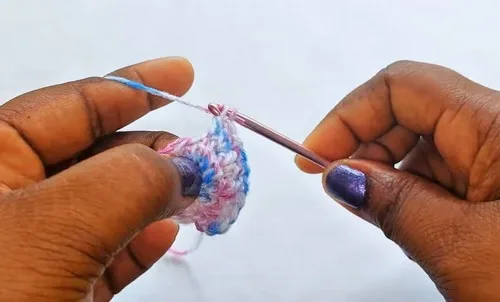
The crown starts as a flat disc worked from a magic circle, growing wider through ten rounds of even increases until it measures out to match a 20-22 inch head circumference. From there the body continues straight, round after round, turning that disc into a tube that reaches 8-9 inches tall. Once finished, fold the brim up for a cuffed fit, leave it long for a slouch, or add a pom-pom to the top for a quick finishing touch.
The swatch in numbers
- Rounds
- 14
- Parts
- 3
- Level
- Beginner
- Time
- 3-5 hours
- Hook
- 2.5 mm
- Yarn
- Light (3-ply)
The yarn and the hook
Yarn Weight
- 3-ply lightweight yarn
Hook Size
- 2.5 mm to 3.5 mm crochet hook
Additional Tools
- Yarn needle, scissors
Stitches, spelled out
R Round; ch Chain; st Stitch; sl st Slip Stitch; dc Double CrochetDrape; inc Increase (2 dc in same stitch); 2dc Two Double Crochet in the same stitch; fpdc Front Post Double CrochetRidge; bpdc Back Post Double CrochetRidge.
Tension and hand-feel
After round 5 or so, lay the crown flat and check that it measures close to a quarter of the finished 20-22 inch circumference, since the increases are evenly spaced to reach that width by round 10.
Crown
Body of the Hat
Ribbed Brim
How the texture is built
- Each crown round shifts the increase point one stitch further along, spacing the original 12 increases from round 1 evenly around the circle so the disc grows flat instead of cupping or ruffling.
- The body rounds repeat the same stitch count with no further increases, which turns the flat crown disc into a straight-sided tube that follows the shape of the head rather than continuing to flare.
- Closing every round with a slip stitch join, instead of working a continuous spiral, keeps a visible seam line running up the crown and body, which also lines up the front-post and back-post stitches of the rib round directly above one another.
Putting the pieces together
If you swap the yarn
| Cotton, lightweight (DK-equivalent) | Produces crisper stitch definition and a firmer, less stretchy brim; hold closer to the 2.5 mm end of the range to keep the fabric from becoming stiff. |
|---|---|
| Wool-blend, worsted weight | Creates a noticeably thicker, warmer fabric with more loft; size up past 3.5 mm and expect the finished circumference to run larger than 20-22 inches unless stitch count is reduced. |
| Acrylic, lightweight | Keeps drape soft and stitches loose, closer to the original fabric, but gives less structural memory at the brim, so the rib round needs to be worked snugly to hold its stretch. |
Colorways
- Tonal Fade Work the crown rounds in a lighter shade, shift to a mid-tone partway through the crown's increase rounds, and carry a darker shade through the straight body rounds, keeping the ribbed brim in the darkest color for contrast.
Washing and blocking
Hand wash in cool water with a gentle detergent, since the lightweight yarn and open double crochet fabric can stretch or felt under rough agitation.
Lay flat to dry and reshape the crown and brim by hand while damp, easing the piece back toward its 8-9 inch height and 20-22 inch circumference.
Store folded flat rather than on a hook or hanger, so the dc fabric doesn't stretch out of shape at the brim over time.
When it does not look right
- The crown cups upward instead of lying flat
- The increases are landing too close together instead of shifting one stitch further each round; recount stitches at the end of every round through round 10 and confirm each increase point has moved along as instructed.
- The brim doesn't hug the head and gaps at the edge
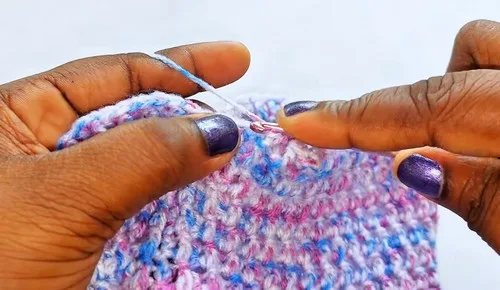
- The front-post and back-post double crochet stitches were worked loosely or into the wrong side of the post; work the rib round snugly and check post orientation, dropping to the smaller end of the 2.5-3.5 mm hook range if needed.
- The finished hat sits too shallow or too tall on the head
- Too few or too many straight body rounds were worked; measure the tube against the 8-9 inch target height and add or remove full rounds evenly before fastening off.
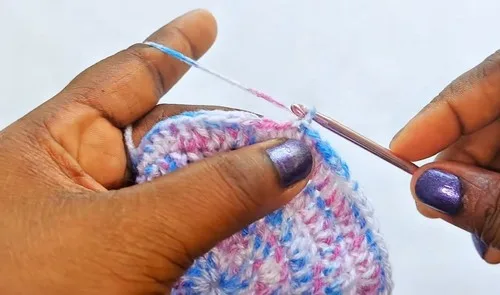
Close-ups
Questions people ask
What head size does this beanie fit?
The pattern is sized for an adult head, with a finished circumference of 20-22 inches. Moving toward the 2.5 mm end of the hook range tightens the fit, while the 3.5 mm end loosens it.
Why does the pattern stop increasing after the crown?
The crown's ten rounds of increases bring the flat disc up to the target circumference, matching the curve of the head. Once that width is reached, the body rounds hold the same stitch count so the fabric turns straight instead of continuing to flare.
Can the hook size be changed partway through?
Yes, within the 2.5-3.5 mm range given in the materials. Keep the size consistent across the crown and body so the stitch count stays accurate, then adjust for the brim if a snugger or looser rib is wanted.
What is the slip stitch join at the end of each round doing?
It closes each round into a true circle rather than letting the work spiral, which keeps the stitch count exact from round to round. It also leaves a visible seam line running up the crown and body.
New patterns, as they are filed
One short email when a batch lands, with the feel of each.