
14 rounds · filed under drape · 7 of them
Hats · added 2 Oct 2026
Mushroom bucket hat crochet pattern for beginners
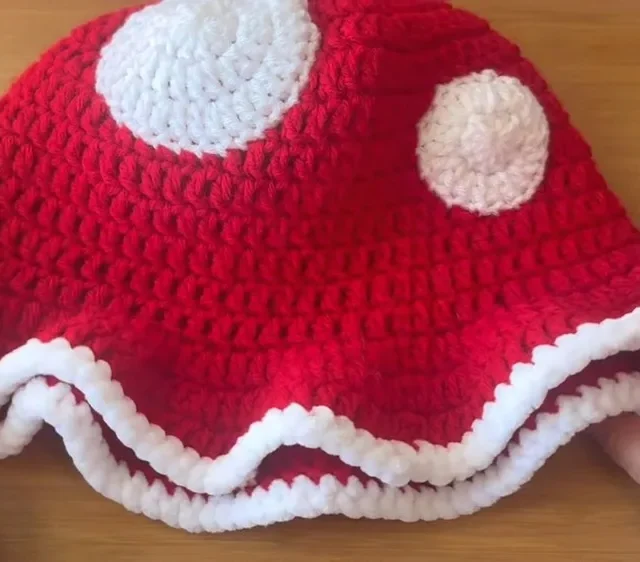
Front-loop double crochet ribs the crown, flat-edge rounds hold the brim stiff: a two-tone bucket hat with chenille trim.
- Skill
- Intermediate
- Time
- 4-6 hours
- Hook
- 5.5 mm
- Yarn
- Worsted
- Rounds
- 10
About this pattern
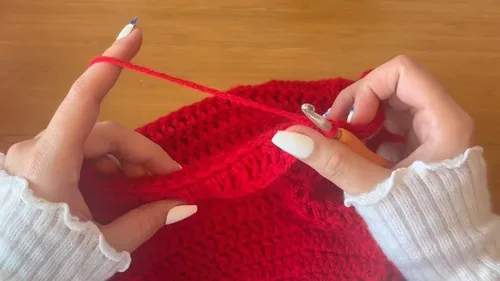
Under your hand this crown comes out ribbed, almost corduroy-like, because every round of the body goes into the front loop only, leaving a stacked ridge of back loops running in rings. The double crochet itself gives the fabric enough body to hold a dome shape without sagging, so the crown sits up off the head rather than draping. It's a firm, textured surface, not a soft one.
The hat builds as a flat starting disc that turns a corner into a straight-sided crown, then flares into a brim worked in regular double crochet through both loops, which drops the ribbing and smooths the surface out. That brim is where the stiffness lives, since a flat-edge round packs the stitches close and resists curling. Once the two-tone shaping is done, the chenille trim and sewn-on circles go on last, so handle the brim gently until those finishing touches are in place.
The swatch in numbers
- Rounds
- 10
- Level
- Intermediate
- Time
- 4-6 hours
- Hook
- 5.5 mm
- Yarn
- Worsted
The yarn and the hook
- Red and white acrylic yarn (recommended brands include Red Heart Super Saver and I Love This Yarn from Hobby Lobby)
- White chenille yarn
- 5.5 mm crochet hook
- Scissors
- Yarn needle
Stitches, spelled out
ch chain; st stitch; sl st slip stitch; sc single crochetDense; hdc half double crochetDense; dc double crochetDrape; inc increase; dec decrease; mr magic ringDense; fo finish off.
Tension and hand-feel
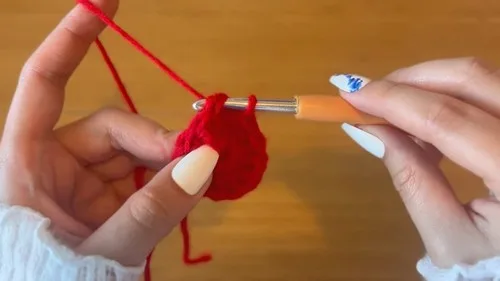
After round 1 of the Starting Ring, lay the 12-double-crochet disc flat on the table and check that it sits without cupping up at the edges or rippling outward.
If it cups, your stitches are too tight and the hook should size up; if it ripples, they're too loose and the hook should size down, since no fixed gauge number is given here beyond this flat-lying test.
Starting Ring
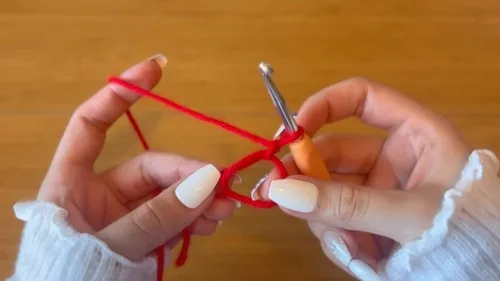
Begin with a magic ring or chain 3 and join into the first chain with a slip stitch to create a ring.
How the texture is built
- Round 2 doubles the stitch count evenly (12 to 24) while round 3 increases every other stitch (24 to 36), spacing the growth so the disc widens in a flat circle rather than cupping into a bowl.
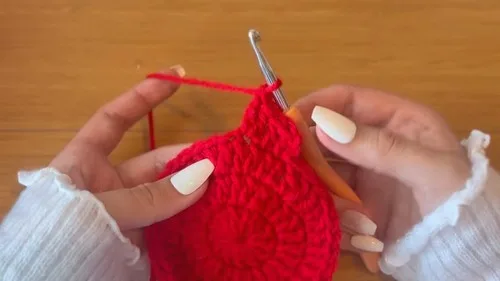
- Working the crown rounds in the front loop only leaves a ridge of unused back loops stacked around the hat, which is what turns a plain cylinder into a textured, rib-like surface.
Putting the pieces together
If you swap the yarn
| Cotton, worsted weight | Drops the stretch and gives the ribbed front-loop texture a crisper, more defined line, though the brim will hold its shape with less give; keep the 5.5mm hook or go slightly smaller for a denser fabric. |
|---|---|
| Wool-acrylic blend, worsted weight | Adds loft and a softer hand to the crown ribbing while still holding the brim's stiffness; the same 5.5mm hook works, and the fabric will felt slightly with hand washing. |
| Bulky weight acrylic | Produces a noticeably larger hat from the same stitch counts, so size up the hook to around 6-6.5mm and expect a thicker, heavier brim that stands out more. |
Colorways
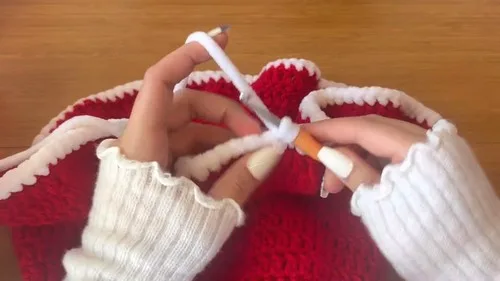
- Classic toadstool Red acrylic for the Starting Ring crown rounds worked in front loop only, white acrylic for the brim increase round and the flat-edge finishing round, white chenille single crochet trim along the brim edge.
Washing and blocking
Hand wash the acrylic body in cool water, since the double crochet fabric holds its density well but machine agitation can fuzz the front-loop ridges.
Lay flat to dry on a towel, reshaping the brim's round edge by hand while damp so the flat-edge round dries sitting flush rather than curled.
Store the hat unstacked or stuffed lightly with tissue so the stiffer brim doesn't crease, and keep the chenille trim away from rough surfaces that could snag its pile.
When it does not look right
- The crown cups upward like a bowl
- The increase rounds (12 to 24 to 36) are tighter than the base stitches, pulling the disc inward; loosen tension on increase rounds or size up the hook slightly on those rows only.
- The ribbed texture on the crown looks faint or uneven.
- Some stitches are likely catching both loops instead of the front loop only; check each stitch placement at the start of a round, since one missed loop breaks the ridge line for that whole round.
- The brim ruffles or won't lie flat against the head.
- The increase round (double crochet, double crochet, 2-double-crochet-increase repeated) has too many extra stitches worked too close together; recount the repeat and make sure increases land only in the third stitch of each group as instructed.
Close-ups
Questions people ask
Does the chenille trim change how the brim feels?
Single crocheting the chenille yarn around the brim edge adds a soft, slightly fuzzy border against a firmer double crochet body, so the contrast in hand-feel is intentional. It also reinforces the flat-edge round, helping the brim keep its shape.
What causes the brim to flare out so much more than the crown?
The brim's increase round adds extra stitches every third stitch around the whole circumference, widening it steadily beyond the crown's straight sides. That steady spacing of increases is what produces the flared, bucket-style silhouette rather than a straight cylinder.
New patterns, as they are filed
One short email when a batch lands, with the feel of each.