
13 rounds · filed under dense · 9 of them
Garments · added 28 Sep 2026
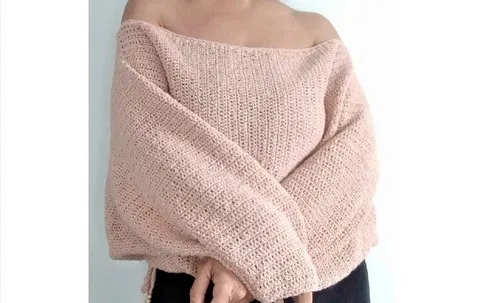
Airy Batwing Blouse Worked in Ridged Cotton Crochet
Back-loop double crochet builds a ridged, breathable fabric for this cotton batwing blouse.
- Skill
- Intermediate
- Time
- 4-6 hours
- Hook
- 4 mm
- Yarn
- Fingering
- Rounds
- 9
About this pattern
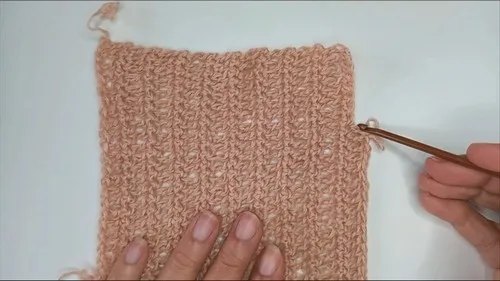
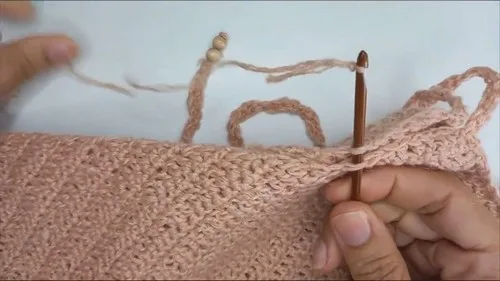
Run a hand over this fabric and the ridges catch your fingers first. Every dc row goes into the back loop only, so the front loop stands up as a raised bar between rows, and the sc rows pull those ridges close together. The result is a lightweight cotton fabric with a subtle corded texture on one side, smooth on the other, and enough give across the ridge lines to move with you without going limp.
Two identical panels form the body, joined at the shoulders with a center section wide enough to fall into a batwing drape rather than a fitted sleeve line. Wear it loose over the shoulders so the panel width does the work of the sleeve, or belt it at the waist to pull the drape in and shorten the line for a cooler, closer summer fit.
The swatch in numbers
- Rounds
- 9
- Parts
- 2
- Level
- Intermediate
- Time
- 4-6 hours
- Hook
- 4 mm
- Yarn
- Fingering
The yarn and the hook
- Fingering weight cotton yarn
- 4mm crochet hook (adjust if needed)
- Tape measure
- Yarn needle (optional for seaming)
Stitches, spelled out
ch chain; sts stitches; sc single crochetDense; dc double crochetDrape; tog together.
Panel
Make 2Round 1 covers Section A (Side Panel); Round 4 covers Section B (Center Panel); Round 5 covers the mirrored Section A.
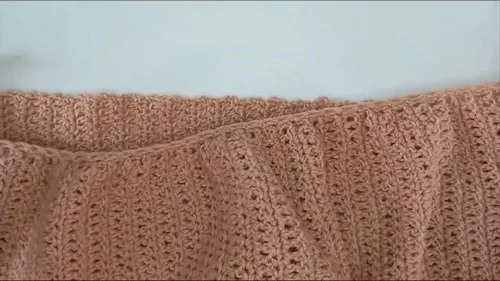
Choose either the Corded Edge (Round 6) or the Gathered Edge (Round 7) for the bottom finish, not both.
Sleeve
Make 2Round 2 forms the Cuff, worked after the main sleeve body.
How the texture is built
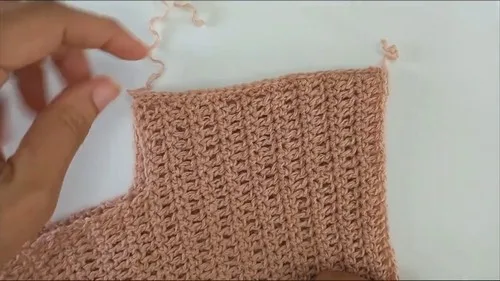
- In Round 4, the dc rows for Section B are stopped 4 cm (8 sts) short of the top on every row before turning, which leaves a stepped gap at the shoulder edge that becomes the batwing underarm opening once the panels are joined.
- The sleeve in Round 1 starts 8 sts in from the bottom edge and decreases at both ends of every row, a stitch count that matches the 8 sts left open by Section B, so the sleeve slots directly into the gap the panel shaping created.
- Both panels are worked flat, row by row, rather than in the round, because a flat panel gives a straight vertical edge on each side for shoulder seaming and a straight top edge for the neckline round to be picked up from evenly.
Putting the pieces together
Close-ups
Questions people ask
Can the batwing overhang be made narrower?
Yes, since the panel width note gives two ways to size it: shoulder-to-shoulder plus 16 cm for the full batwing, or a narrower body measurement divided by two for less overhang. Starting with fewer chains in Round 1 pulls the drape in without changing the rest of the construction.
How do you decide between the Corded Edge and the Gathered Edge finish?
Round 6 and Round 7 offer the two options, and only one gets worked. The corded option keeps the hem firm and structured against the lightweight cotton, while the gathered option pulls the hem in for more shape at the waist.
How many starting chains does the pattern actually need?
It depends on your own measurements: the notes point to chaining for your desired length from shoulder to hem (85 chains is given as one example) plus the panel width figure for the top edge. Measure yourself first and adjust the chain count from there rather than using the example number outright.
Does working in the back loop only change how the fabric behaves?
Yes, it leaves a visible ridge on the front side of the work and gives the fabric more vertical give across each ridge line than a fabric worked through both loops. That extra give is part of what keeps the fingering weight cotton from feeling stiff despite the alternating dc and sc rows.
New patterns, as they are filed
One short email when a batch lands, with the feel of each.